What to Do Right Now
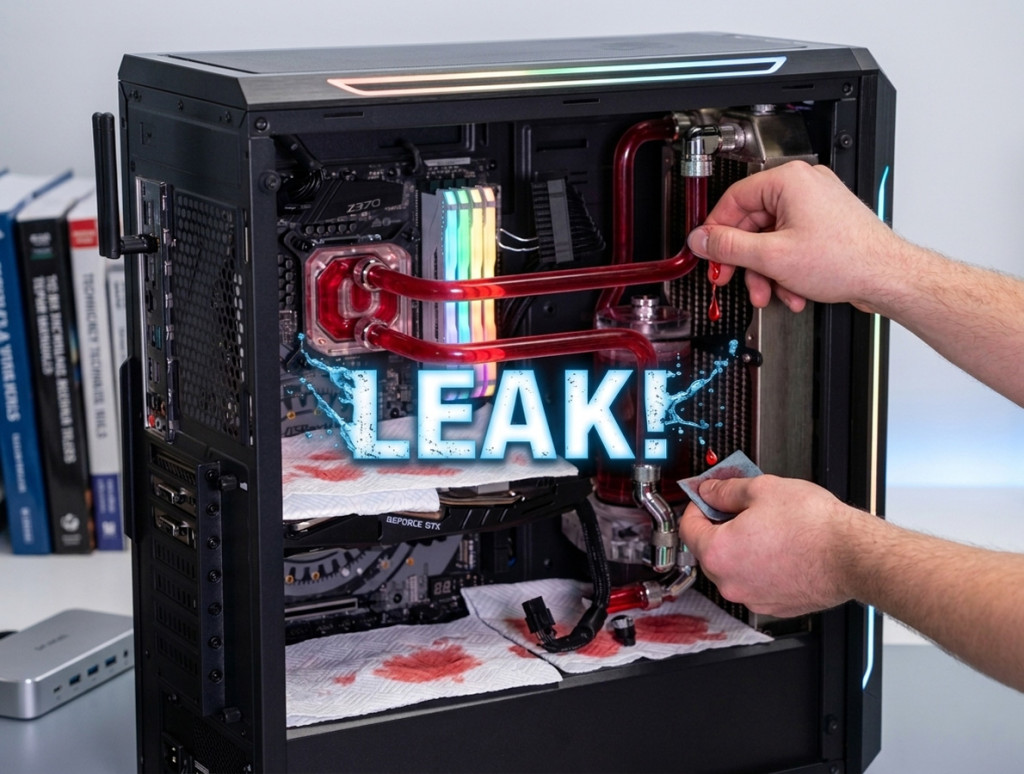
Finding coolant pooled inside your PC is one of those moments that separates the optimists from the realists in this hobby. Leaks happen to everyone, including builders who have done this dozens of times, and the good news is that fast, methodical action gives you an excellent chance of saving every component in the system. The bad news is that “fast” means seconds, not minutes. This guide covers exactly what to do from the moment you spot the leak through to getting your rig running safely again.
Immediate Actions: The First 30 Seconds
Every second your system remains powered with coolant sitting on live components increases the risk of a short circuit. Speed is everything here, and this is not the time for a tidy software shutdown.
- Hit the PSU switch. The physical rocker on the back of the power supply. Do not attempt a software shutdown.
- Unplug from the wall. Pull the kettle lead or the plug from the socket. This eliminates any residual standby power.
- Press and hold the power button for 5-10 seconds with the PSU unplugged. This discharges remaining capacitor energy.
- Do not move or tilt the PC. This risks spreading coolant to components that are currently dry.
- Grab paper towels. Absorb any visible pooled liquid and place absorbent material under active drips.
- Remove the side panels. Get access to see exactly where the coolant has gone.
The moment coolant bridges two solder points carrying different voltages, current flows and damage happens in milliseconds. The faster you kill power, the better your odds.
Assessing the Damage
Trace the trail of coolant upward from where it has pooled to find the source. A single fitting drip tends to leave a clear trail, while a spray pattern suggests a pressurised failure such as a tube popping off a barb.
A few drops around a fitting is minor and pretty much par for the course. A visible puddle at the case bottom is moderate and means multiple components may be wet. An empty reservoir or coolant running out of the case is severe. Pay particular attention to the GPU backplate and PCIe slot, the motherboard CPU socket and VRM area, the PSU (coolant entering a PSU is especially dangerous), and any M.2 drives.
Common Leak Locations
Leaks follow predictable patterns, and knowing the likely culprits helps you find the source quickly rather than dismantling the entire loop in a panic.
Fittings (70-80% of all leaks): Compression fittings not fully tightened are the single most common cause. They need finger-tight plus a quarter to half turn. Thermal cycling and pump vibration loosen them over time. Wrong fitting sizes, pinched o-rings, and degraded seals on rotary adapters are also frequent offenders.
Drain valves: After maintenance, the drain valve gets left partially open. It appears fine during filling however it weeps once the pump builds pressure. This is standard practice annoyance with custom loop hardware and is just one of those things you have to watch for.
Hardline tubing: PETG tube softens at around 55-60 degrees C and can deform and pop out of fittings. Acrylic is temperature-resistant but brittle, with stress cracks from over-tightened fittings or misaligned runs.
Waterblock and radiator seals: Port o-rings on water blocks can fail if over-tightened or reassembled without checking condition. Unused radiator ports must be properly plugged with G1/4 stop fittings.
Drying Out Components
Patience here determines whether your components survive. We cannot stress this enough.
Disconnect all cables, remove wet components from the case, and hold them so coolant runs off naturally. Blot with paper towels, getting into crevices with twisted points. Use short bursts of compressed air to blow coolant from connectors and slots.
IPA Displacement
99% isopropyl alcohol is your best tool. It displaces water from under chips and crevices, then evaporates far faster than water alone. It also removes residue that could cause corrosion. Pour or spray generously, use a soft brush around connectors, and let it drain. Always use 99%. The 70% version contains 30% water, which pretty much defeats the purpose. One important caveat: never use IPA on acrylic components as it causes crazing.
Drying Time
Allow 48 hours minimum, with 72 hours recommended. Water hides under BGA chips, inside connector housings, and between PCB layers via capillary action. Place components in a warm, dry location with a desk fan blowing across them. An airing cupboard works well. Do not use a hair dryer on high heat or an oven. And ignore the rice myth. Airflow is more effective and does not risk starch particles lodging in connectors.
What Coolant Does to Components
Many people believe “non-conductive” coolant is safe if it leaks. This is a dangerous half-truth. Fresh distilled water is indeed a poor conductor, however coolant that has been circulating picks up metal ions from copper blocks, nickel plating, and brass fittings. The longer it has been in the loop, the more conductive it becomes. Premixed coolants with additives are more conductive from day one. The only safe assumption is: if it is wet and powered, it can short.
Coolant left on metal surfaces causes corrosion even when unpowered. Copper traces develop verdigris, solder joints can grow tin whiskers, and connector pins lose gold plating. This is why immediate cleaning matters even though you cannot power the system for days afterwards.
Latest Blog Posts


Testing After a Leak
After 72 hours of drying, inspect all components under good light before applying any power. A torch held at a low angle reveals residue that overhead light misses. Look for white or green residue and check for debris in connectors.
Gradual Power-Up
If the PSU got wet, replace it. No exceptions. Otherwise, test it alone first with a PSU tester or the paperclip test. Then connect only the motherboard with CPU and one RAM stick. Check for POST. If it reaches BIOS, add all RAM and test again. Then install the GPU and watch for artefacts. Finally, add storage drives one at a time.
Stress Testing
Even if everything works at idle, run stress tests. Use Prime95 for the CPU (30 minutes minimum), FurMark or 3DMark for the GPU, and MemTest86 for RAM overnight. Leak damage can be intermittent, so components may work at idle however fail under load. The question left hanging in the air is whether corrosion is progressing invisibly, so monitor for several weeks afterwards for random crashes or worsening artefacts.
Finding and Fixing the Leak Source
Drain the loop completely, then wrap individual paper towels around every fitting. Refill with only the pump powered (use a PSU jumper), all other components removed from the case. Run for 4-12 hours and check every towel. Any dampness reveals the source. Blue workshop paper roll shows even clear coolant as a dark spot immediately, which is a nifty trick that saves a certain amount of guesswork.
- SKU: WAZU-1002
- MPN: 34138
- EAN: 4260473314066
- SKU: WAZU-708
- MPN: 34087
- EAN: 4260073419543
- SKU: WAEK-2371
- MPN: 3831109848388
- EAN: 3831109848388
- Available for Collection
- SKU: BAR-ACC22
- MPN: GJQM-01
- EAN: 6937826614224
- Available for Collection
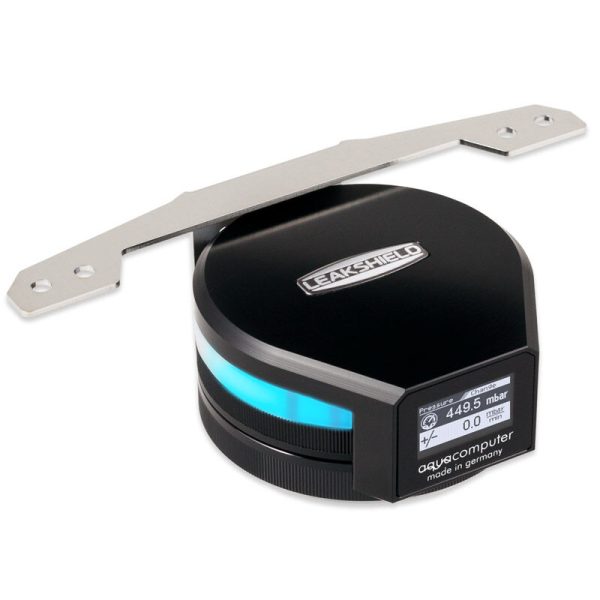
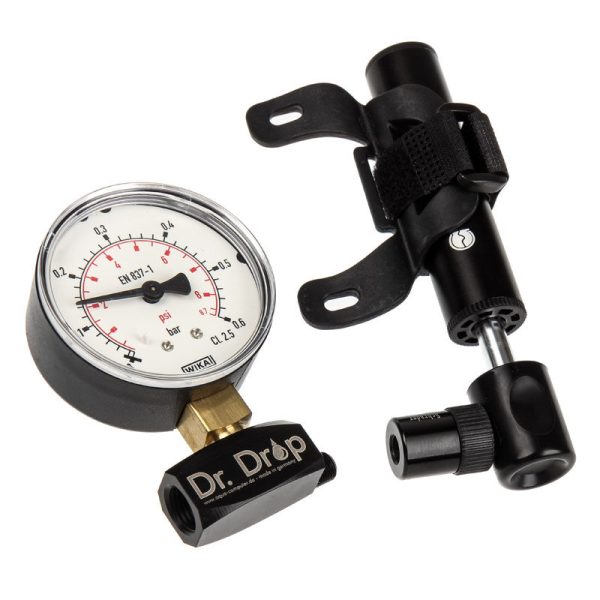
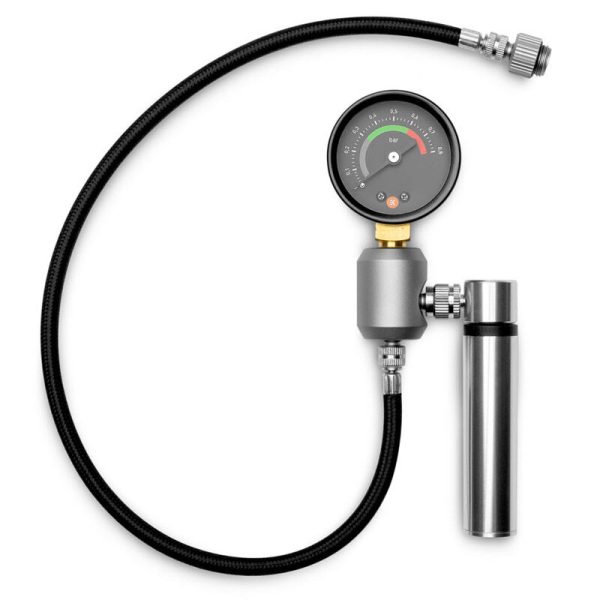
For a more definitive test, air pressure testers such as the EK-Loop Leak Tester or Aquacomputer Dr. Drop pressurise the empty loop to 0.3-0.5 bar with zero risk of liquid on components. If pressure drops, soapy water around fittings reveals escaping air as visible bubbles.
After fixing, always leak test again. Air pressure first, then a wet test for 4-12 hours with paper towels at every connection. Only reinstall components once you are confident the loop is sealed.
Prevention for Next Time
Every new build and every maintenance session must be followed by a proper leak test. Air pressure test first, then a wet test for at least 4 hours with only the pump powered and paper towels at every connection. This is stating the obvious, however the number of people who skip this step and then regret it is remarkable.
Monthly, visually check all fittings for weeping, confirm reservoir level, and verify the drain valve is closed. Every 6-12 months, drain and flush the loop, inspect o-rings, check tubing condition, and refill with fresh coolant.
Consider adding a flow indicator for visual confirmation of circulation, inline monitoring sensors to warn of pump failure, and leak detection sensors under the loop that trigger an alarm at the first drop. Route tubing along case edges rather than directly over sensitive components. In a standard tower, a CPU fitting leak drips straight onto the GPU below, which in the great scheme of things is pretty much the worst place for it to go.
A custom loop is a commitment, and a certain amount of ongoing maintenance is the price you pay for superior cooling. The engineering is deeply satisfying when it works, however it demands respect when it doesn’t. Treat every fitting as a potential leak source, test methodically, and you will likely never need this guide more than once.