Common Watercooling Problems and How to Fix Them
If you have been running a custom watercooling loop for any length of time you will know that the hardware is impressively reliable, however things do go wrong. The good news is that most problems have straightforward causes and, more importantly, straightforward fixes. What follows is a run through the issues that crop up most often, along with practical advice on sorting them out before you lose your temper or your hardware.
High Temperatures
If your CPU or GPU temperatures are higher than expected, or have been creeping upward since the loop was new, there are several usual suspects worth investigating:
- Insufficient radiator capacity. This is the most common cause by a considerable margin. If your radiator cannot shed heat fast enough, coolant temperature rises and everything downstream gets hotter. The fix is either adding more radiator surface area or increasing fan speed, neither of which is complicated but both of which require a certain amount of planning.
- Poor block mounting. Uneven or insufficient mounting pressure means poor contact between the cold plate and your CPU or GPU. Remount the water block using an even cross-pattern tightening sequence. This is one of those things that feels obvious in hindsight but catches people out more often than you would expect.
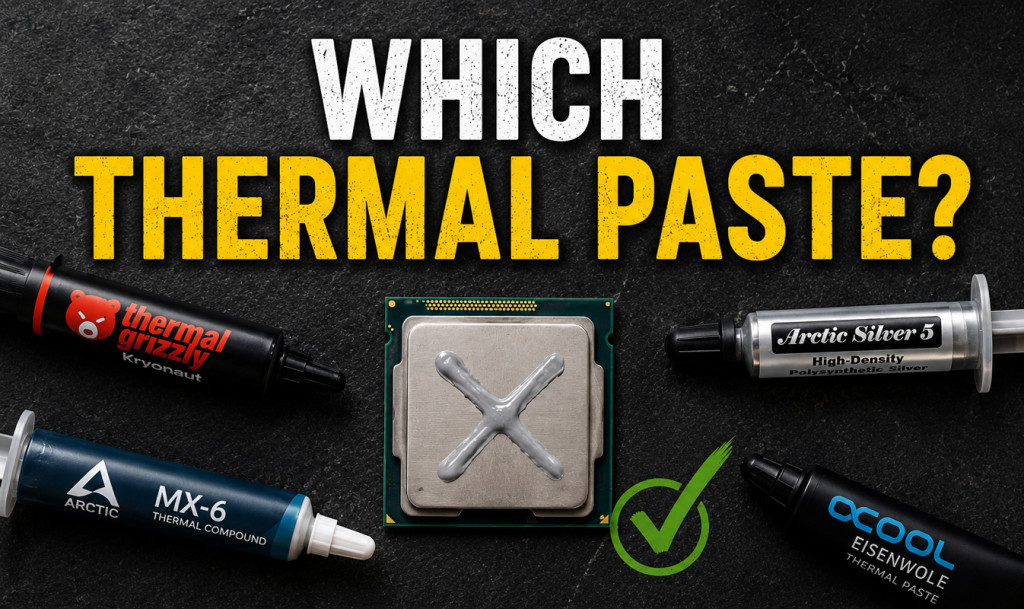
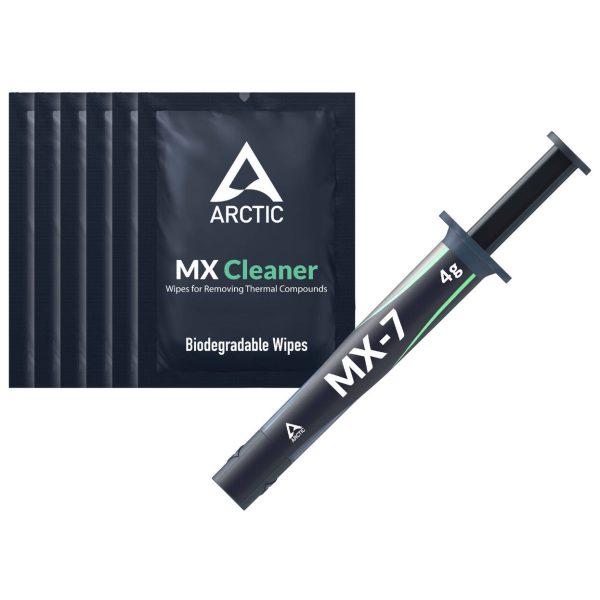
- Old thermal paste. Thermal paste degrades over time. If temperatures have slowly crept up over months rather than spiking suddenly, a fresh application may be all you need.
- Blocked micro-channels. Buildup inside the water block channels reduces heat transfer. Disassemble and clean them out.
- Low pump speed. Check your pump is actually running at an adequate speed. Very low RPM means very low flow, which means the coolant spends too long absorbing heat without dumping it at the radiator.
- Poor airflow. Dusty radiator fins, fans obstructed by cables, or case airflow working against your radiator configuration. In the great scheme of things this is the easiest one to check and the most annoying to discover you have overlooked.
- SKU: ZUWA-367
- MPN: ACTCP00092A
- EAN: 4895265000898
- Available for Collection
- SKU: BKK-B017
- MPN: B-SG14-X
- EAN: 6932167225849
- Available for Collection
- SKU: ZUWA-214
- MPN: TG-KE-002-R
- EAN: 0753677507241
- Available for Collection

- SKU: ZUWA-151
- MPN: TG-A-001-RS
- EAN: 4260711990397
- Available for Collection
Pump Noise
Different noises mean different things, and it is worth paying attention to what your pump is actually telling you:
- Rattling or clicking. Usually air trapped in the pump chamber. Tilt the case to move the air bubble and make sure the reservoir is properly feeding the pump inlet.
- High-pitched whine. This is pretty much normal behaviour for DDC pumps at high speed. Reduce speed via PWM control, or improve vibration isolation with rubber mounts. Either approach works, however combining both is the nifty solution.
- Grinding. Debris caught in the impeller, or bearing wear. Disassemble and clean.
- Gurgling. Air in the loop. This is entirely normal during the first few days after filling. If it persists, check the reservoir level and top up.
Persistent Air Bubbles
Some air in a freshly filled loop is normal and can take days or even weeks to fully bleed out. Loops with fine micro-channel blocks are particularly persistent about holding air pockets. Give it time rather than assuming something is wrong. You can speed the process up by:
- Tilting the case roughly 30 degrees in each direction while the pump runs
- Gently tapping radiators and blocks with your knuckle
- Running the pump at a lower speed (this lets bubbles rise rather than being carried along with the flow)
- Keeping the reservoir fill port open while bleeding
- Topping up the reservoir as the level drops
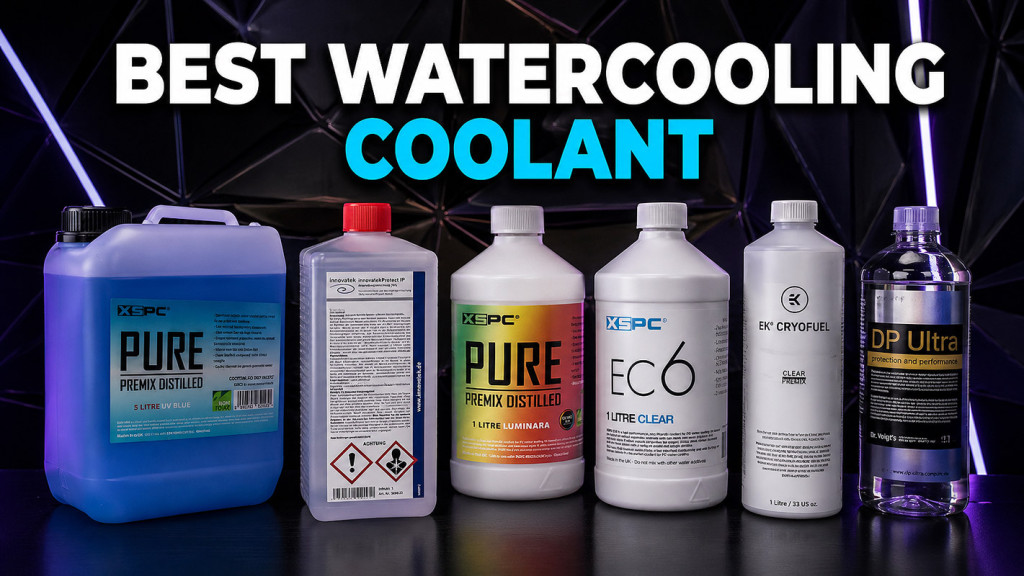
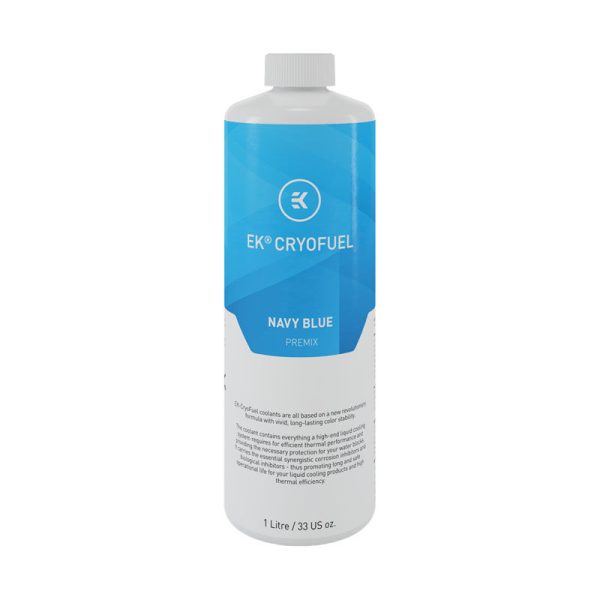
Cloudy or Discoloured Coolant
Coolant that changes colour is trying to tell you something, and ignoring it is a bad idea:
- Clear coolant going yellow or brown. Corrosion products (usually dissolved copper) or biological contamination. Drain, flush, and refill with fresh coolant.
- Coolant going cloudy. Plasticiser leaching from PVC soft tube, or coolant breakdown. If you are using PVC tubing it is time to replace it.
- White particles. Could be aluminium corrosion (check for mixed metals in your loop) or coolant fallout from opaque or pastel coolants.
- Green tinge. Dissolved copper from depleted corrosion inhibitors, or early biological growth. Change the coolant and investigate the cause.
- SKU: XS-5L-PURE-CL
- MPN: 5060596651944
- EAN: 5060596651944
- Available for Collection
- SKU: WAEK-1651
- MPN: 3831109813270
- EAN: 3831109813270
- Available for Collection
- SKU: WAZU-452
- MPN: 53155
- EAN: 4260073418812
- Available for Collection
- SKU: WAZU-191
- MPN: 53113
- EAN: 4260073412360
- Available for Collection
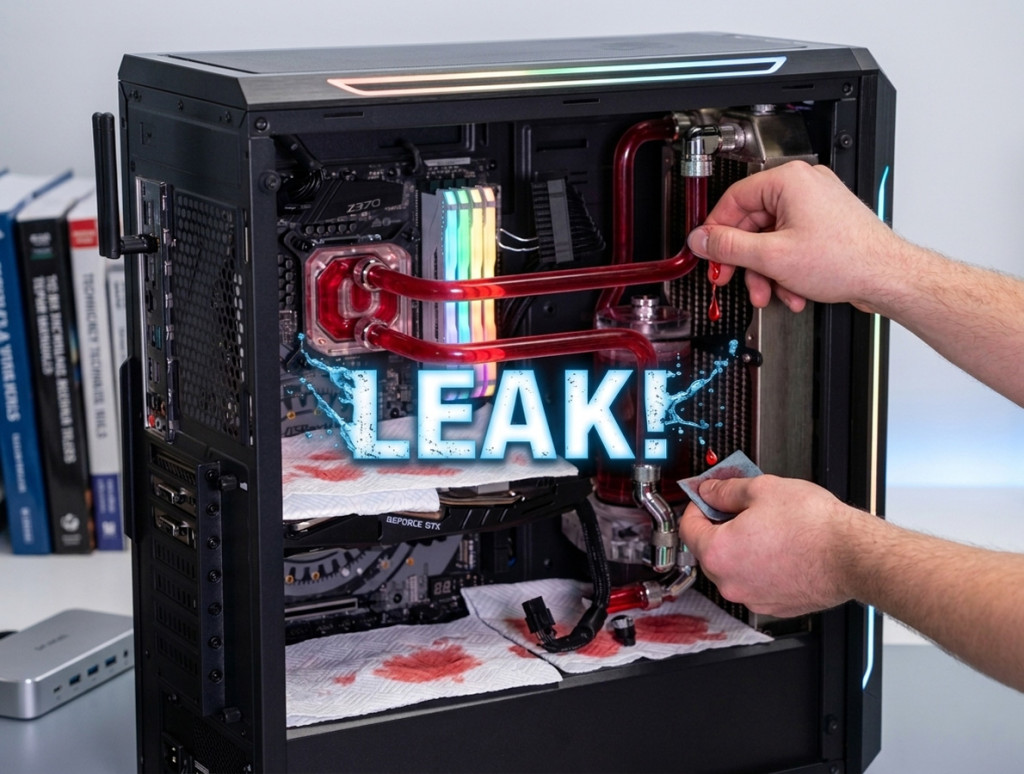
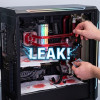
Leaks
If you find a leak, the first step is obvious but worth stating anyway:
- Power off immediately. Do not pass go.
- Identify the source. Paper towels wrapped around fittings will show you exactly where the problem is.
- Most common causes: a loose fitting (tighten it), a damaged o-ring (replace it), a drain valve left open (close it), or tubing not fully seated in the fitting (reseat it).
- After fixing, always re-test for several hours before powering on. The question left hanging in the air is whether you want to risk your hardware because you were impatient. The answer is no.
Reduced Flow Rate
If your flow indicator is spinning more slowly than usual or temperatures are rising without any obvious cause:
- Blocked water block. The most common culprit. Disassemble and clean the micro-channels.
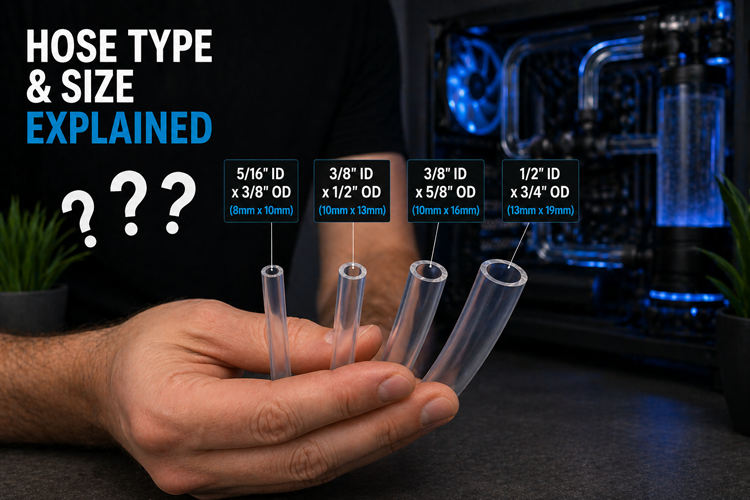
- Kinked soft tubing. Check all tubing runs for kinks, especially at tight bends.
- Failing pump. Listen for changes in pump noise. If it is louder or irregular, investigate sooner rather than later.
- Clogged radiator. Flush with distilled water. Shake and drain repeatedly until the water runs clear.
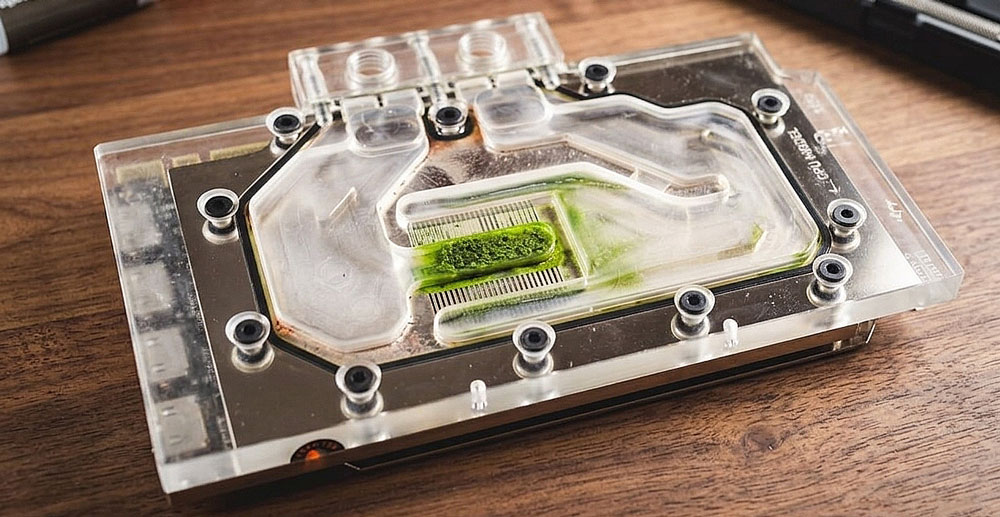
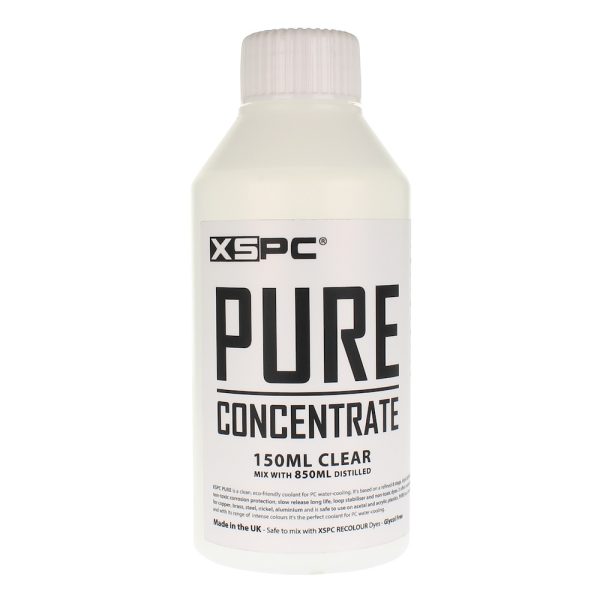
Biological Growth
Green slime, fuzzy growth, or algae in your loop means your coolant has no biocide, or that the biocide has been consumed. This happens most often with distilled water and no additives, or with very old coolant that has been left unchanged for far too long.
The fix requires a certain amount of effort, however it is not complicated:
- Drain the loop completely
- Disassemble and clean every component (blocks, radiators, reservoir, pump)
- Flush radiators thoroughly
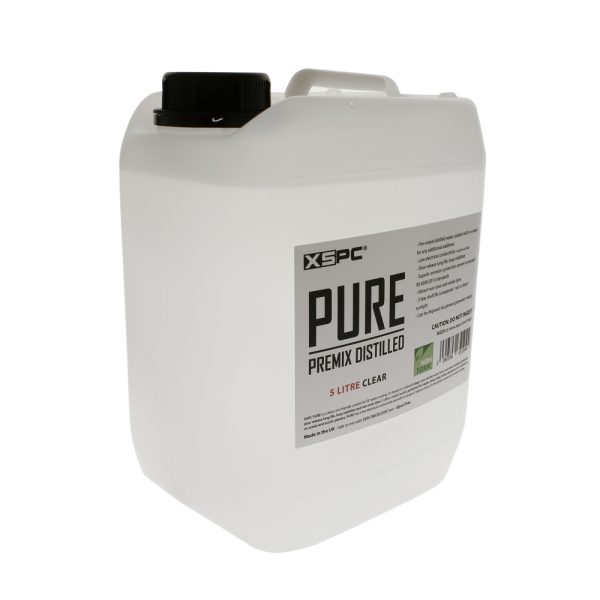
- Refill with fresh premixed coolant that includes proper biocide and corrosion inhibitors
- SKU: WAZU-191
- MPN: 53113
- EAN: 4260073412360
- Available for Collection
- SKU: XS-CNPURE-CL
- MPN: 5060596651746
- EAN: 5060596651746
- Available for Collection

- SKU: XS-PURE-LM
- MPN: 5060596651654
- EAN: 5060596651654
- Available for Collection

- SKU: XS-PURE-PK
- MPN: 5060596651463
- EAN: 5060596651463
- Available for Collection
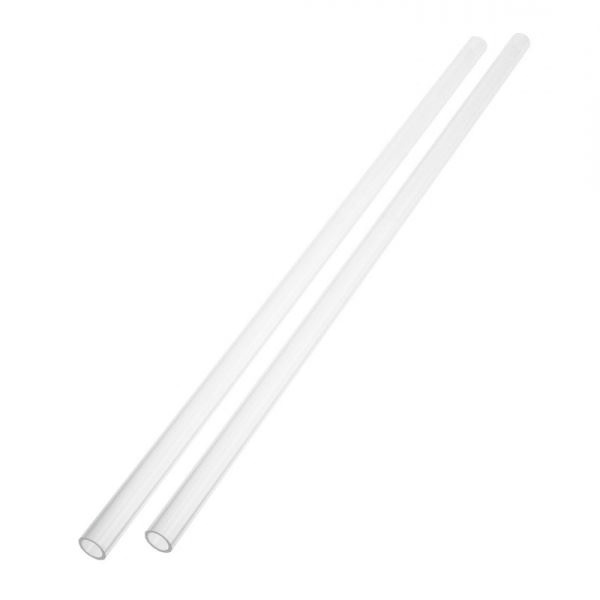
Soft Tubing Going Cloudy or Stiff
This is plasticiser leaching from PVC tubing. It is a normal degradation process that gets accelerated by heat and certain coolants. The tubing loses flexibility, goes cloudy or yellowed, and the plasticiser contaminates your coolant in a way that is pretty much guaranteed to cause further problems downstream.
The fix is replacement. Swap for fresh PVC tubing, or switch to EPDM rubber tubing which does not suffer from this problem at all.
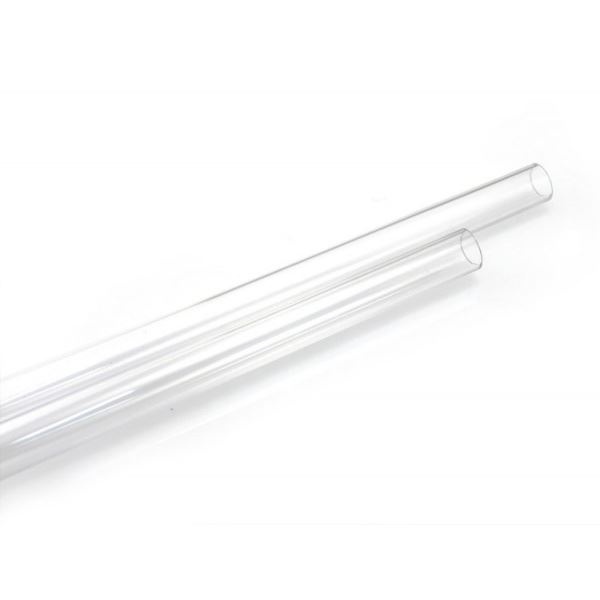
PETG Tube Deformation
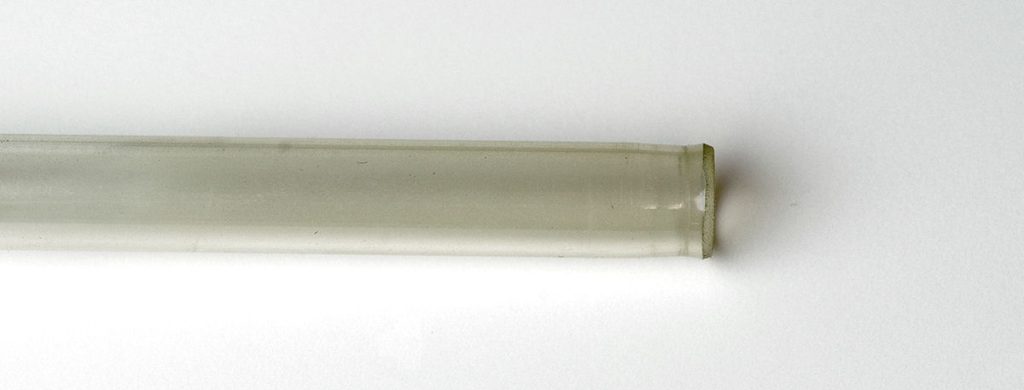
If PETG tube is warping or bulging at the fittings, your coolant temperature is too high. PETG begins to soften above 50C, which means you have less headroom than you might think. Solutions:
- Add more radiator capacity or increase fan speed to bring coolant temps down
- Switch to acrylic hard tube which has a much higher heat tolerance
- Use PETG tube inserts at fitting connections to reinforce the tube ends

- SKU: BAR-HT01
- MPN: PG1410-L
- EAN: 6937826602900
- Available for Collection
- SKU: XS-1410-PETG
- MPN: 5060175585943
- EAN: 5060175585943
- Available for Collection
- SKU: BAR-HT02
- MPN: PG1612-L
- EAN: 6937826603174
- Available for Collection

- SKU: 1012520
- MPN: 18515
- EAN: 4250197185158
- Available for Collection
Pump Won’t Start
- Airlocked. The pump chamber is full of air instead of liquid. Tilt the case to feed coolant to the pump inlet, then try short power bursts (2-3 seconds on, off, repeat) until it catches.
- No power. Check the power cable (SATA or Molex) is connected. If you are testing without the motherboard, check the PSU jumper is in place.
- Dead pump. If there is no sound at all and power is confirmed, the pump may have failed. Try connecting to a different power connector. If still nothing, it needs replacing. This is the worst-case scenario, however pumps from reputable manufacturers are generally robust and outright failures are rare in the great scheme of things.
Most of these problems are straightforward to diagnose and fix, however the common thread running through pretty much all of them is maintenance. A loop that gets regular coolant changes, occasional cleaning, and a quick visual inspection every few months will reward you with years of reliable, effectively silent cooling. Neglect it and you will find yourself working through this list more often than you would like.