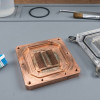
Your First Custom Loop
Building a custom watercooling loop is, without question, one of the most rewarding projects you can undertake with a PC. It is also one of the most involved. This guide walks you through the entire process, from initial planning right through to first boot, with links to detailed resources for each step along the way. The question is, can a first-timer pull it off without any nasty surprises? With a bit of patience and proper planning, I would say absolutely. Let’s find out how.
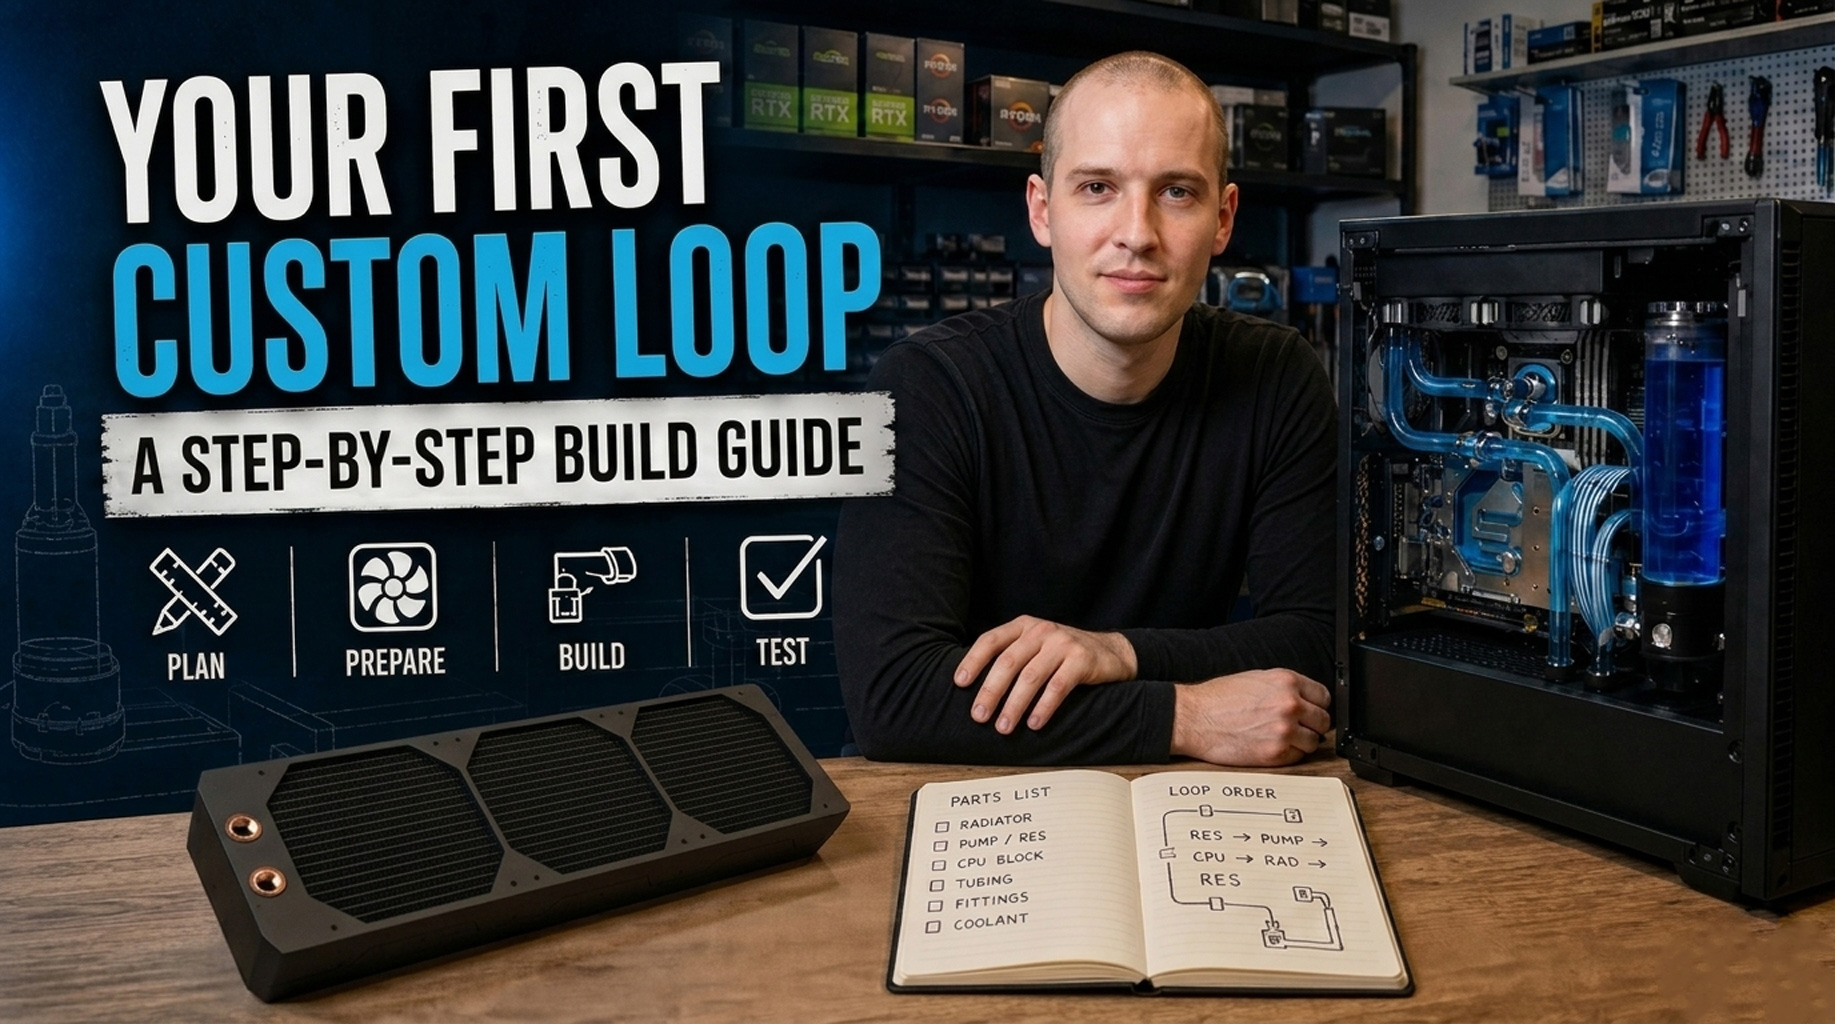
Step 1: Plan Your Loop
Before you spend a penny on components, it is worth sitting down and deciding exactly what you want to cool, and how you want to route everything inside your case. Skipping this step is, in my experience, the fastest way to end up with a pile of parts that do not quite fit together.
What are you cooling? A CPU-only loop is the simplest starting point and a sensible choice for a first build. Adding a GPU block on top gives the biggest overall improvement in noise and thermals, but it roughly doubles both the complexity and the cost. On a subjective note, the noise reduction alone makes CPU plus GPU worthwhile for most builders.
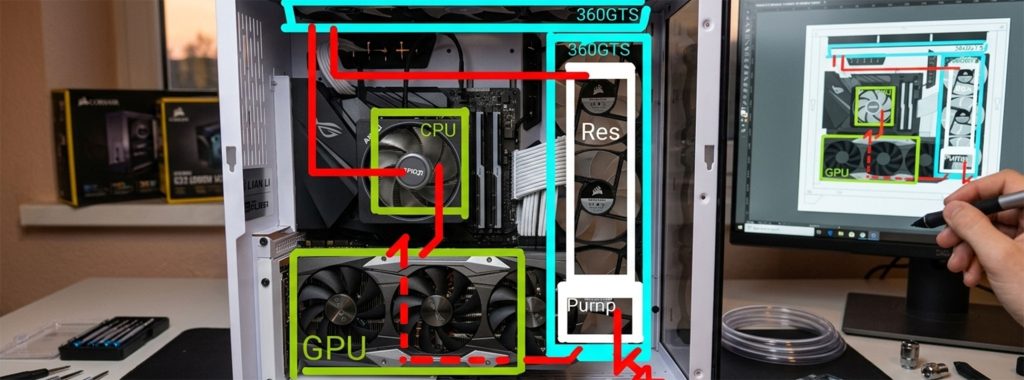
How much radiator do you need? A good rule of thumb is 120mm of radiator per cooled component, plus an extra 120mm for overhead. So a CPU and GPU loop means a 360mm radiator as a minimum. More is always better from a noise perspective, as bigger radiators allow slower fan speeds, which in turn means a quieter system.
- SKU: HWL-R125
- MPN: Nemesis GTX120-BK
- EAN: 4806518484693
- Available for Collection
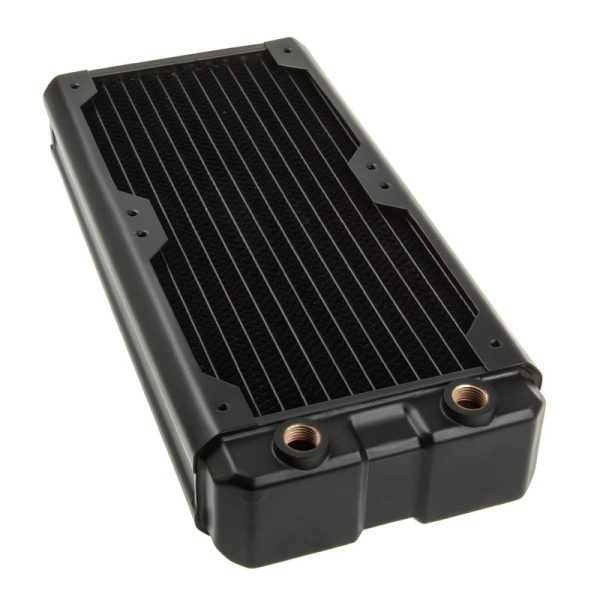
- SKU: HWL-R126
- MPN: Nemesis GTX240-BK
- EAN: 4806518484709
- Available for Collection
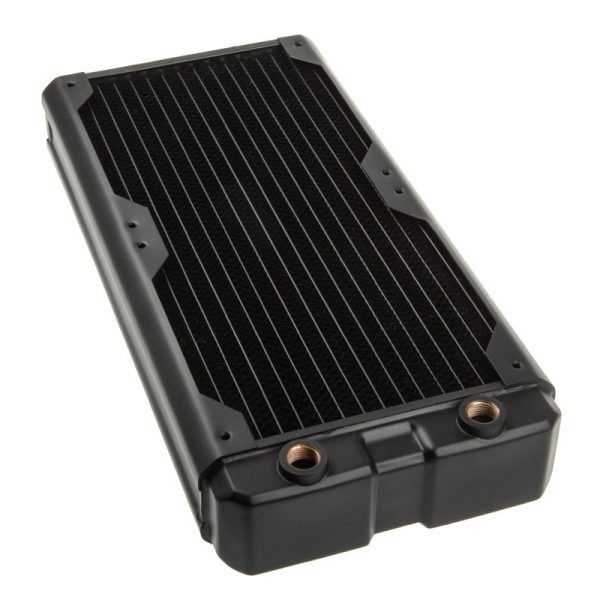
- SKU: HWL-R130
- MPN: Nemesis GTX280-BK
- EAN: 4806518484822
- Available for Collection
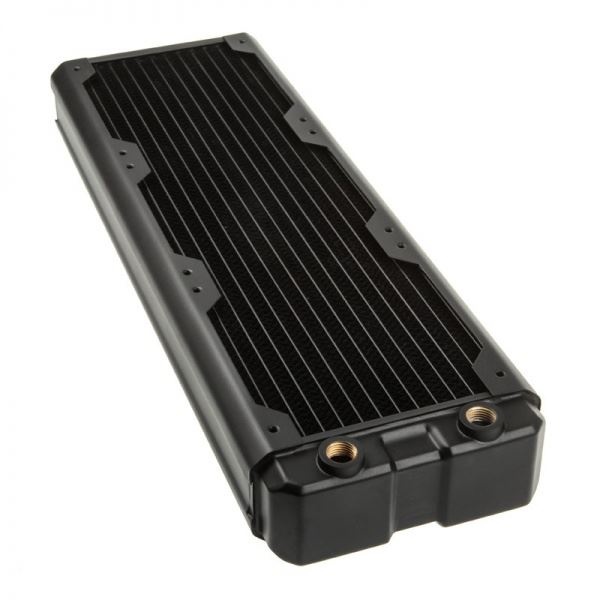
- SKU: HWL-R127
- MPN: Nemesis GTX360-BK
- EAN: 4806518484716
- Available for Collection
Will it actually fit? Check your case specifications for radiator support and measure your clearance carefully. A 360mm radiator sounds great on paper until you discover it fouls your RAM or does not clear the motherboard VRM heatsink. I would strongly recommend dry-fitting before committing to a layout.
Step 2: Your Shopping List
For a typical CPU plus GPU loop, you will need the following:
- CPU water block (check socket compatibility)
- GPU block (check your exact GPU model for compatibility)
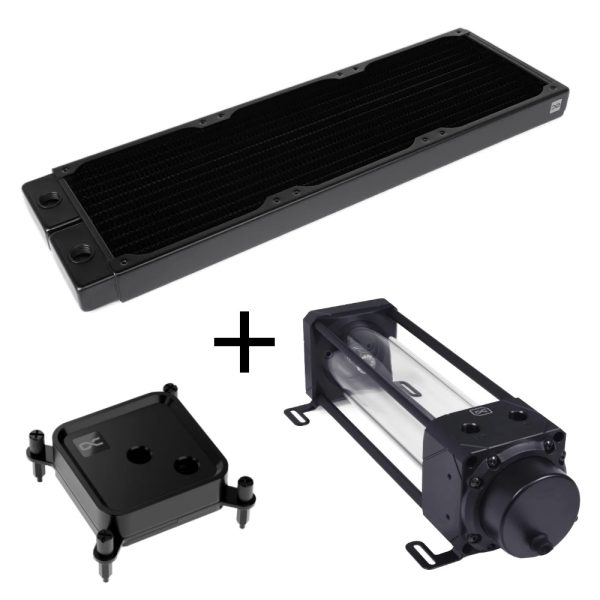
- Pump (D5 for most builds, DDC for SFF or distro plate setups)
- Reservoir (or a pump-res combo to keep things simple)
- Radiator(s) (360mm or above recommended for CPU plus GPU)
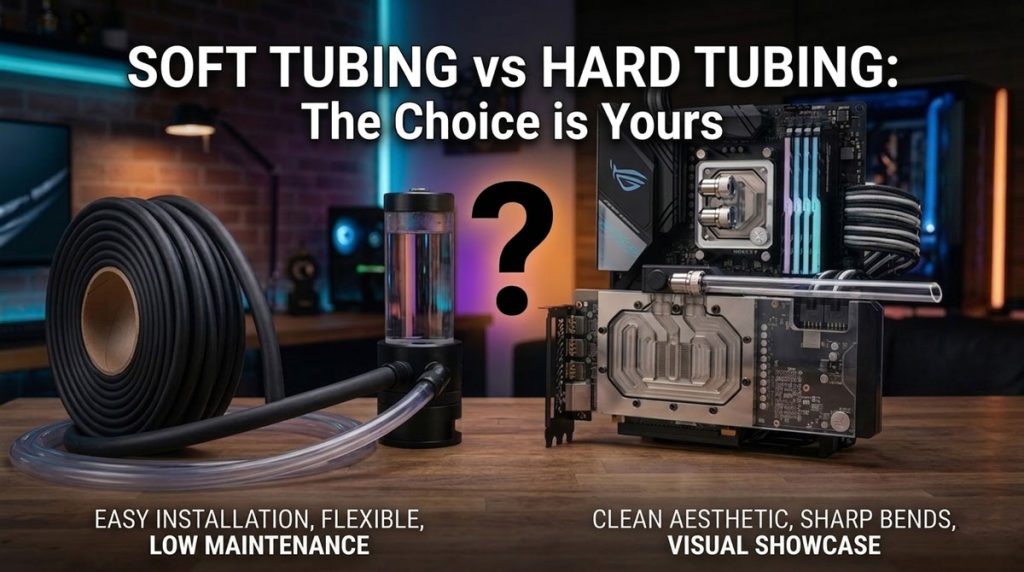
- Tubing (soft tube is best for first builds, and buy more than you think you need)
- Fittings (two per component, plus extras for angled adapters)
- Coolant (1.5 to 2 litres, clear premixed coolant is the easiest option)
- Fans (to match your radiator slots)
- Drain valve (essential, install at the lowest point of your loop)
- Stop plugs (for any unused G1/4 ports)
- Thermal paste
- Paper towels (an entire roll, minimum)
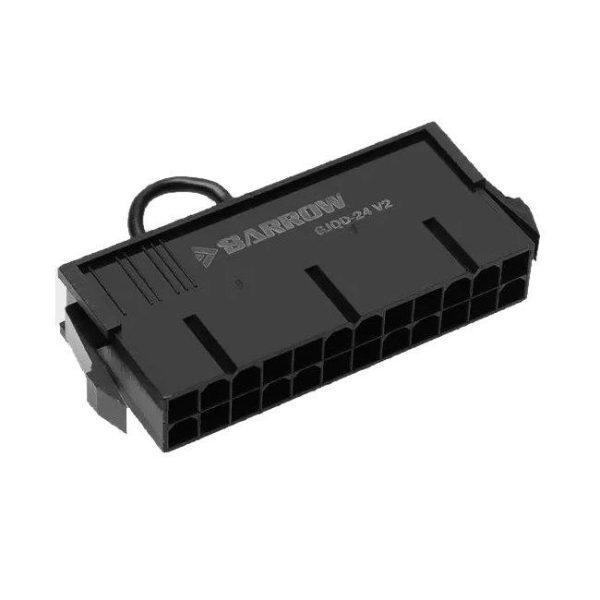
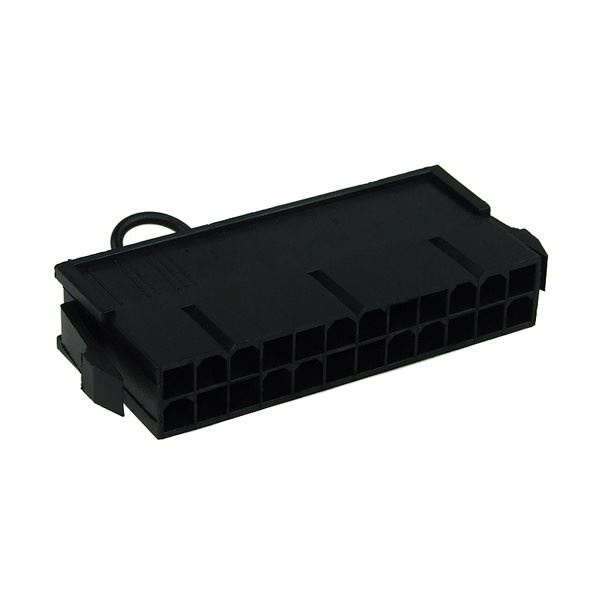
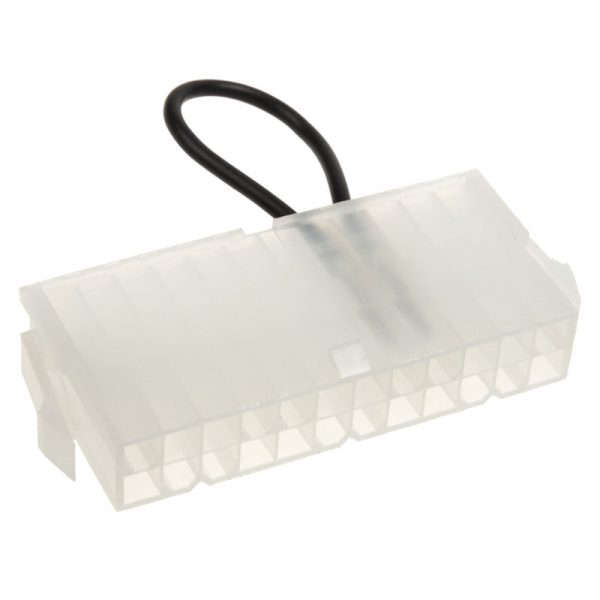
- PSU jumper tool
- SKU: 54F-439-B90
- MPN: 54F-439-B90
- EAN: 54F-439-B90
- SKU: B59-361-CCA
- MPN: B59-361-CCA
- EAN: B59-361-CCA
- SKU: 1022063
- MPN: 11985
- EAN: 4250197119856
- SKU: 1013154
- MPN: 11026
- EAN: 4250197110266
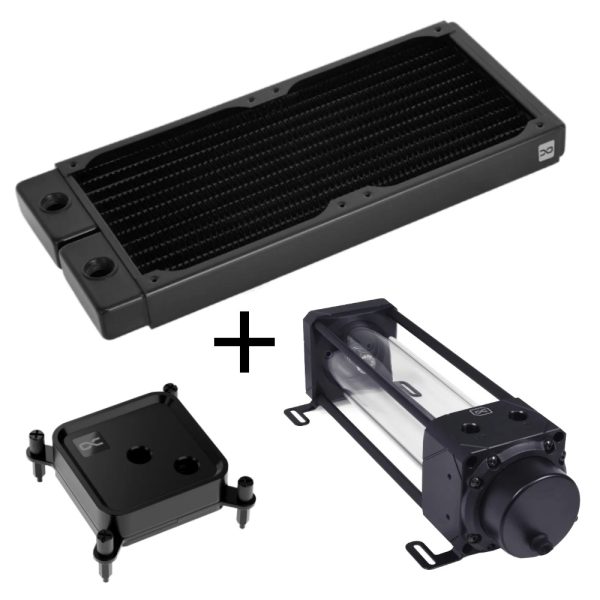
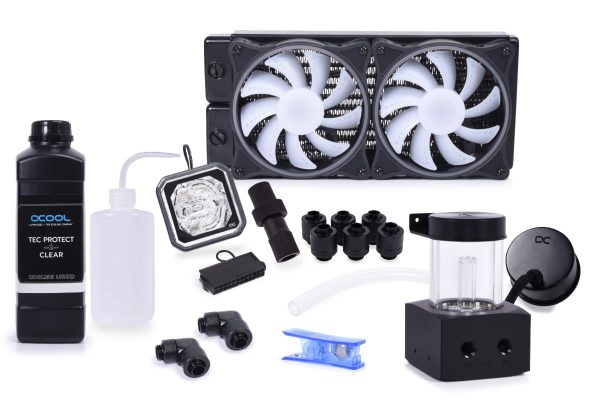
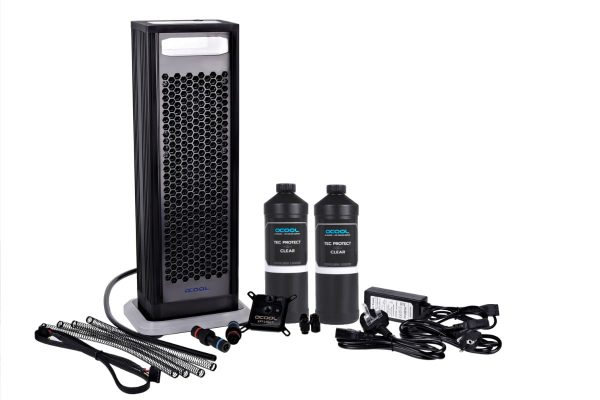
If the list above feels a touch overwhelming, it is worth noting that watercooling kits exist which include matched components and take a lot of the guesswork out of compatibility. They are a perfectly sensible option for a first build.
Step 3: Build Order
There is a logical order that makes life considerably easier. I would recommend following these steps in sequence.
Radiators and fans first. Install these in the case before anything else. They are by far the hardest components to fit once other hardware is in place.
Mount the pump and reservoir (or combo unit). Position it so the inlet sits lower than the reservoir outlet. This way, gravity helps feed coolant to the pump, which makes filling and priming much less fiddly.
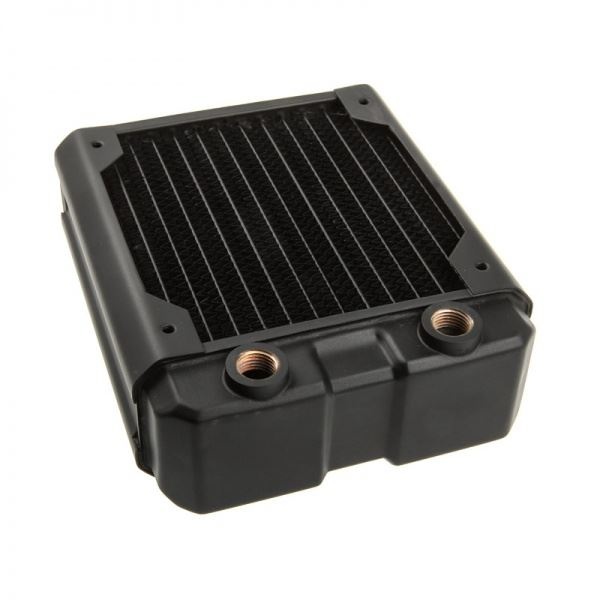
Install water blocks on the CPU and GPU. Apply thermal paste, then mount with even pressure using the cross-pattern tightening method.
Install the drain valve at the lowest point of your loop using a T-splitter and ball valve. I cannot stress enough how important this is. You will thank yourself at maintenance time.

Plan your tube routing before cutting anything. Dry-fit your tubes to check lengths and angles first. This is a step that is easy to skip, but doing so almost always results in wasted tubing and a fair bit of frustration.
Cut and connect tubing between all components. For soft tubing, the process is relatively straightforward: cut to length, push onto the fitting, and tighten the compression collar. For hard tube, you will need to measure, cut, deburr, bend, and then install. It is quite a bit more involved.
Fit stop plugs on any unused G1/4 ports. Do not leave open ports in your loop.
Step 4: Fill and Leak Test
This is where patience matters most. Rushing this stage is not worth the risk.
First, disconnect all power cables from the motherboard. Only the pump should remain connected to the PSU. Use a PSU jumper tool to power the pump independently.
Fill the reservoir with coolant and leave the fill port open so air can escape. Prime the pump with short 2-3 second bursts. Top up the reservoir as the level drops. It is critical that you never let the pump run dry.
Bleed the air out by tilting the case gently and letting the pump circulate. This typically takes 15-30 minutes of active work. It is not exactly glamorous, but it is necessary.
Once the loop is full and circulating, leak test for 24 hours with paper towels placed around every fitting. I would recommend checking back periodically rather than simply leaving it overnight and hoping for the best.
Step 5: First Boot
After a clean 24-hour leak test with no signs of moisture on those paper towels, you are ready to power up.
Switch off the PSU and remove the jumper. Reconnect all power cables. Close the fill port and top up the reservoir if needed.
- SKU: BAR-CAB01
- MPN: GJQD-24 V2
- EAN: 6937826614309
- Available for Collection
- SKU: XS-ACC-023
- MPN: 5060175585547
- EAN: 5060175585547
- Available for Collection
- SKU: WAEK-1226
- MPN: 3831109867716
- EAN: 3831109867716
- Available for Collection
- SKU: 52182
- MPN: n/a
- EAN: 4049469119805
- Available for Collection
Boot into BIOS first and check your temperatures. Then run a light stress test for 15-20 minutes while monitoring closely.
As a rough guide, idle CPU temperatures should sit around 25-35C depending on your hardware and ambient temperature. Coolant temperature under load typically runs 5-15C above ambient. These figures will vary, but anything in that ballpark is quite normal.
Common First-Build Mistakes
It is worth flagging some of the most common mistakes I have seen from first-time builders.
- Not planning tube routing before cutting. Measure everything and dry-fit first. Cutting tubing to the wrong length is an easy mistake and a frustrating one.
- Not applying thermal page. Ensure that you remove the protective film from the bottom of the CPU Block and apply Thermal Paste or a Pad
- Forgetting the drain valve. You will deeply regret this the first time you need to perform maintenance.
- Running the pump dry during filling. Always stop before the reservoir empties. A dry pump is not a happy pump.
- Powering the full system during fill or leak test. Use the PSU jumper. Always.
- Skipping the leak test entirely. The cost of patience is zero. The cost of a dead GPU is not.
- Not buying enough fittings. You always need more than you think, especially angled adapters.
- Mixing aluminium and copper components. This causes galvanic corrosion over time. It is easily avoided if you check materials before purchasing.
- SKU: ZUWA-214
- MPN: TG-KE-002-R
- EAN: 0753677507241
- Available for Collection
- SKU: ZUWA-153
- MPN: TG-C-001-R
- EAN: 0753677507449
- SKU: ZUWA-126
- MPN: TG-K-015-R
- EAN: 0753677507203
- Available for Collection
- SKU: ZUWA-368
- MPN: ACTCP00091A
- EAN: 4895265000881
- Available for Collection
What to Expect
Your first custom loop will take longer than you expect. That is perfectly normal. I would recommend setting aside a full weekend. The build itself can take anywhere from 4 to 8 hours (longer if you are working with hard tubing), plus 24 hours for leak testing.
Keep an eye on your loop for the first week. Check fittings daily, top up the reservoir as residual air bleeds out, and monitor your temperatures. Once everything has settled in and you are enjoying the lower thermals and the near-silence, you will quite likely wonder why you did not do it sooner.
For those looking to take the plunge into custom watercooling, I would say the learning curve is real but not insurmountable. There are a fair few steps where things can go wrong if you rush, so take your time and plan thoroughly. The end result, though, is well worth the effort.