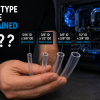
Why a Drain Port Matters
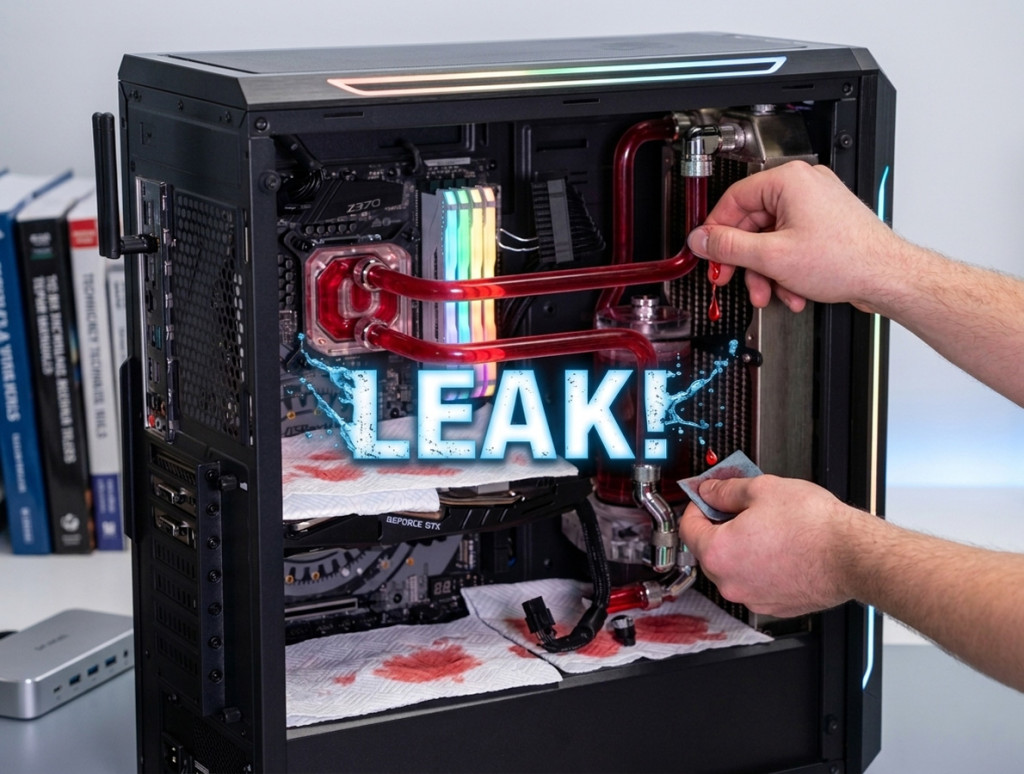
Custom water cooling loops demand regular maintenance. That is not a suggestion, it is a requirement if you want to preserve both performance and component longevity. Whether you are swapping out coolant, cleaning blocks, or upgrading hardware, draining the loop properly is a fundamental step in the process. Get it right and you avoid coolant spilling onto critical components. Get it wrong and you are looking at a messy, time-consuming, and potentially damaging situation. Let’s walk through the sensible approach.
Installing a Drain Port / Drain Valve
The single best thing you can do for future maintenance is to install a dedicated drain port during the initial build. This is one of those steps that takes minimal effort upfront but saves a considerable amount of hassle down the line.
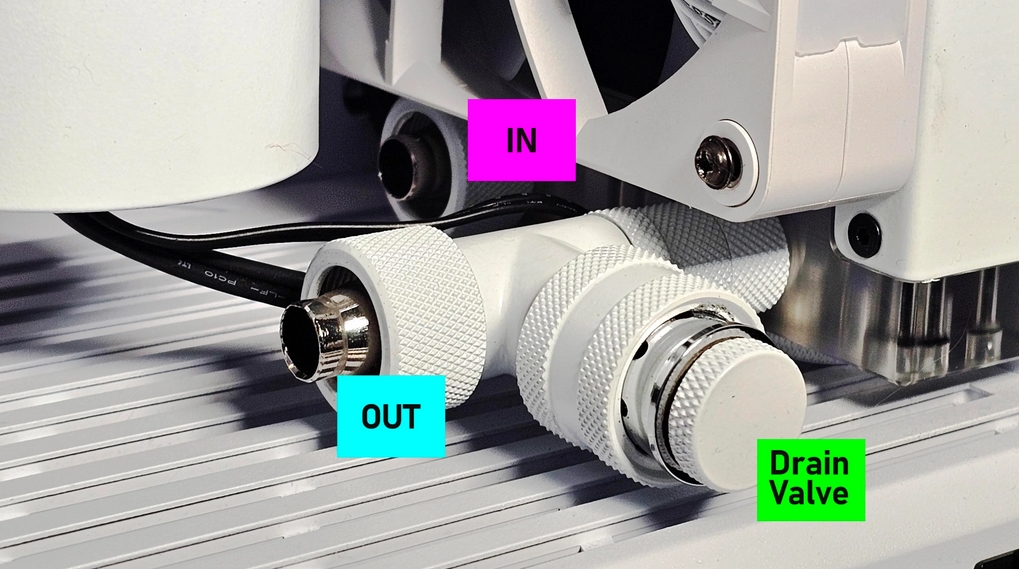
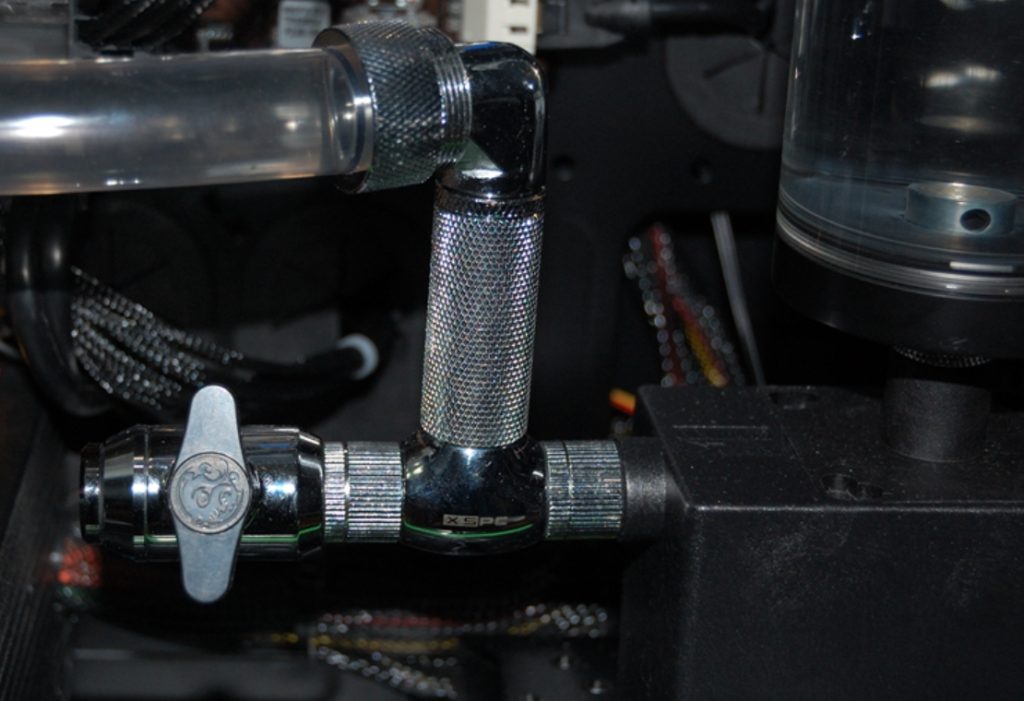
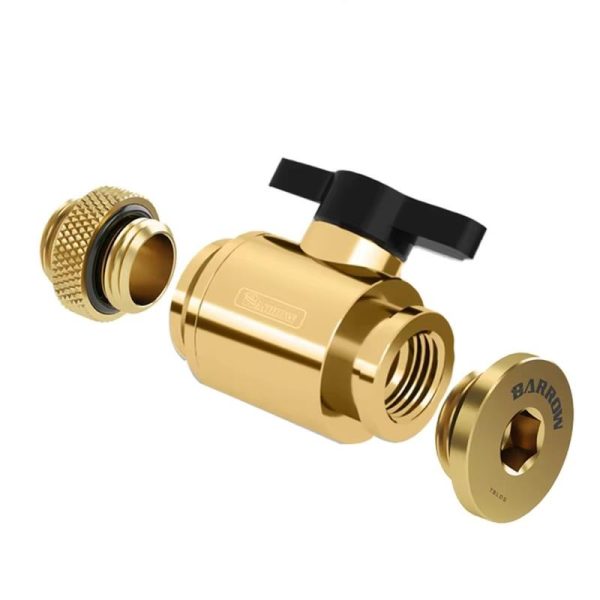
A drain port typically consists of a T-fitting paired with a ball valve or quick release fitting, positioned at the lowest point of your loop. The logic here is straightforward: gravity does the heavy lifting for you. When you are ready to drain, you simply attach a length of tubing to the valve, open it, and let the coolant flow into a suitable container. Easy, controlled, and clean.
If you have not already installed a drain port (and, honestly, we see this omission more often than we would like), you can work around it by removing a spare fitting at the lowest point of your loop. This might involve disconnecting a bottom fittings connection from your radiator or pump and letting gravity take over. It works, but we should be clear: this method is needlessly messy and time-consuming compared to having a proper drain valve in place. If you are building a new loop, just install one from the start.
Steps for Draining the System
With the drain port covered, let’s walk through the actual draining process step by step.
Turn Off and Unplug the System. Before anything else, power down the PC completely and disconnect it from any electrical source. This is non-negotiable. It is also worth moving the case to a flat, stable surface where you have adequate room to work (and where a small spill will not ruin anything important).
Open the Drain Port. If you have a drain valve installed, attach a piece of tubing to the valve and place the other end into a container to catch the coolant. Open the valve slowly and let the liquid flow out. Gravity handles the majority of the work, though you may need to tilt the case gently to coax out remaining liquid.
Open the Loop at the Top. Here is a useful tip that many builders overlook: to speed up the draining process, open a fitting at the highest point of your loop. This allows air to enter the system, which displaces the liquid and lets it drain far more efficiently. Good candidates for this include the top of a reservoir, an upper radiator port, or a fitting connected to your CPU water block.
Check for Residual Liquid. Once the bulk of the coolant has drained, do not assume the loop is empty. Residual liquid tends to sit in radiators and tubing runs, particularly in sections with minimal gradient. Carefully tilt the case and individual components to encourage the last of the liquid out. Keep a cloth or towel to hand for any drips. A little patience here goes a long way toward a clean result.
- SKU: WAEK-2079
- MPN: 3831109829707
- EAN: 3831109829707
- Available for Collection
- SKU: WAEK-2094
- MPN: 3831109829714
- EAN: 3831109829714
- Available for Collection
- SKU: WCS-0004
- MPN: 5060684862009
- EAN: 5060684862009
- SKU: WCS-0003
- MPN: 5060684861996
- EAN: 5060684861996
- Available for Collection
Cleaning and Refilling the Loop
After draining, thorough cleaning is well worth the effort if you are performing any significant maintenance. Flushing radiators and blocks with distilled water (or a dedicated cleaning solution) removes residue, algae, and contaminants that may have accumulated over time. This is especially relevant if you have been running the same coolant for an extended period or if you notice any discolouration.
Once everything is clean and fully dry, reassemble the loop, double-check all fittings for secure seals, and proceed with refilling using fresh premixed coolant or your preferred concentrate mix. Taking the time to do this properly ensures you are not carrying old contaminants into a fresh fill, which would rather defeat the purpose of the maintenance in the first place.
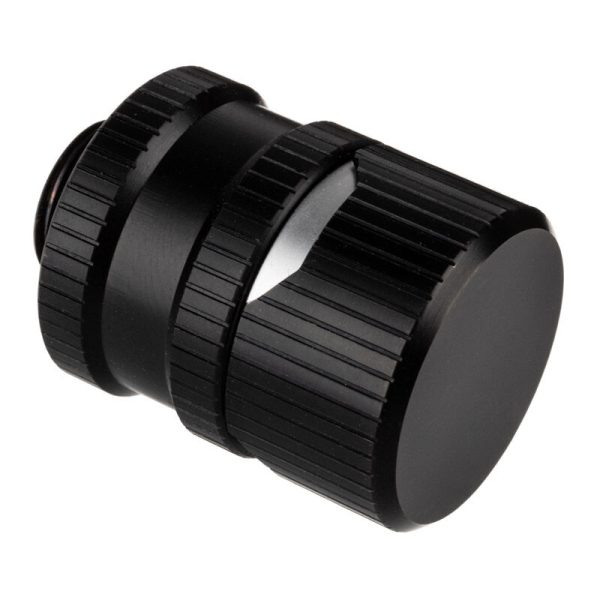
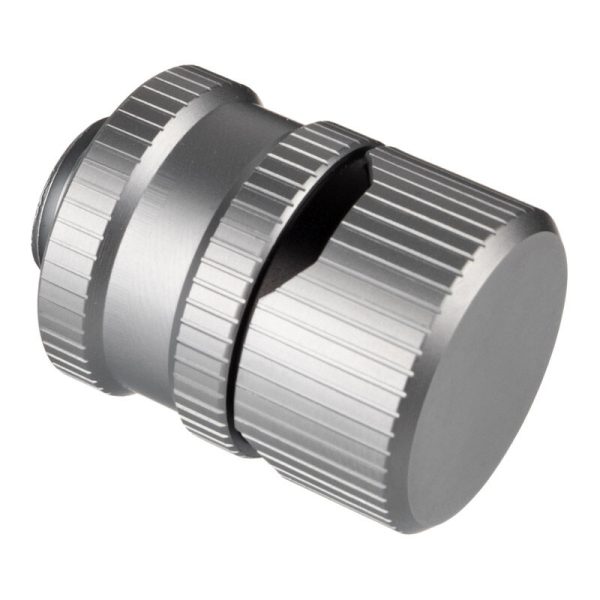
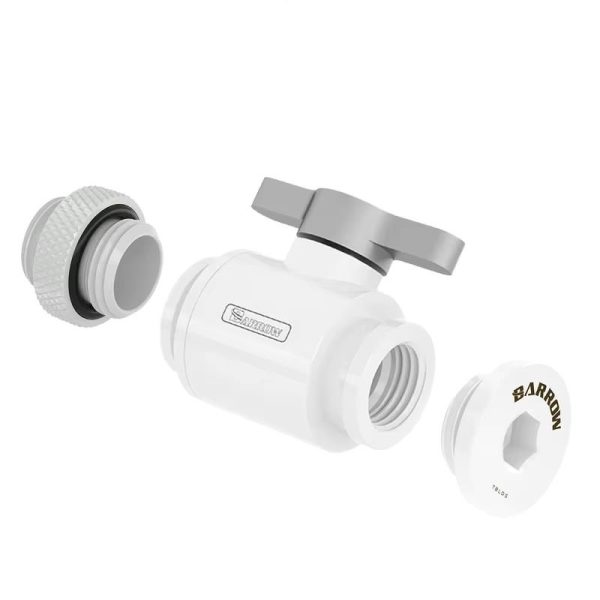
Examples of Typical Drain Valve Setups
The specifics of a drain valve setup will vary depending on your case layout and loop configuration, but the core principle remains the same: position the valve at the lowest accessible point, use a T-fitting to branch off the main loop path, and ensure you can easily attach tubing for a controlled drain. It is a small addition to the build that makes every future maintenance session significantly less stressful. If you are planning a custom loop and have not factored in a drain port, we would strongly recommend reconsidering. Your future self will thank you.