Filling Your Watercooling Loop for the First Time
Custom watercooling loops grab attention for good reason. The thermal headroom, the aesthetics, the near-silent operation at load. But there is a step in the build process that trips up newcomers more than almost any other: the initial fill. It sounds simple (pour liquid in, let it flow), yet rushing this stage is the single fastest route to a damaged pump or, worse, coolant pooling on a live motherboard. The process itself has barely changed in two decades of custom loop building, and patience is genuinely the most important tool you can bring to it. Let’s walk through it properly.
Before You Start
Get everything laid out before you pour a single drop of coolant. Once the filling process begins, you do not want to be hunting for supplies mid-flow.
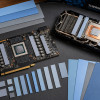
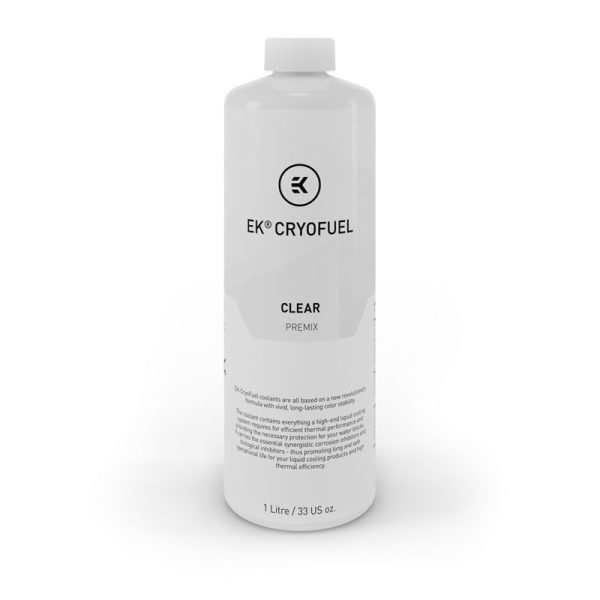
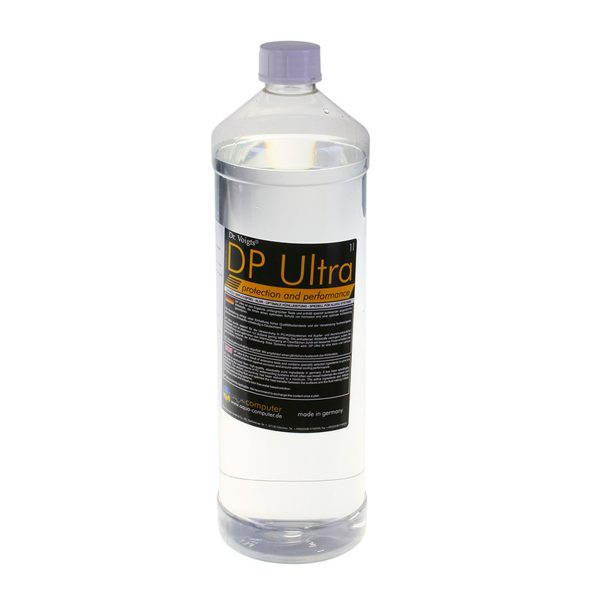
- Coolant. At least 1 litre, though having 1.5-2 litres available is strongly preferential so you are not caught short during the bleeding phase.
- A fill bottle or large syringe for controlled pouring.
- A full roll of paper towels (you will need them, trust us).
- A shallow tray or container positioned under the case to catch drips.
- A PSU jumper tool or a metal paperclip.
- A torch for inspecting fittings.
Before you open a single bottle, tuck paper towels around every fitting inside the case. Pay special attention to the area surrounding the CPU socket, GPU, and anywhere coolant could feasibly drip onto a PCB. These towels serve double duty: they catch spills during filling and act as visual leak indicators later on. A dry towel after 24 hours is one of the most reassuring sights in the hobby.

- SKU: XS-PURE-CL
- MPN: 5060596651395
- EAN: 5060596651395
- Available for Collection
- SKU: XS-5L-PURE-CL
- MPN: 5060596651944
- EAN: 5060596651944
- Available for Collection
- SKU: WAEK-1649
- MPN: 3831109813256
- EAN: 3831109813256
- Available for Collection
- SKU: WAZU-191
- MPN: 53113
- EAN: 4260073412360
Disconnect Your Components First
This is the same principle as leak testing, and it is just as critical here. Disconnect all power cables from your motherboard: 24-pin ATX, CPU 8-pin, GPU power, SATA, the lot. The only thing that should remain connected to your PSU is the pump.
Use a PSU jumper to bridge Pin 16 (PS_ON) to Pin 17 (Ground) on the disconnected 24-pin connector. This allows you to power the pump on its own without energising anything else on the system. If coolant does escape during the filling process, it lands on unpowered components rather than live ones. A simple precaution, but an absolutely essential one.
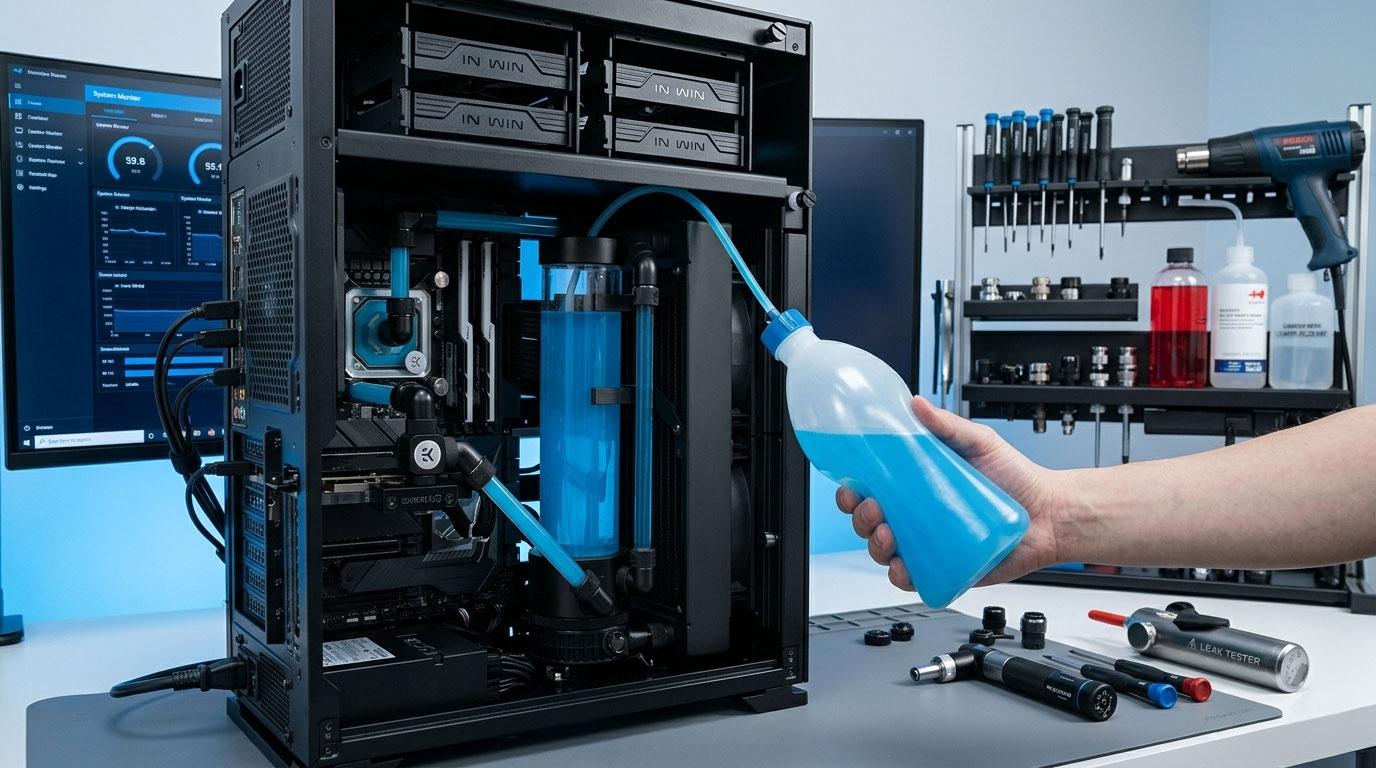
Fill the Reservoir
Open your reservoir fill port or remove the cap. The key point here is that the reservoir needs to be vented to atmosphere so displaced air has somewhere to escape. If you screw a funnel tightly into a threaded fill port, you create a sealed system and nothing will flow. Leave it open.
Pour coolant slowly until the reservoir is roughly 85-90% full. Leave a 1-2cm air gap at the top. This space acts as a collection point for air bubbles as they bleed out of the loop over the coming hours.
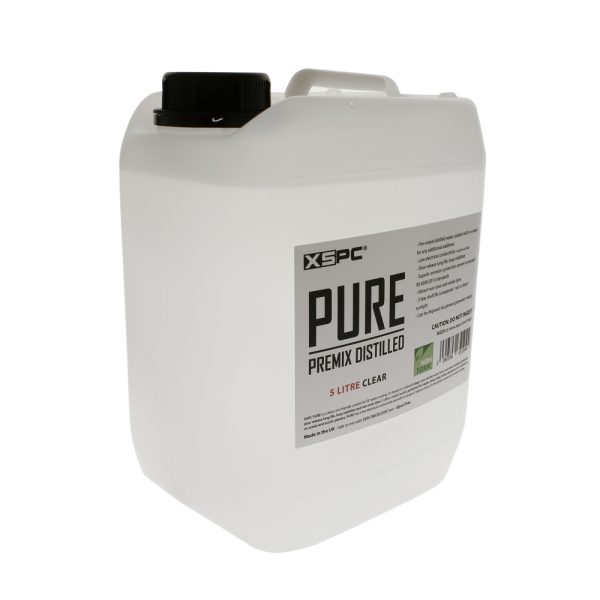
One important caveat: never use tap water in your loop. The minerals present in tap water cause corrosion, mineral deposits, and encourage biological growth. Always use premixed coolant, or distilled water mixed with concentrate. No exceptions.
Priming the Pump
This is where first-timers often get a bit nervous, but it is straightforward once you understand what is happening.
Your loop is currently full of air. The pump needs liquid to flow, but it also needs liquid around its impeller for lubrication. If you simply flip it on and leave it running, the pump will spin in air, overheat its ceramic bearing, and potentially damage itself. That is not a theoretical risk, it is a very real one.
The technique is short bursts:
- Switch the PSU on for 2-3 seconds, then off.
- Watch the reservoir level drop as coolant gets pushed into the loop.
- Top up the reservoir before the level drops to the pump inlet.
- Switch on again for another 2-3 seconds.
- Repeat until coolant starts flowing back into the reservoir from the return line.
You will hear the pump change tone as it catches. It transitions from a high-pitched whine or buzzing (that is air in the chamber) to a lower, smoother hum. Once you hear that shift and see a steady stream of coolant returning to the reservoir, the pump is primed and you can leave it running continuously.
Never let the pump run dry. If the reservoir level drops low, switch off immediately and top up. A few seconds of dry running during the priming phase will not cause harm, but anything longer risks damaging the bearing. Keep it topped up and you will be fine.
Bleeding the Air Out
With the pump running, you will see air bubbles returning to the reservoir. The coolant level will keep dropping as liquid fills spaces where air used to be. Keep topping up.
This is where patience genuinely matters. The initial fill and bleed typically takes 15-30 minutes of active work: topping up, tilting the case, watching for bubbles. However, some air pockets, particularly those trapped inside radiators, can take hours to fully work their way out.
To speed things up:
- Tilt the case gently (roughly 30 degrees) side to side, then front to back, while the pump runs. This helps gravity shift trapped air toward the reservoir.
- Tap radiators and blocks lightly with your knuckle. The vibration dislodges air clinging to internal surfaces.
- Try a lower pump speed if you have a variable-speed pump. Sometimes slower flow allows bubbles to separate and rise rather than being carried along with the coolant stream.
How Do You Know It Is Full?
You are looking for five things:
- Steady flow visible through transparent tubing, with no surging or air gaps.
- Reservoir level stable and not dropping between top-ups.
- No large air pockets visible in tubing, blocks, or the reservoir return line.
- Pump sounds smooth with no gurgling or catching.
- Few or no bubbles rising in the reservoir.
Do not worry about tiny micro-bubbles. They are completely normal and will continue to collect in the reservoir for days, sometimes even weeks. They do not affect thermal performance in any meaningful way.
Leak Test Before You Boot
- SKU: BAR-ACC22
- MPN: GJQM-01
- EAN: 6937826614224
- SKU: WAEK-2371
- MPN: 3831109848388
- EAN: 3831109848388
- SKU: WAZU-1002
- MPN: 34138
- EAN: 4260473314066
Once the loop is filled and flowing steadily, keep the pump running with your components still disconnected. This is your wet leak test. Check every fitting with a torch, inspect every paper towel for dampness, and leave it running for at least 12-24 hours. Thorough, yes. But the peace of mind is well worth the wait.
Remember to keep checking the reservoir level during the leak test. Air will continue to bleed out slowly, and you do not want the pump to suck air after all the careful work you have put in up to this point.
First Boot
After a clean leak test with no signs of moisture anywhere:
- Switch off the PSU and remove the jumper.
- Reconnect all your power cables: 24-pin, CPU 8-pin, GPU power, SATA, everything.
- Close the reservoir fill port.
- Top up the reservoir one final time.
- Power on and go straight into BIOS to check temperatures.
Do not be alarmed if BIOS shows CPU temps around 35-40C. BIOS does not enable power-saving features, so idle temperatures there are always higher than they will be in your operating system. Once you boot into Windows, idle should settle around 25-35C depending on your hardware and ambient temperature.
Run a light stress test for 15-20 minutes and keep an eye on temps. Check the reservoir level afterwards, as thermal cycling can release additional trapped air. Keep monitoring for the first few days and top up as needed.
Common Mistakes to Avoid
- Running the pump dry. The single most common mistake. Always stop before the reservoir empties.
- Powering the full system during filling. Use the PSU jumper. Always.
- Sealing the reservoir. Keep it vented during filling so air can escape.
- Rushing. Filling and bleeding takes time. Accept it.
- No drain valve. If you have not installed a drain valve, you will regret it at your first maintenance. Fit one at the lowest point of the loop.
- Forgetting to check the reservoir during leak testing. Air bleeds out for hours. If the level drops too low, the pump runs dry, and we are back to mistake number one.
The filling process is not complicated, but it does demand respect for the basics. Take it steady, keep the reservoir topped up, and never let the pump run dry. Do those three things and your first custom loop fill will go smoothly. It really is as straightforward as that.