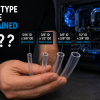
The age old question: PETG or Acrylic
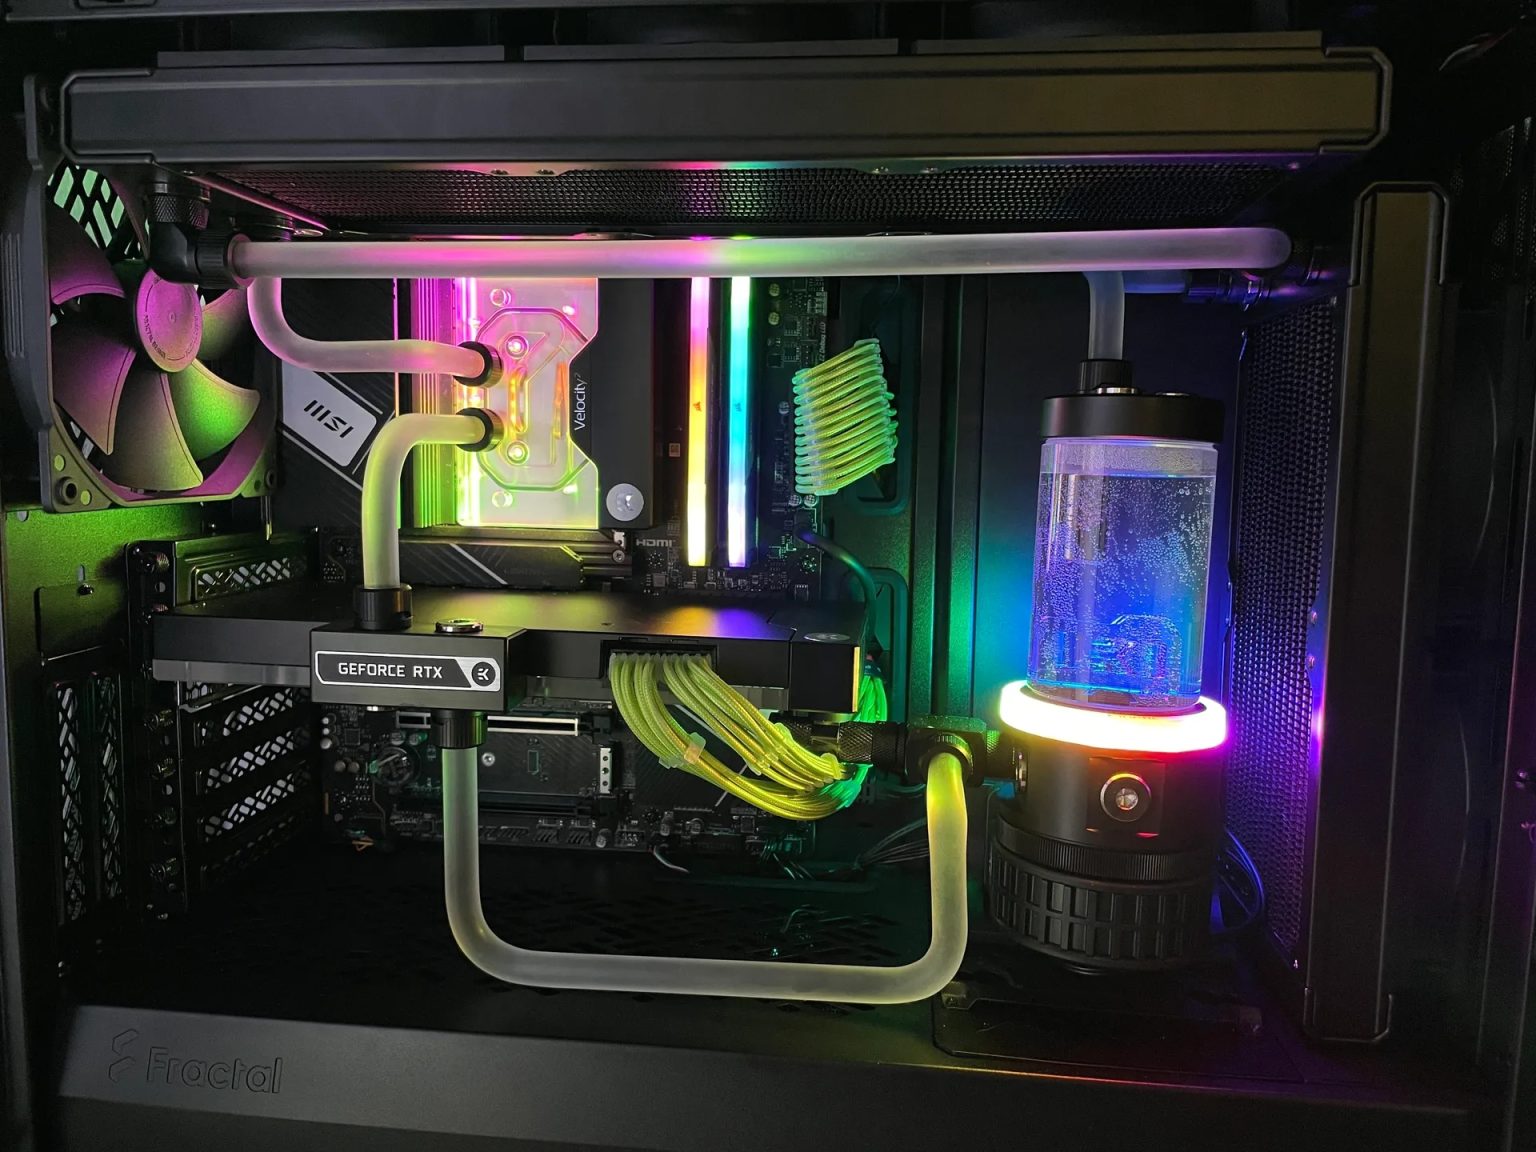
Custom loop watercooling builds grab plenty of attention on forums and social media, and the vast majority of those showcase systems have one thing in common: hard tube runs. Clean lines, precise 90-degree bends, and that engineered aesthetic are simply impossible to replicate with soft tube. But if you are considering the jump to hard tubing, there is an important decision to make before you pick up a heat gun: PETG or acrylic? The two materials look similar in a finished build, yet they behave very differently on the workbench. Let’s break down what you need to know.
Why Hard Tubing?
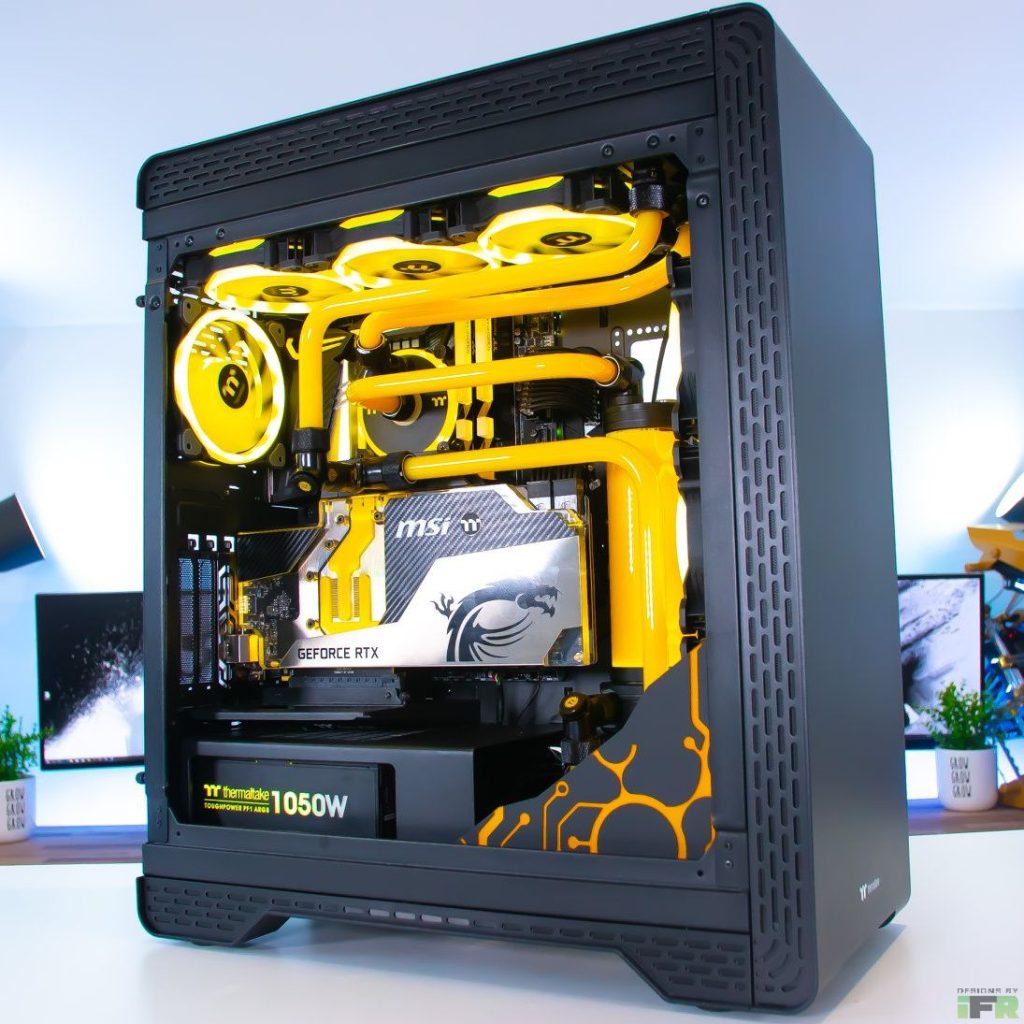
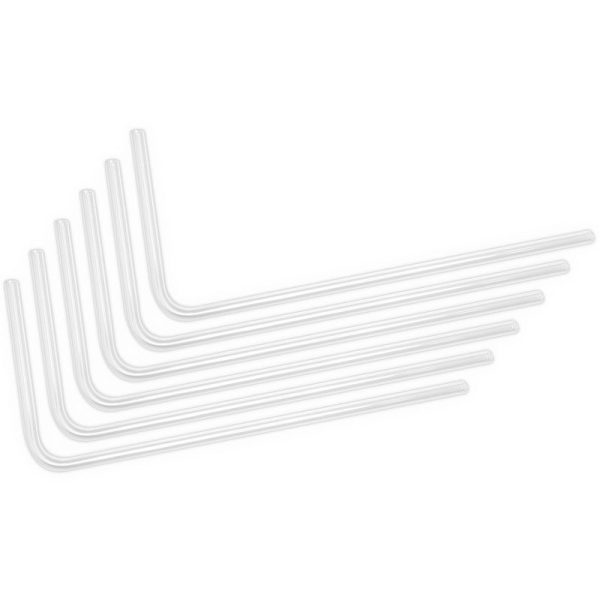
Hard tubing transforms the visual character of a loop. Instead of flexible tubes drooping between a water block and a radiator, you get rigid runs with precise bends and smooth curves. Pair that with coloured coolant and RGB lighting, and the result is genuinely striking.
Beyond aesthetics, hard tubing does not degrade the way soft PVC tubing can. There is no plasticiser leaching, no clouding over time, and no tubing going stiff after twelve months of use. A properly installed hard tube loop can last years without the tubing needing replacement. That is a meaningful long-term advantage.
It does, of course, take more skill and patience to work with than soft tubing. But with the right tools and a bit of practice, it is absolutely achievable for a first-time custom loop builder. The learning curve is real, though not insurmountable.
PETG: The Beginner-Friendly Option
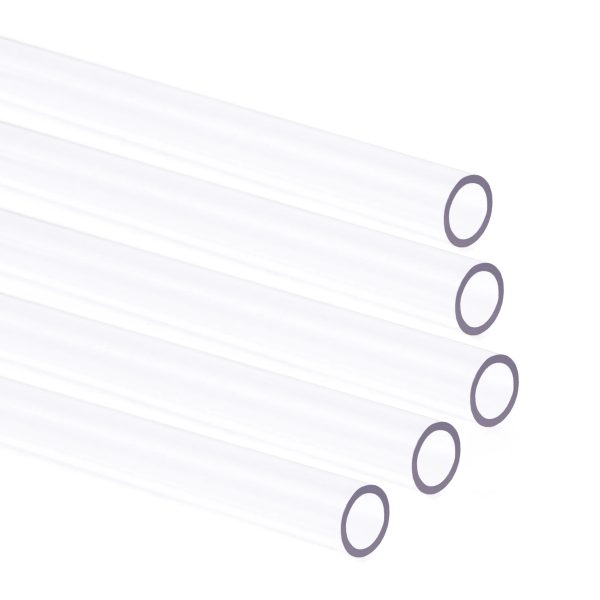
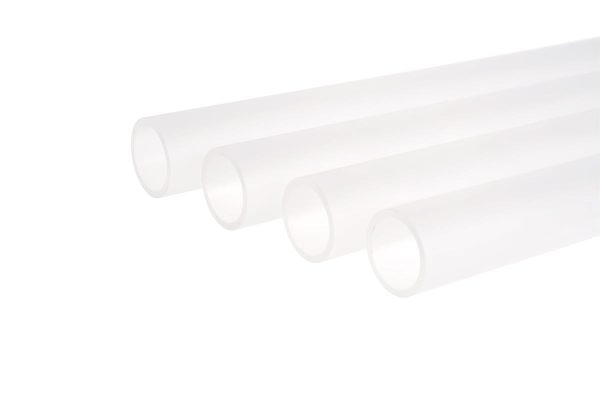
PETG tube (Polyethylene Terephthalate Glycol) is where most people start with hard tubing, and for good reason. It is more forgiving than acrylic in almost every way that matters when you are learning the craft.
- SKU: 35D-196-72B
- MPN: 00
- EAN: 00
- Available for Collection
- SKU: XS-1410-PETG
- MPN: 5060175585943
- EAN: 5060175585943
- Available for Collection
- SKU: WAEK-2140
- MPN: 3831109826058
- EAN: 3831109826058
- SKU: F10-15A-6E6
- MPN: 5055663806709
- EAN: 5055663806709
- Available for Collection
PETG bends at a lower temperature (around 70-80°C material temperature), gives you a wider working window before it overheats, and if you mess up a bend you can reheat it and try again. If you over-bend, the material deforms rather than cracking, so you waste a tube rather than ending up with a sharp shard of plastic. That forgiveness is genuinely valuable when you are on your fifth practice bend at midnight.
The main limitation is heat tolerance. PETG can start to soften at sustained coolant temperatures above 50°C, particularly at the tube ends inside compression fittings where the metal transfers heat. For most builds with adequate radiator capacity, coolant stays well below that threshold. But if you are pushing a high-TDP system hard with minimal radiator surface area, it is worth knowing about.
PETG also has a very slight bluish tint and can stain over time with certain coolants. It is not compatible with glycol-based coolants, which can cause clouding. Not a dealbreaker for most builders, but a consideration if optical clarity is a priority.
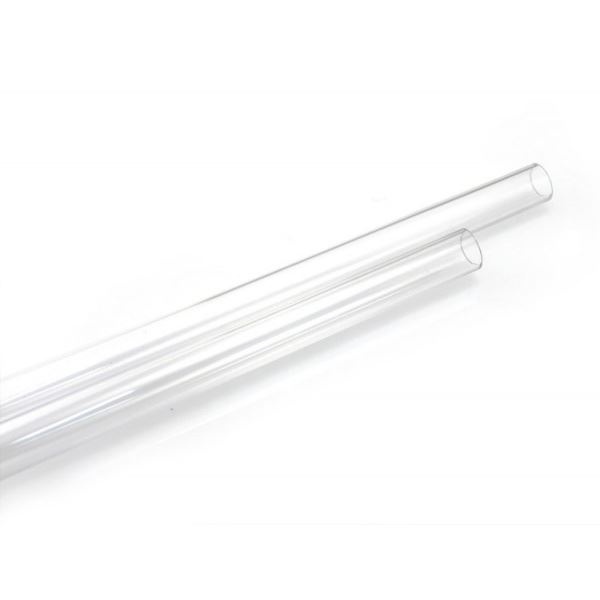
Acrylic: The Premium Choice
- SKU: WAEK-2139
- MPN: 3831109826065
- EAN: 3831109826065

- SKU: 1014202
- MPN: 18568
- EAN: 4250197185684
- SKU: 1012480
- MPN: 18511
- EAN: 4250197185110
- Available for Collection
- SKU: 1012479
- MPN: 18510
- EAN: 4250197185103
- Available for Collection
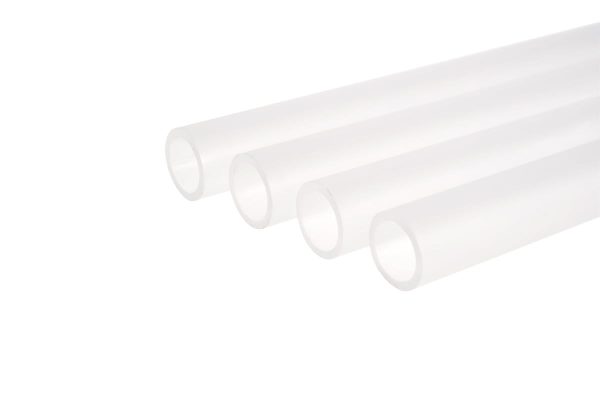
Acrylic (PMMA) is the step up. It offers crystal-clear optical clarity with 92% light transmittance, no colour tint, and it does not yellow or haze over time. Your coolant colours look exactly as they should, and they stay that way for years. Very impressive for long-term showcase builds.
Heat tolerance is essentially a non-issue with acrylic. With a glass transition temperature of around 105°C, no realistic coolant temperature will cause deformation. It is also compatible with all coolant types including glycol-based formulations, and it is more scratch and stain resistant than PETG.
The trade-off is that acrylic is harder to work with. It requires a higher bending temperature, has a narrower working window (it goes from “too stiff” to “ready” to “overheated” more quickly), and it is brittle. If you over-bend it or apply uneven heat, it cracks rather than deforming. You cannot reheat and re-bend a failed piece. Each mistake costs you a tube. That is a meaningful increase in material waste, particularly for builders still developing their technique.
At a Glance
| Property | PETG | Acrylic |
|---|---|---|
| Bending temperature | ~70-80°C | Higher (~130°C+) |
| Forgiveness | High (re-heatable, deforms rather than cracks) | Low (cracks, no re-bending) |
| Optical clarity | Good (slight blue tint possible) | Excellent (92% transmittance) |
| Heat tolerance | Moderate (~50°C sustained coolant max) | High (~105°C glass transition) |
| Coolant compatibility | Not glycol-compatible | All types |
| Long-term stability | Can stain/cloud | No yellowing or hazing |
| Best for | First-time builders | Experienced builders, showcase loops |
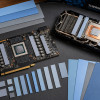
Tube Sizes
Hard tubing comes in three common outer diameters:
- 12mm OD provides a slim profile with easier bends in tight spaces, making it a solid option for compact builds.
- 14mm OD sits in the middle ground, though fitting availability can be more limited compared to the other two sizes.
- 16mm OD is the most popular size, offering a strong visual impact and the widest range of hard tube fittings available.
Whichever size you choose, your fittings must match the exact outer diameter. A 14mm tube in a 16mm fitting will leak. There is zero tolerance with hard tubing. Also be careful not to mix metric and imperial sizes. Even a 0.5mm difference matters, and that is a mistake that shows up as a slow, frustrating leak rather than an obvious failure.
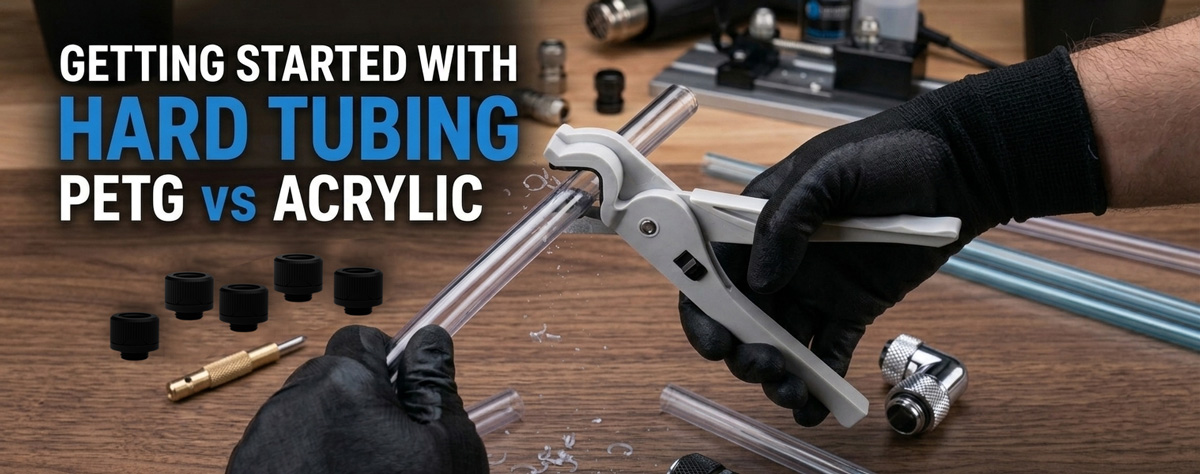
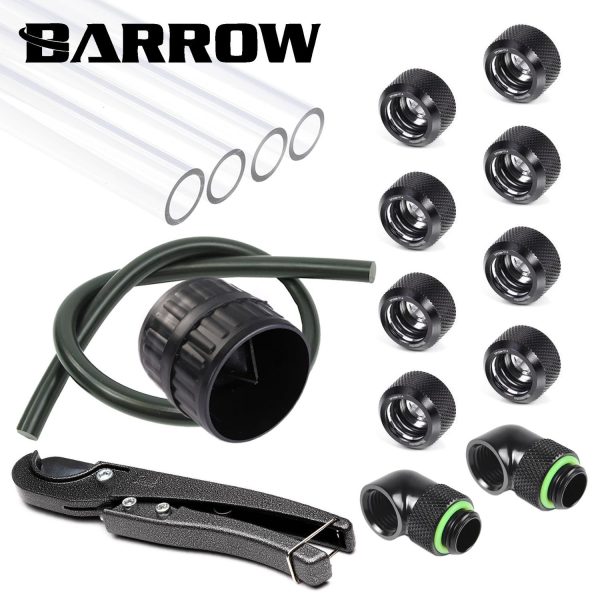
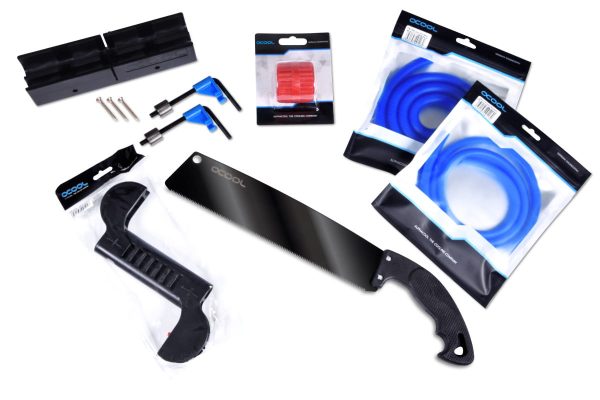
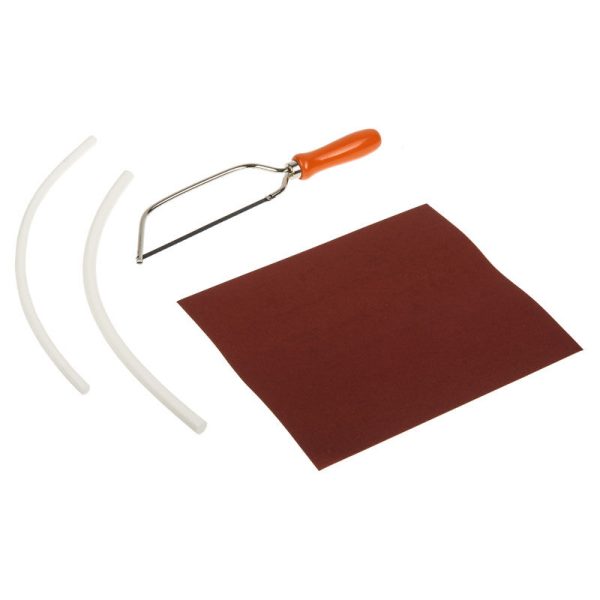
Tools You Will Need
You cannot bend hard tubing with just your hands and enthusiasm. Here is the essential kit:
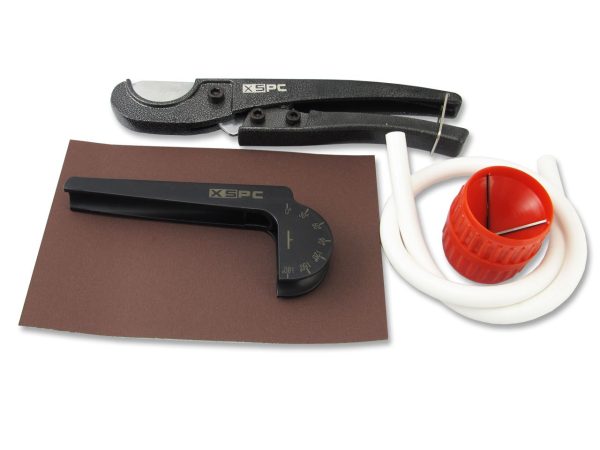
- Heat gun (1500W+, with temperature control). A hairdryer will not cut it. Set to around 130-150°C for PETG, higher for acrylic.
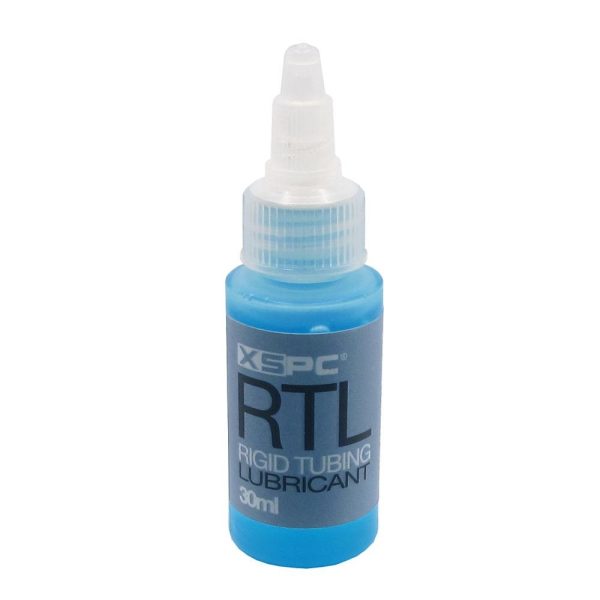
- Silicone bending insert. A solid silicone cord that goes inside the tube to prevent it collapsing during bends. Match the insert to your tube’s inner diameter. Lubricate with soapy water before inserting.
- Bending mandrel kit. Jigs for consistent 90-degree and 45-degree bends. Freehand bending is possible, but mandrels make life considerably easier, especially when you are starting out.
- Tube cutter. A ratchet pipe cutter gives the cleanest cuts on PETG. A fine-tooth hacksaw works for both materials.
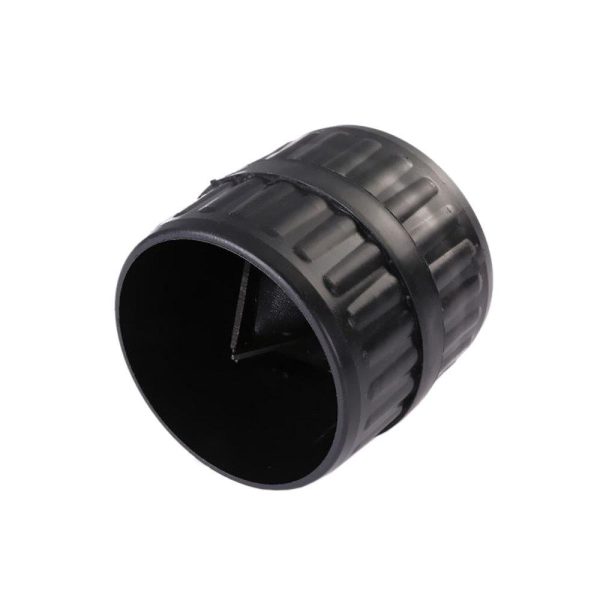
- Deburring tool. This removes sharp edges from cut tube ends and is critical. A rough tube end will slice the O-rings inside your fittings and cause slow leaks. Do not skip this step.
- Fine sandpaper (400-600 grit). For smoothing tube ends after deburring.
- Ruler and marker. Measure from fitting seat to fitting seat, not the outside of the fitting. Account for 10-15mm insertion depth at each end.
- SKU: 1021069
- MPN: 29144
- EAN: 4250197291446
- SKU: 1018029
- MPN: 29143
- EAN: 4250197291439

- SKU: BAR-HT11
- MPN: ABQYG-16A V2
- EAN: 6937826613067
- Available for Collection
- SKU: BAR-HT04
- MPN: YGJDJ-V1
- EAN: 6937826600050
- Available for Collection
- SKU: XS-RTL-01
- MPN: 5060596650633
- EAN: 5060596650633
- Available for Collection
- SKU: XS-PETG-BKIT
- MPN: 5060175586346
- EAN: 5060175586346
- Available for Collection
- SKU: 1011117
- MPN: 29117
- EAN: 4250197291170
- SKU: WAEK-792
- MPN: 3831109841297
- EAN: 3831109841297
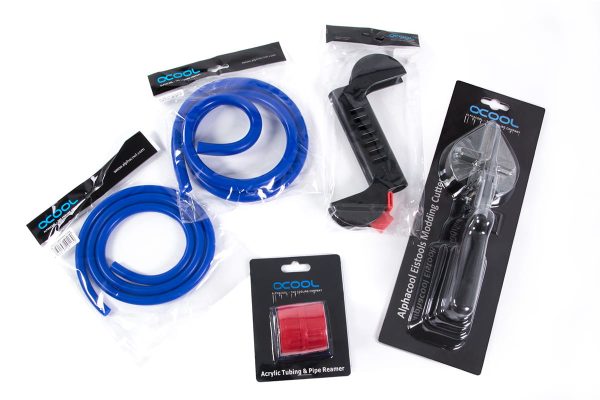
You can buy complete bending kits from brands like Thermaltake and Alphacool that include mandrels, silicone inserts, and cutters in one package. A competent starting point if you do not want to source everything separately.
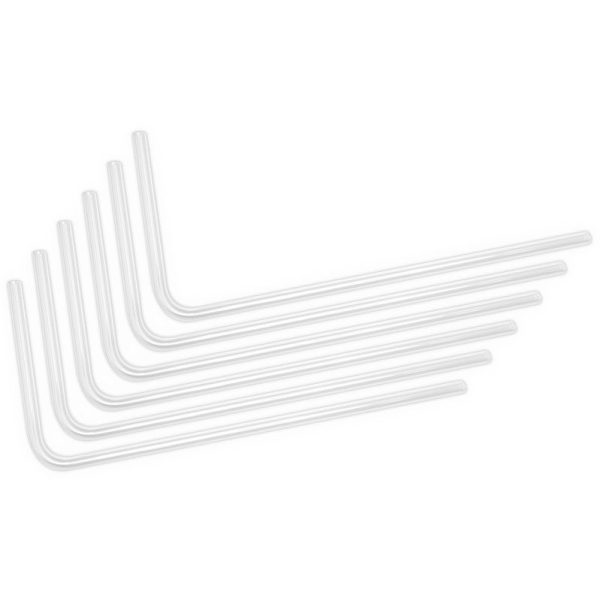
The Bending Process
- Measure and mark your bend point on the tube. Cut longer than you think you need. You can always trim, but you cannot add length.
- Insert the silicone cord (lubricated with soapy water), making sure it extends at least 10cm past each side of the bend point.
- Heat evenly by rotating the tube continuously over the heat gun. Cover about 5-8cm of tube around the bend point. Keep the heat moving at all times.
- Bend smoothly onto the mandrel once the tube feels pliable. One steady motion. Do not jerk it.
- Hold until cool for 20-60 seconds. If it springs back when you let go, it needs more time.
- Remove the insert, trim to length, deburr and chamfer both ends.
Related Blog Articles
A word of advice: buy at least twice as much tube as you think you need. Practice bends on spare pieces before touching your final runs. Every experienced hard tube builder has a box of rejected bends somewhere. It is part of the process, and the cost of a few extra tubes is trivial compared to the frustration of running out of material mid-build.
Common Mistakes
- Overheating. PETG bubbles and goes cloudy, acrylic burns and weakens structurally. Keep the heat gun moving.
- Uneven heating. One side bends while the other stays rigid, creating kinks. Rotate continuously.
- No silicone insert. The tube will collapse at the bend. No exceptions. Always use it.
- Not deburring. Rough tube ends damage fitting O-rings. Take 30 seconds to deburr and chamfer every cut. Needlessly skipping this step is probably the most common source of slow leaks in hard tube builds.
- Wrong size fittings. Hard tube fittings are sized by outer diameter only. Match exactly.
- Cutting too short. If a tube run needs 150mm and you cut it to 147mm, it will not seal in the fitting. Measure carefully and err on the long side.
Other Hard Tubing Materials
PETG and acrylic cover 99% of hard tube builds, but there are other options for specialist builds:
- Copper tubing offers a premium metallic look and excellent thermal properties, but requires metalworking skills and completely different bending techniques.
- Glass (borosilicate) is the ultimate in clarity, but it is fragile and extremely challenging to work with. Most builders use pre-bent pieces and straight runs only.
- Brass is similar to copper but with a gold-tone finish. Niche, but visually distinctive for the right build.
Which Should You Choose?
If this is your first hard tube build, go with PETG. It is more forgiving, cheaper to waste on practice bends, and the finished result looks superb. The heat tolerance limitation is a non-issue for the vast majority of builds, particularly those with adequate radiator capacity keeping coolant temperatures comfortably in check.
If you have built with PETG before and want the best possible optical clarity, or if your system runs hot enough that PETG deformation is a genuine concern, step up to acrylic. Just be prepared for a steeper learning curve and buy plenty of spare tube. The material cost per tube is not enormous, but the waste rate during the learning phase absolutely can be.
The good news is that both materials, when properly installed, deliver the clean engineered aesthetic that makes hard tubing worth the effort in the first place. PETG gets you there with less frustration and a lower entry cost. Acrylic gets you there with better long-term clarity and broader coolant compatibility. Neither is a bad choice. It is simply a question of matching the material to your experience level and your build’s specific requirements.