How to Bend Hard Tubing: A Step-by-Step Guide
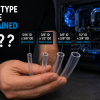
Custom watercooling loops with soft tubing are perfectly capable and, frankly, easier to work with. But there is a reason that enthusiasts gravitate towards hard tube runs when aesthetics matter: the visual difference between a good-looking build and a genuinely great one often comes down to clean, precise bends. The catch? Bending hard tubing takes practice, patience, and the right tools. Whether you are working with PETG or acrylic, this guide walks through the technique step by step. Let’s get into it.
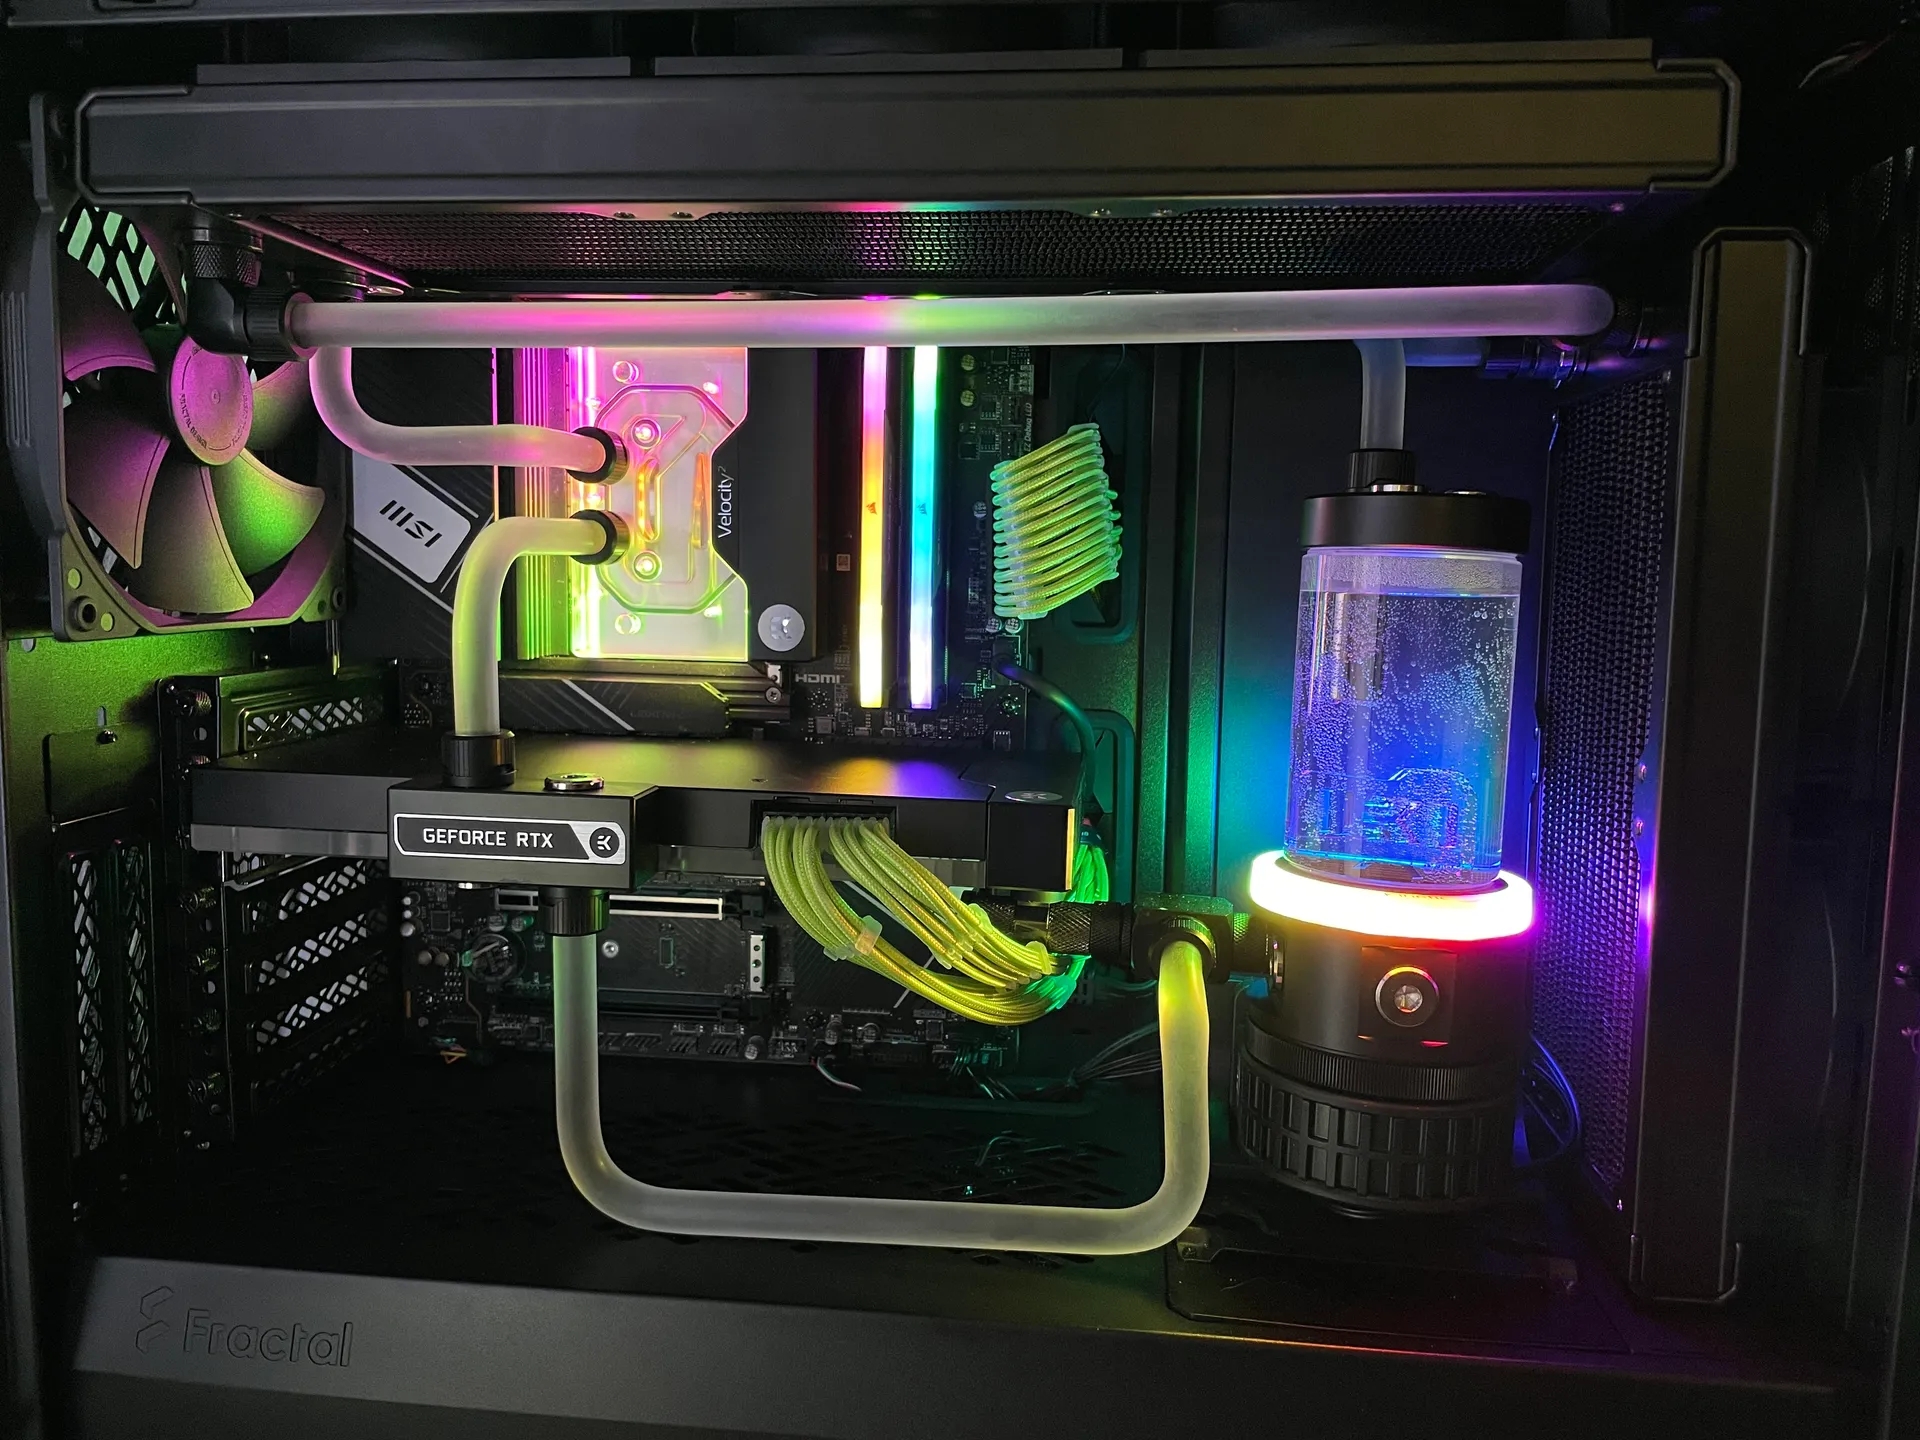
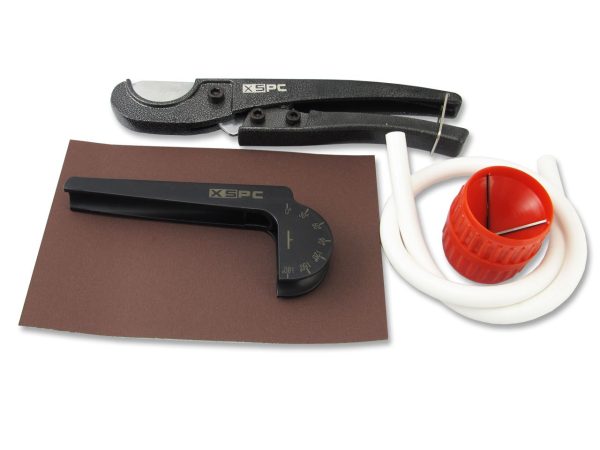
Tools You Will Need
Before heating anything, make sure your toolkit is up to the task. Skipping or substituting tools here is a false economy that leads to collapsed tubes, rough cuts, and slow leaks down the line.
- Heat gun (1500W minimum, with adjustable temperature). Not a hairdryer. Set to 130-150°C for PETG tube, higher for acrylic.
- Silicone bending insert. A solid silicone cord matched to your tube’s inner diameter. This prevents the tube collapsing during bends. Non-negotiable.
- Bending mandrel kit. Jigs for consistent 45 and 90-degree bends. Thermaltake and Alphacool both make competent kits.
- Tube cutter. A ratchet pipe cutter for PETG (cleanest cuts), or a fine-tooth hacksaw for acrylic.
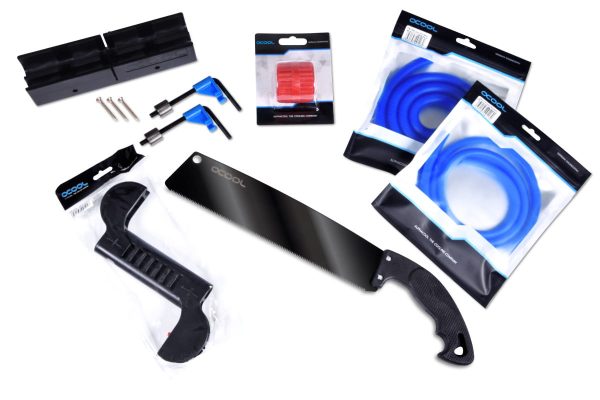
- Deburring tool. Removes sharp edges from cut ends. Critical for protecting O-rings inside your fittings.
- Sandpaper (400-600 grit). For smoothing tube ends after deburring.
- Ruler, marker, masking tape. For measuring and marking bend points.
- SKU: 1021069
- MPN: 29144
- EAN: 4250197291446

- SKU: BAR-HT11
- MPN: ABQYG-16A V2
- EAN: 6937826613067
- Available for Collection
- SKU: BAR-HT04
- MPN: YGJDJ-V1
- EAN: 6937826600050
- Available for Collection
- SKU: XS-PETG-BKIT
- MPN: 5060175586346
- EAN: 5060175586346
- Available for Collection
Step 1: Measure and Mark
Measure your tube run from fitting seat to fitting seat (where the tube actually sits inside the hard tube fitting), not from the outside of the fitting body. Account for 10-15mm of insertion depth at each end. This is a common source of error. Getting it wrong by even a few millimetres compounds across multiple bends, and you end up with a tube run that simply does not line up.
Mark bend points with masking tape rather than permanent marker. Tape stays visible while you are heating and does not stain the tube. Always cut longer than you think you need. You can trim excess, but you cannot add length.
One useful tip: use a piece of wire or pipe cleaner to template complex runs. Bend the wire to shape first, then straighten it and measure. This is far more accurate than trying to calculate lengths and angles on paper, and it costs you nothing but a few minutes.
Step 2: Prepare the Silicone Insert
Lubricate the insert with soapy water (roughly 10-20% washing-up liquid to water). This serves two purposes: it makes the insert easier to remove after bending, and the soap prevents the water from boiling inside the tube during heating.
Slide the insert into the tube, making sure it extends at least 10cm past each side of your planned bend point. Leave about 2.5cm sticking out of one end for easy retrieval. If the insert is difficult to push through, you likely need more lubrication. Do not force it.
Step 3: Heat the Tube
Place the heat gun facing upward on a stable surface. Hold the tubing 3-8cm above the nozzle and rotate it continuously (roughly one full turn per second) while moving it back and forth over the heat source. Heat approximately 5-8cm of tube around the bend point.
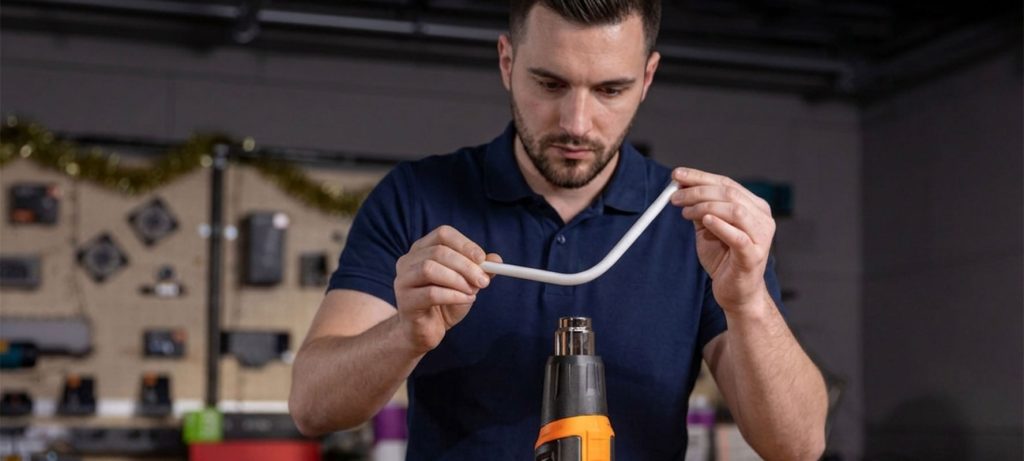
Even heating is everything. If one side gets hotter than the other, you will end up with a lopsided bend, a kink, or a flat spot. Keep rotating, keep moving. Do not rush this step, because recovering from a bad heat is needlessly difficult compared to just being patient in the first place.
- PETG signs it is ready: the tube feels noticeably flexible and droops slightly when held horizontal. This typically takes 30-60 seconds.
- Acrylic signs it is ready: small bubbles appear from the soapy water around the insert and the tube starts to feel pliable. This takes longer, around 60-120 seconds.
Step 4: Bend
Once the tube is pliable, smoothly wrap it around your mandrel (for a 90-degree bend) or bend it freehand to your desired angle. One steady motion. Do not jerk, do not force, and do not start and stop.
When using a mandrel, push the tube into the channel rather than pressing down onto it. This prevents flat spots on the outer radius of the bend. It sounds like a minor distinction, but the difference in bend quality is very noticeable.
Step 5: Hold and Cool
Hold the tube against the mandrel for 20-60 seconds until it retains its shape. Test by gently releasing pressure. If it springs back, give it more time. You can speed up cooling by splashing with cold water, which is perfectly safe for both PETG and acrylic.
Do not remove from the mandrel too early. The tube will spring back and lose its angle, and reheating to correct it risks overworking that section of tubing.
Step 6: Trim, Deburr, Done
Once cool, pull out the silicone insert (twist gently if it is stuck). Trim to final length if needed, then deburr and chamfer both ends with your deburring tool, followed by a light sand with 400-600 grit paper.
This step is critical. A rough or sharp tube end will slice the O-rings inside your fittings, causing slow leaks that might not show up during initial testing. Thirty seconds of deburring per cut is all it takes. Do it on every single one.
- SKU: 35D-196-72B
- MPN: 00
- EAN: 00
- Available for Collection

- SKU: BAR-HT01
- MPN: PG1410-L
- EAN: 6937826602900
- Available for Collection

- SKU: 1012520
- MPN: 18515
- EAN: 4250197185158
- Available for Collection
- SKU: BAR-HT02
- MPN: PG1612-L
- EAN: 6937826603174
- Available for Collection
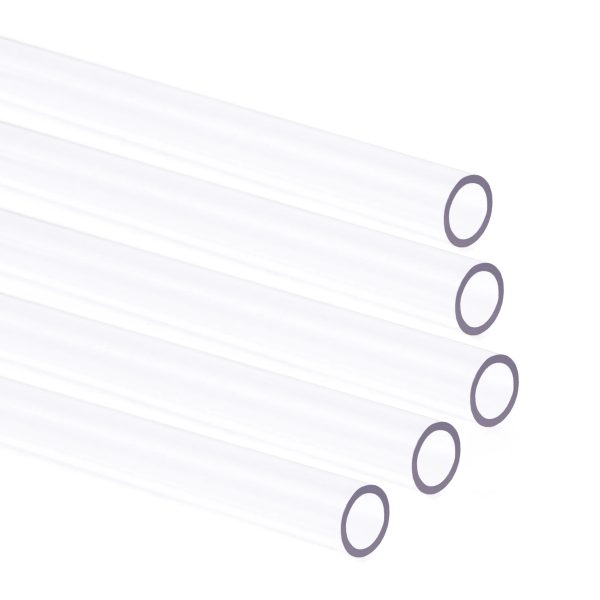
PETG vs Acrylic: Bending Differences
PETG is the more forgiving material of the two. It heats faster, bends more easily, and is less prone to cracking if you make a mistake. For a first-time builder, PETG is the sensible starting point.
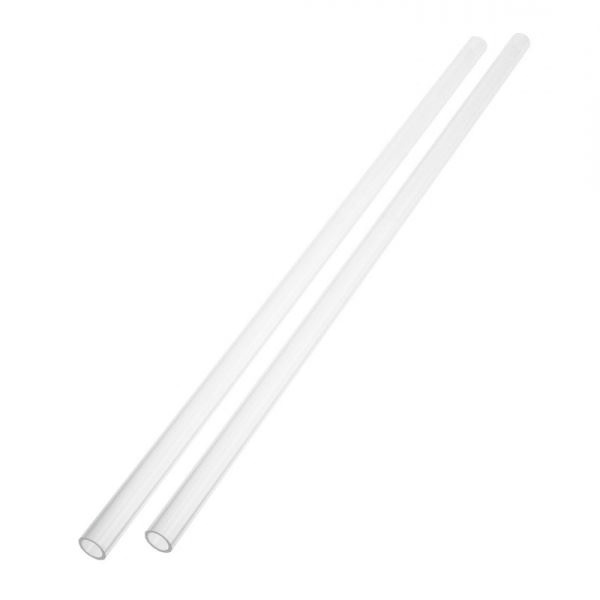
Acrylic offers superior clarity and a slightly more premium look, but it demands higher temperatures, longer heat times, and more precise technique. Overheat acrylic and it will bubble or discolour. Underheat it and it cracks. The margin for error is noticeably tighter.
Common Mistakes
- Overheating. Keep the heat gun moving. Never hold it stationary on one spot.
- Uneven heating. Rotate continuously. This is the number one cause of kinked and lopsided bends.
- No silicone insert. The tube will collapse. Every time. No exceptions.
- Removing from mandrel too early. It springs back. Wait until fully cool.
- Not deburring. A 30-second step that prevents leaks. Do it on every single cut.
- Measuring wrong. Remember to account for fitting insertion depth (10-15mm per end).
- Not buying enough tube. Buy at least 2x what you think you need. Practice bends are not wasted, they are training.
That last point deserves emphasis. We see builders order just enough tubing for their planned runs and then have zero margin for error. When (not if) you ruin a bend during the learning process, having spare tube on hand means you carry on rather than waiting for a delivery.
Compound Bends
Once you are comfortable with basic 90-degree bends, you can attempt compound bends (multiple bends in one tube run). Work from one end of the tube, making one bend at a time. Let each bend cool fully before moving to the next. Be careful not to reheat a completed bend while working on the next one, as this will deform your previous work.
If compound bends seem too ambitious, use angled adapter fittings instead. A 90-degree fitting at each connection point means your tubes only need to be straight. No bending required at all. There is absolutely no shame in this approach, and plenty of superb-looking builds use adapter fittings throughout.
Hard tube bending is one of those skills where the first few attempts look mediocre, and then it clicks. Buy extra tubing, take your time with even heating, and do not skip the deburring step. The results are well worth the effort.