Choosing a Radiator For Your Case
Building a custom watercooling loop is one of the most rewarding things you can do for a high-performance PC, but getting it right starts with one critical decision: your radiator. The radiator is responsible for dissipating heat from your coolant, so picking the correct size and mounting it properly is essential for efficient cooling. But how do you know which radiator suits your build, and what should you watch out for during installation? Let us walk through it step by step.
Step 1: Measure the Available Space in Your Case
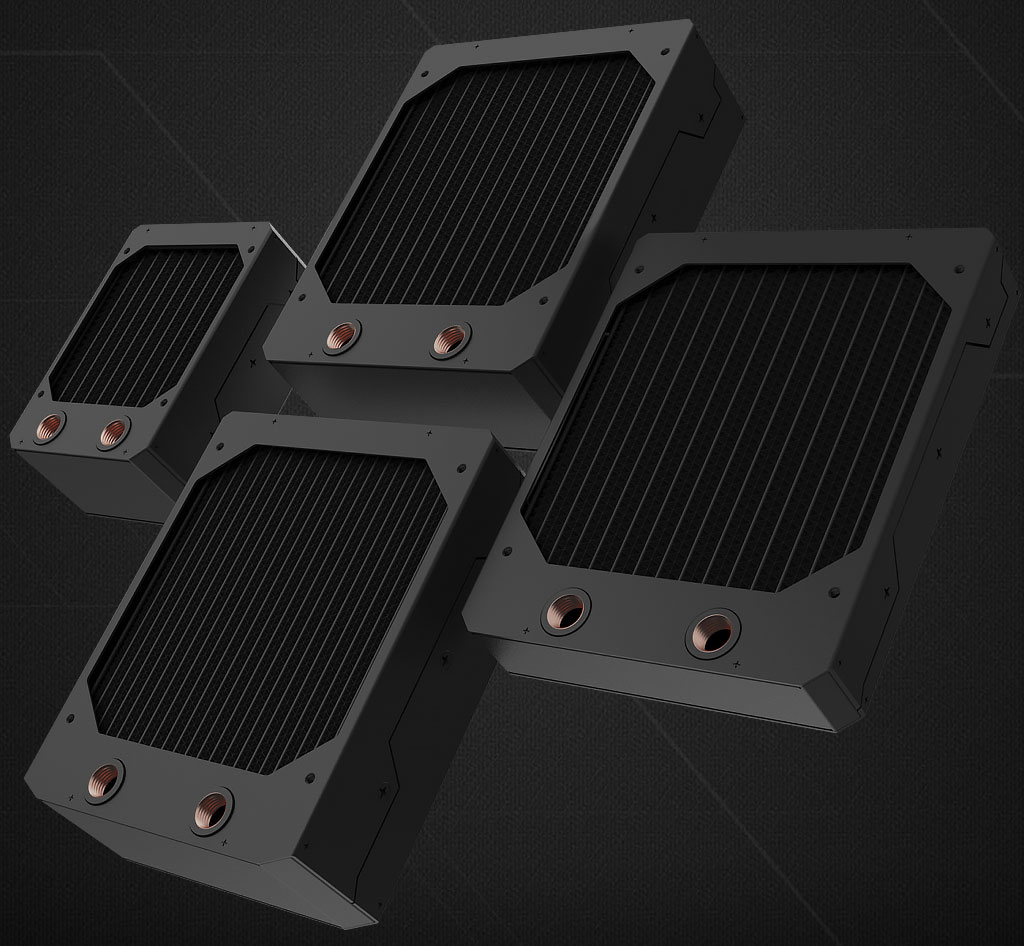
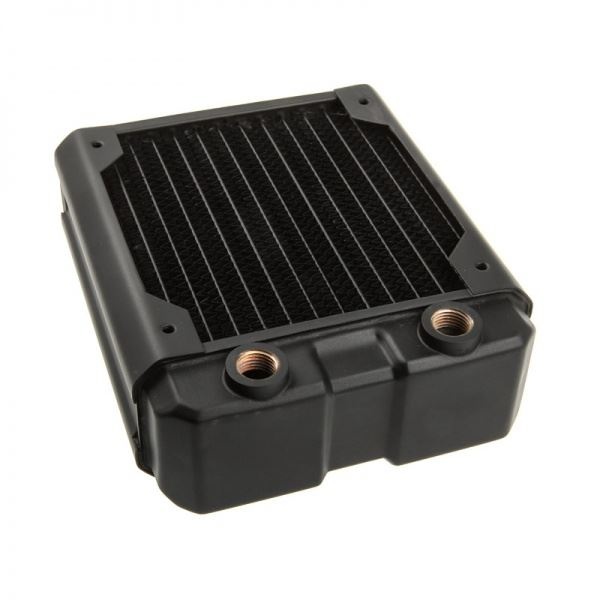
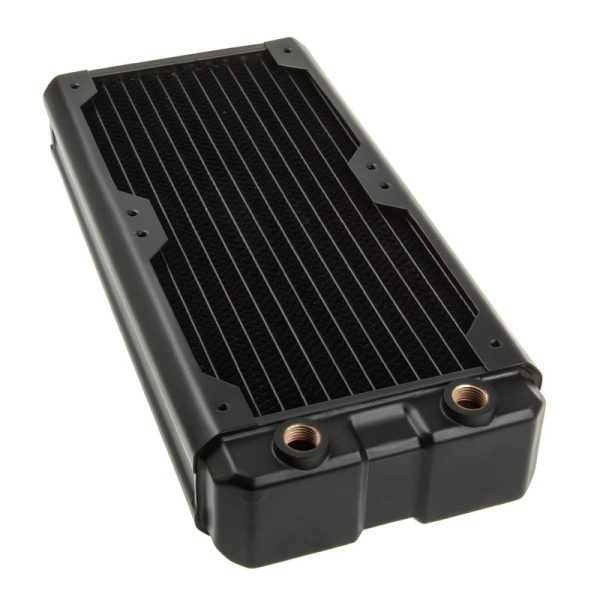
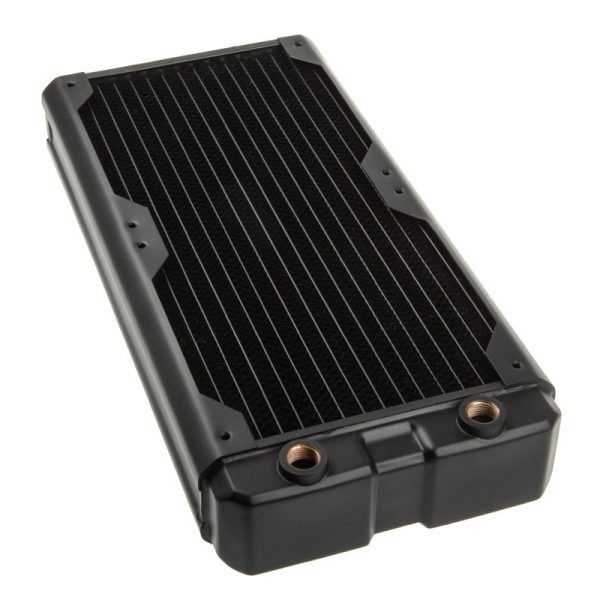
Before anything else, you need to confirm what will physically fit inside your PC case. Radiators are sized by the number and size of fans they support. The most common sizes are:
- 120mm radiator (single fan)
- 240mm radiator (dual fan)
- 360mm radiator (triple fan)
- 480mm radiator (quad fan)
Most cases list the maximum radiator size they support, based on fan mounting points at the top, front, or bottom. It is worth checking your case manual for clearance measurements, paying particular attention to thickness. Slim radiators (25-30mm) fit almost anywhere, while thicker models (40mm and above) offer better heat dissipation but need considerably more room. I would say this is the single most important thing to get right before you spend any money. There is nothing worse than ordering a radiator only to find it will not physically fit.
Step 2: Match Radiator Size to Your Cooling Requirements
- SKU: HWL-R125
- MPN: Nemesis GTX120-BK
- EAN: 4806518484693
- Available for Collection
- SKU: HWL-R126
- MPN: Nemesis GTX240-BK
- EAN: 4806518484709
- Available for Collection
- SKU: HWL-R130
- MPN: Nemesis GTX280-BK
- EAN: 4806518484822
- Available for Collection
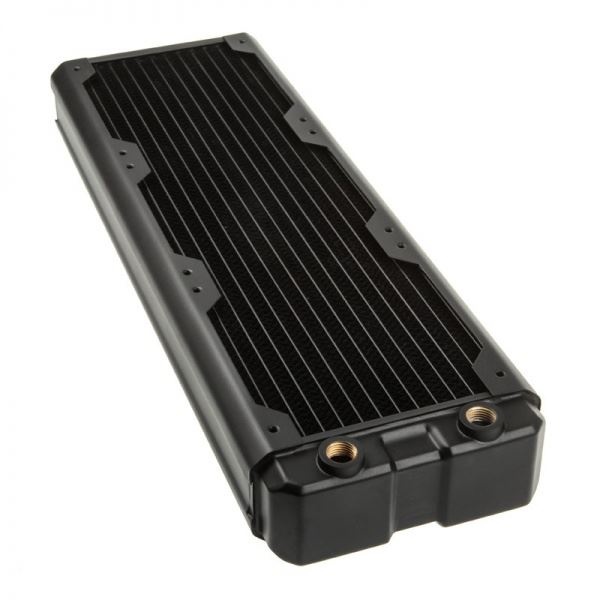
- SKU: HWL-R127
- MPN: Nemesis GTX360-BK
- EAN: 4806518484716
- Available for Collection
With your available space confirmed, the next step is to match radiator size to what you are actually cooling. Larger radiators with more surface area (360mm, 480mm) dissipate more heat and suit high-performance systems with overclocked CPUs and GPUs. If you are only cooling a CPU, a 240mm or even 120mm radiator may be enough. For both CPU and GPU, you will need a larger radiator or multiple smaller ones.
A useful rule of thumb is this: allow 120mm of radiator per cooled component, plus an extra 120mm for headroom. So, for example, a CPU and GPU loop should ideally have at least a 360mm radiator (120mm for the CPU, 120mm for the GPU, plus 120mm overhead). On a subjective note, I do think it is always better to err on the side of more radiator space if your case allows it. You will thank yourself later.
Step 3: Single-Pass vs Dual-Pass Radiators
Radiators come in two internal flow configurations, and it is worth understanding the difference before you buy:
- Single-pass: coolant flows through the radiator once before returning to the loop. This is easier on the pump and sufficient for most builds.
- Dual-pass: coolant travels through the radiator twice, improving cooling efficiency at the cost of higher pump demand.
Single-pass designs are the standard choice for the vast majority of builders. Dual-pass radiators are mainly beneficial in extreme cooling setups where every degree matters. For most of us, a single-pass radiator is more than adequate.
Step 4: Installing the Radiator
Once you have chosen the right radiator, installation is fairly straightforward. Here is what the process looks like:
- Mount the radiator. Secure it to the top, front, or bottom fan mounting points using the included screws. Make sure it is firmly fastened to prevent movement that could stress fittings or tubing.
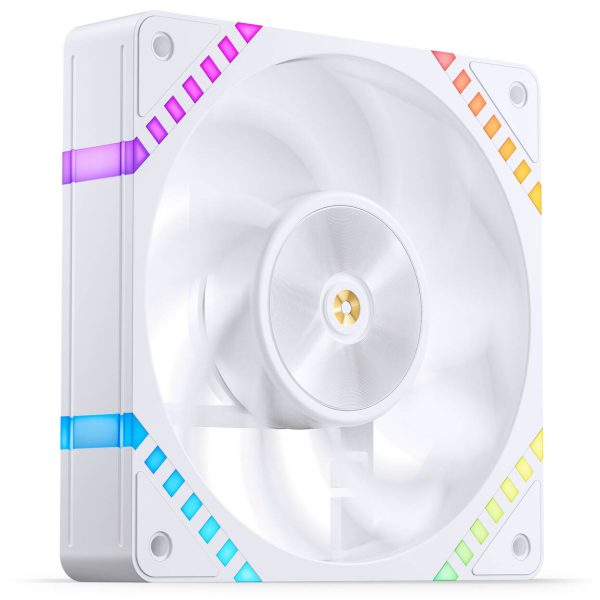
- Attach the fans. Mount your fans on one or both sides of the radiator (more on airflow configurations below). Most radiators use 120mm or 140mm fans. Align the screw holes carefully and secure them.
- Connect tubing and fittings. Attach your tubing to the radiator’s inlet and outlet ports using appropriate fittings. Ensure connections are tight and that the tubing routes smoothly without kinks or excessive tension.
- Route cables. Run fan power cables through the case and connect them to motherboard fan headers or a fan controller so you can adjust speeds based on cooling demand.
You may also want to pick up radiator accessories such as mounting screws, standoffs, or fan guards. I would say it is always worth having a few spares on hand, just in case.
Step 5: Airflow Configuration
How you mount your fans relative to the radiator has a meaningful effect on both cooling and noise. There are three main configurations to consider:
- Push: fans sit on one side, pushing air through the radiator. This is effective and space-efficient, though the fans do work harder against the radiator’s resistance.
- Pull: fans sit on the opposite side, pulling air through. This can be slightly quieter, with marginally lower cooling efficiency.
- Push-pull: fans on both sides. This offers the best cooling performance but requires extra space and twice the number of fans.
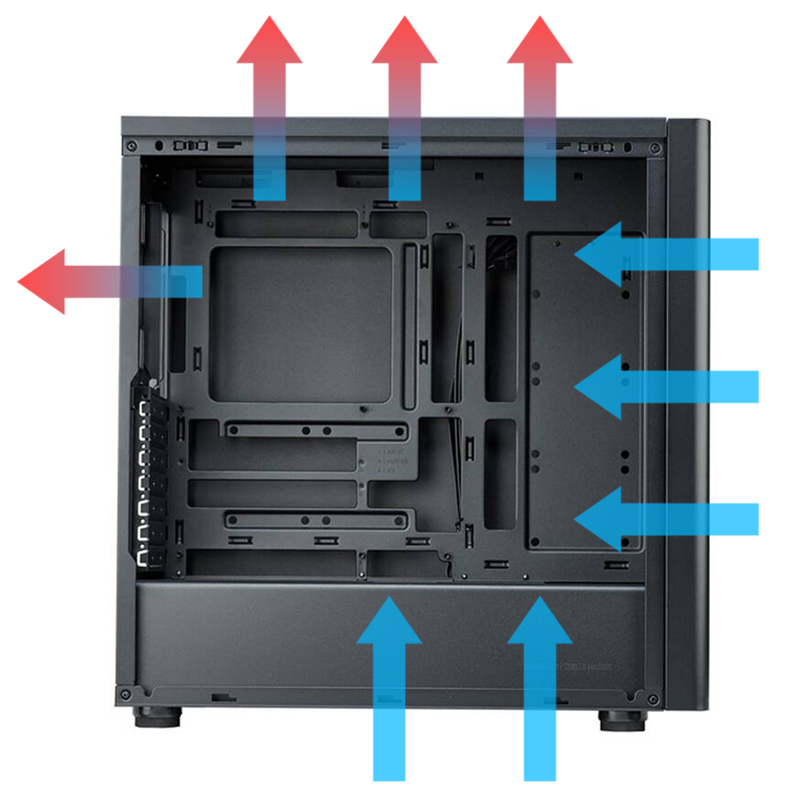
Intake vs Exhaust
You also need to decide whether each radiator acts as intake or exhaust. This is quite important for overall system thermals:
- Intake: draws cool outside air through the radiator, which is best for coolant temperatures. The trade-off is that warm air from the radiator enters the case, raising internal ambient temperature.
- Exhaust: expels warm air from the case through the radiator. This keeps case internals cooler but uses already-warm air for cooling, reducing radiator efficiency slightly.
Neither approach is objectively “wrong.” It comes down to your priorities and the layout of your particular build.

- SKU: LUJB-073
- MPN: HF2-120B
- EAN: 6970620554174
- Available for Collection
- SKU: LUJB-074
- MPN: HF2-120W
- EAN: 6970620554181
- Available for Collection
- SKU: LUJB-075
- MPN: HF2-120BR
- EAN: 6970620554198
- Available for Collection
- SKU: LUJB-076
- MPN: HF2-120WR
- EAN: 6970620554204
- Available for Collection
Summary
Choosing the right radiator size, mounting it properly, and configuring airflow are the three pillars of an effective watercooling setup. For those planning a new custom loop, I would say the key takeaway is this: match the radiator to your hardware’s heat output, make sure it fits your case, and plan your airflow before you start building. Get those three things right and the rest of the loop becomes a relative doddle. That said, it is always worth double-checking clearance measurements before committing to a purchase. A tape measure now saves a headache later.