




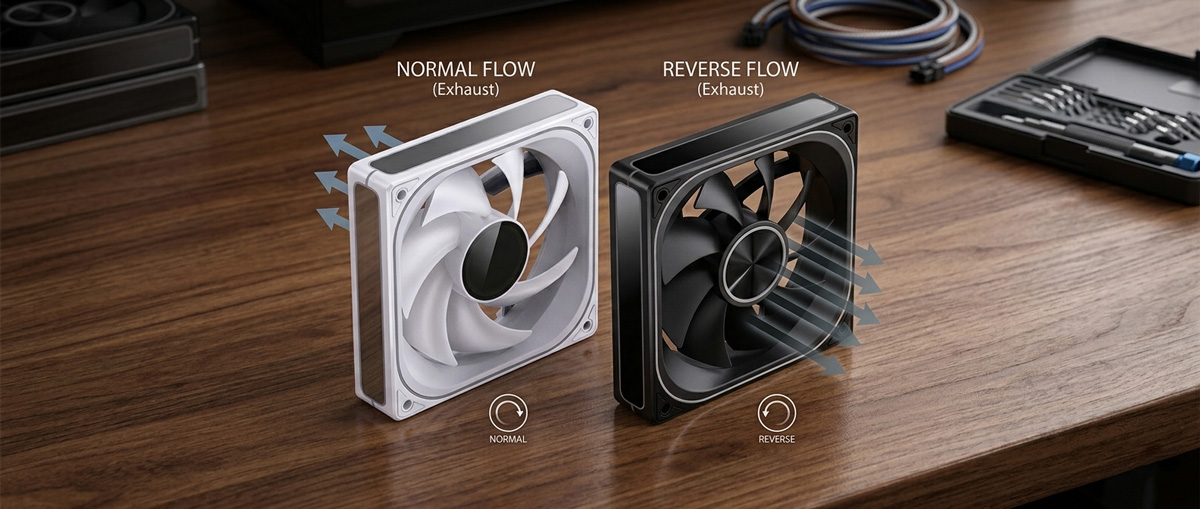
Normal vs Reverse Fans
Whether you are building your first PC or simply upgrading your cooling setup, understanding how your fans move air is one of the most important parts of the process. It is also, I would argue, one of the most overlooked. Get it wrong and your components could be running hotter than they need to be. Get it right, and you will enjoy quieter, cooler, and longer lasting hardware.
In this guide, I will walk you through exactly how to determine which direction your PC fans blow, explain the difference between normal and reverse fans, and help you decide which type is right for your build. So, how do you tell which way a fan blows, and does it really matter? Let’s find out.
Why Fan Airflow Direction Matters
Every component inside your PC, your CPU, GPU, RAM, and storage, generates heat when under load. Your fans are responsible for moving cool air in and hot air out, creating a thermal channel that keeps everything running safely.
If even one fan is installed facing the wrong direction, it can disrupt that channel. Heat stagnates, temperatures climb, and you may find yourself scratching your head wondering why your system is running warmer than expected. I have seen this happen more times than I would like to admit.
Beyond cooling performance, airflow direction also determines case pressure. That is the balance between how much air enters versus how much leaves your case. This has a direct impact on dust accumulation and component longevity, so it is well worth getting right from the outset. If you want the bigger picture on why this still matters once a loop is doing the heavy lifting, see our guide on why airflow still matters in a watercooled PC.
How to Tell Which Way a Fan Blows
There are several reliable ways to determine a fan’s airflow direction, both before and after installation. I will run through each method below, starting with the two I trust most.
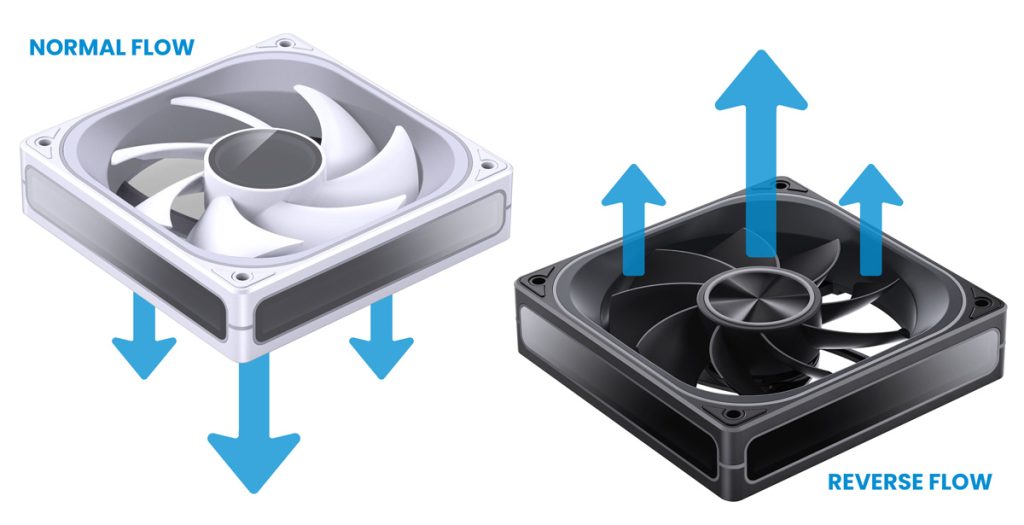
1. Look for Airflow Direction Arrows
Many modern case fans have small arrows moulded or printed into their plastic frame. These arrows are often found along the side or edge of the fan housing. When you look at the side of a fan:
- The horizontally pointing arrow indicates the direction the fan blades spin.
- The vertically pointing arrow indicates the direction the air flows.
These markings can be quite subtle, so look carefully. They are sometimes near the corners or close to the motor housing, and they are usually moulded into the plastic rather than printed, so tilt the frame under a light and they show up far more easily.
2. Look at the Struts and Motor Hub
This is the check I trust above all the others. Every fan has an open face, where you see the blades with nothing in front of them, and a strut side, where three or four arms hold the motor hub in the frame.
On a normal fan, air always blows towards the struts. The open blade face is the intake, and the strut side, with the motor hub and the spec sticker, is the exhaust.
On a reverse fan it is the other way round. Air is drawn in through the strut side and leaves through the open blade face. That is the whole point of a reverse fan, and I will cover why further down.
- SKU: LUJB-012
- MPN: SL-120C
- EAN: 6970620553108
- Available for Collection

- SKU: LUJB-061
- MPN: ZB-120B
- EAN: 6970620554556
- Available for Collection
- SKU: LUJB-049
- MPN: ZA-120B
- EAN: 6970620554433
- Available for Collection

- SKU: LUJB-031
- MPN: FR-505W
- EAN: 6970620553481
If any of the other methods seem to disagree with this one, go with the struts.
3. Read the Fan Blades
If there are no arrows, the shape of the blades themselves will tell you a lot. Fan blades are not flat. They are curved, and that curve determines airflow direction.
- Intake side: When you look at a fan and the blades appear to curve away from you (convex), that is the intake side. Air is drawn in from this face.
- Exhaust side: When the blades appear to curve toward you (concave, like the inside of a bowl), that is the exhaust side. Air is pushed out from this face.
On a subjective note, I find this one takes a couple of goes before it clicks, and different guides describe the curve in different ways. If you are not sure, the strut check above settles it.
4. Look for the Sticker or Logo
The round spec sticker, the one with the model number, voltage and current on it, sits on the motor hub on the strut side. On a normal fan that is the exhaust side, not the intake.
Plenty of fans also carry a decorative logo cap on the open blade face, and that face is the intake on a normal fan. The two are easy to confuse, so check which sticker you are actually looking at.
It is not a universal rule, which is exactly why I put the struts ahead of it.
5. The Tissue Paper Test
If you want to confirm airflow direction on an installed fan without removing it, hold a lightweight piece of tissue paper near one face of the fan with the PC running:
- If the tissue is pulled toward the fan, that side is the intake.
- If the tissue is pushed away, that side is the exhaust.
This is dead easy and works a treat every time. Just be sensible about it. Keep fingers away from spinning blades and avoid touching any live electronics.
Understanding Case Pressure: Positive, Negative, and Balanced
Once you know which way your fans blow, you will want to consider how they work together to create the right pressure inside your case.
Positive pressure means more air is flowing in than out. This pushes dust away from the interior and ensures components are constantly fed fresh, cool air. It is generally the recommended approach for most builds.
Negative pressure means more air is exhausted than intake. This quickly removes hot air from the case but tends to pull dust in through every gap and unsealed opening. That is not ideal for long term maintenance.
Balanced pressure (equal intake and exhaust) offers a steady, consistent airflow channel and is a solid middle ground for most users.
For the best results, I would recommend aiming for slight positive pressure with dust filters on your intake fans. It is a relatively straightforward way to keep your system clean and cool.
Where to Place Your Fans
The classic rule for fan placement is simple: front and bottom for intake, rear and top for exhaust.
Here is why this works so well. Cool air enters from the front and bottom of the case, travels across your motherboard, CPU, and GPU, and is then expelled through the top and rear. This mirrors the natural rise of hot air and creates a clean, efficient airflow channel.
Intake fans (blowing air into the case) should be placed at:
- The front of the case
- The bottom of the case
Exhaust fans (blowing air out of the case) should be placed at:
- The rear of the case
- The top of the case
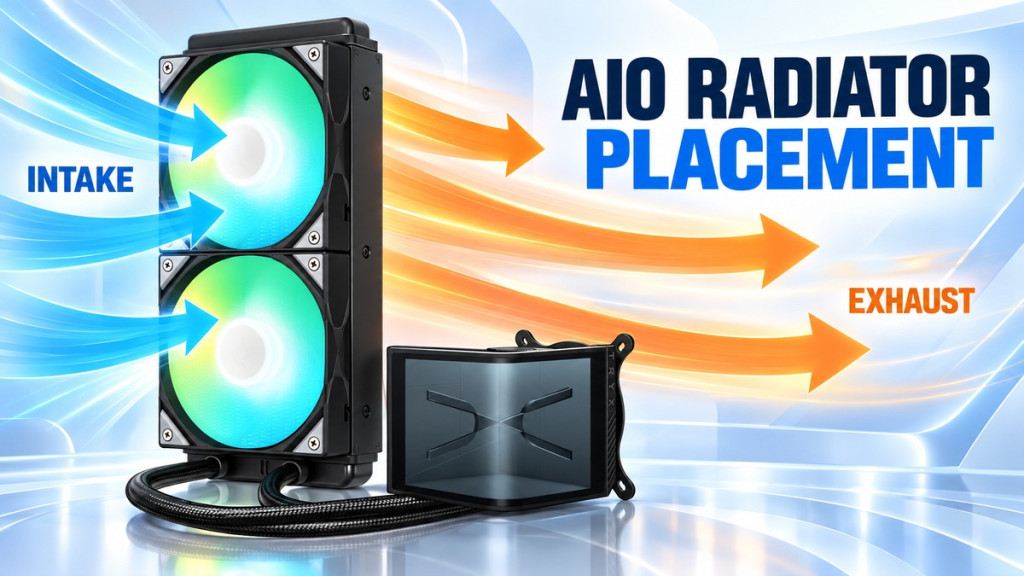
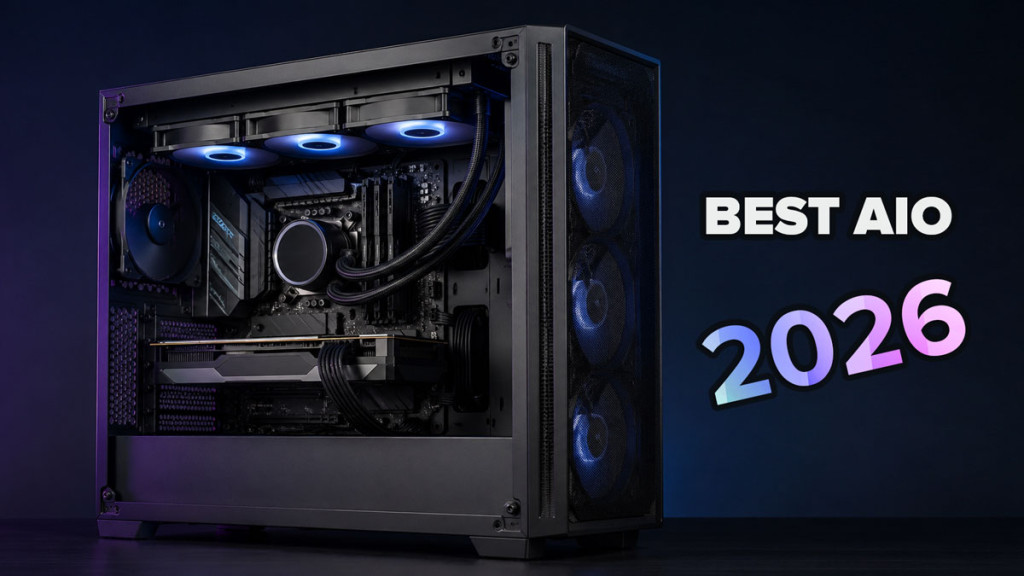
For AIO (All-in-One) liquid coolers there is a trade off. Mounting the radiator at the front as intake feeds it the coolest air and gives the lowest coolant temperature, but the warm air off the radiator then passes over your graphics card. Mounting it at the top as exhaust gives slightly warmer coolant but keeps the rest of the case cooler. Both work well, and I would not lose sleep over either. For push, pull and push pull setups, see our guide to choosing the right fans for your radiators.
What Are Reverse Fans?
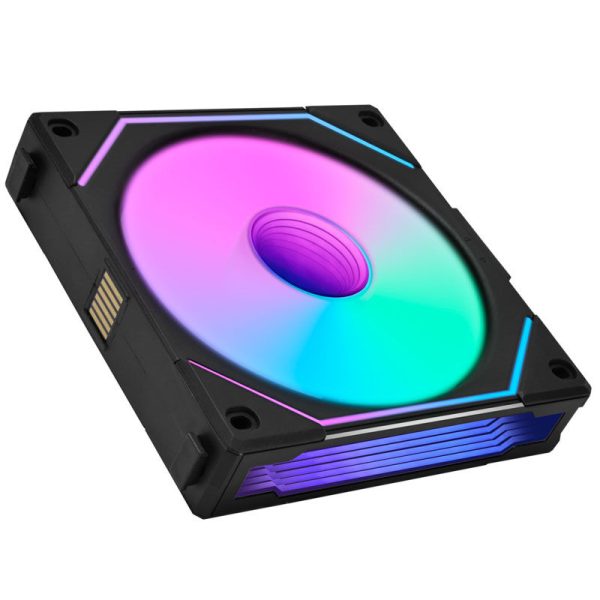
- SKU: LULI-053
- MPN: UF-RSLIN120-1B
- EAN: 4718466013194
- Available for Collection
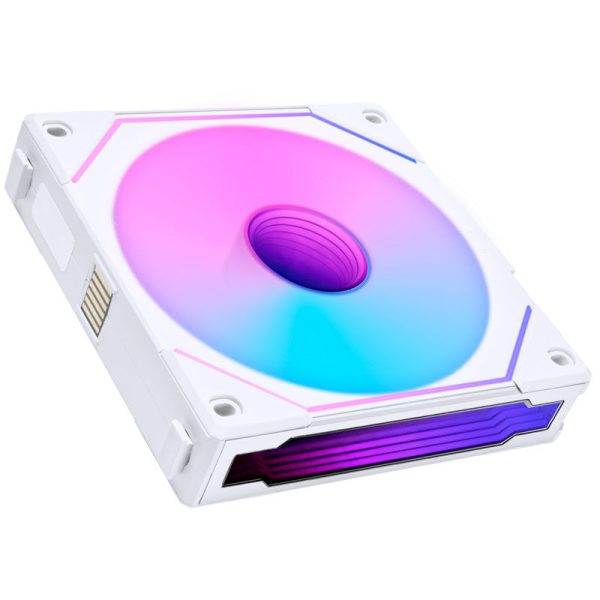
- SKU: LULI-054
- MPN: UF-RSLIN120-1W
- EAN: 4718466013200
- Available for Collection
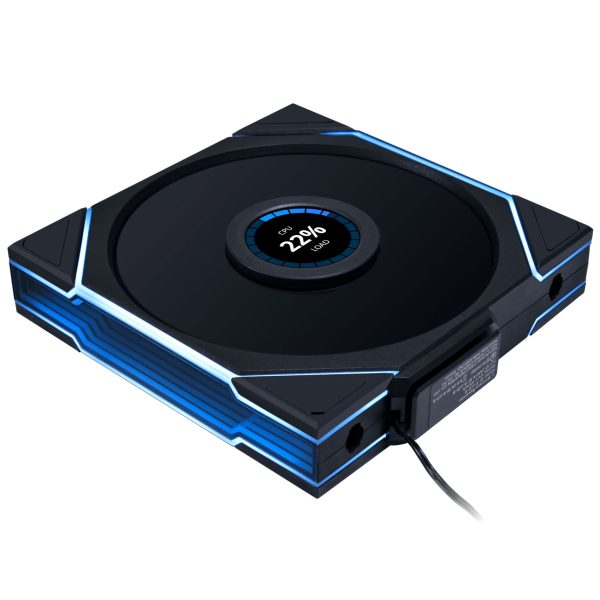
- SKU: LULI-129
- MPN: 14RTLLCD1W1B
- EAN: 4718466017543
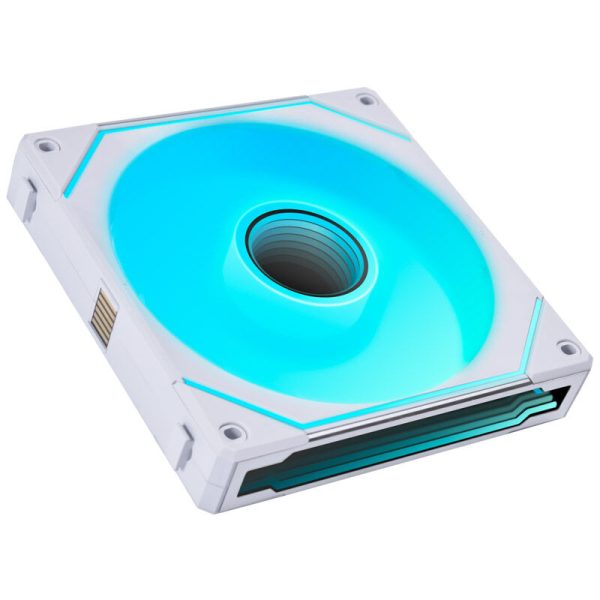
- SKU: LULI-086
- MPN: UF-RSLIN140-1W
- EAN: 4718466014900
- Available for Collection
Reverse fans look similar to standard fans at a glance, but their blade design is mirrored. This gives them the opposite airflow direction compared to a normal fan at the same orientation.
Where a standard fan would push air forward when mounted front facing, a reverse fan pulls air from behind. This might seem like a simple fix achievable by just flipping a normal fan around. Technically, in airflow terms, it is. However, reverse fans exist to solve an important aesthetic and cable management problem, which I think is worth understanding.
Normal Fans vs Reverse Fans: What is the Difference?
The core difference is straightforward. A normal fan and a reverse fan, when mounted in the same orientation, blow air in opposite directions. The blade curvature is mirrored, so the intake and exhaust sides are effectively swapped. On a reverse fan the strut side becomes the intake and the open blade face becomes the exhaust.
This distinction matters quite a lot when you consider the visual and practical implications of fan mounting, particularly in modern case designs.
Why Would You Need a Reverse Fan?
The rise of seaview cases (PC cases with open or glass side panels where the interior is fully on display) is the primary driver behind the growing demand for reverse fans.
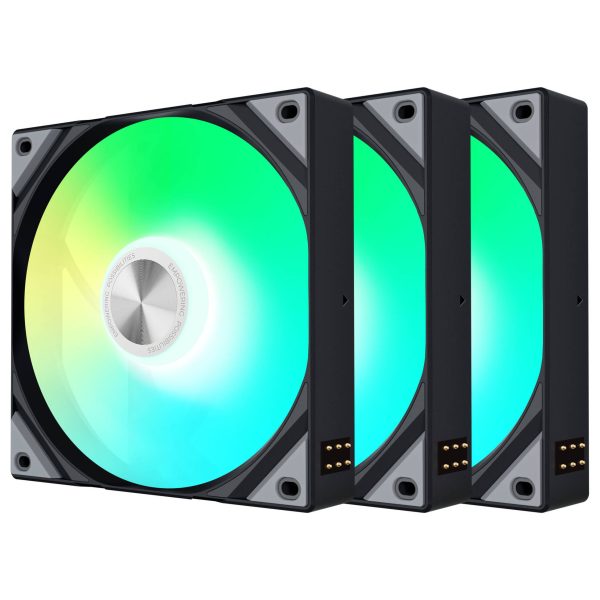
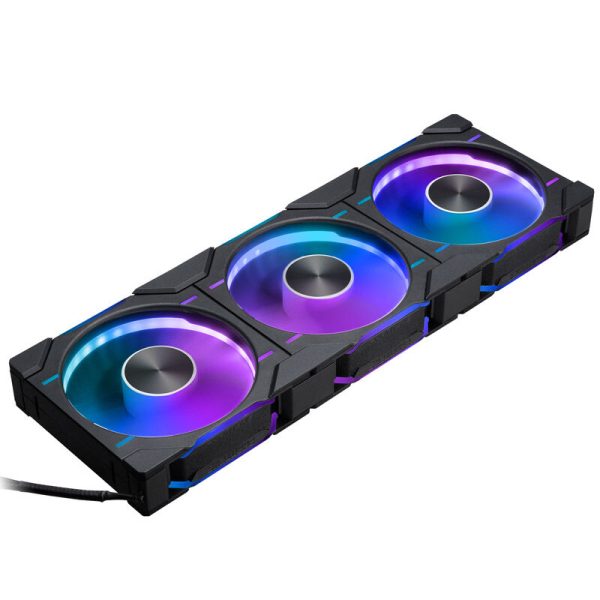
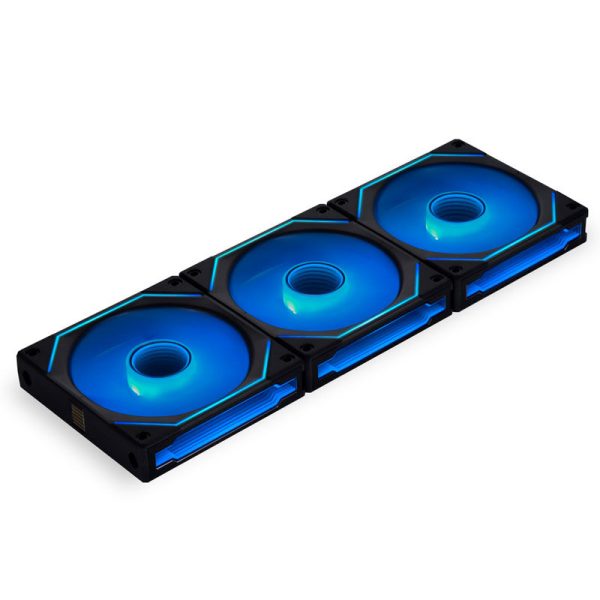
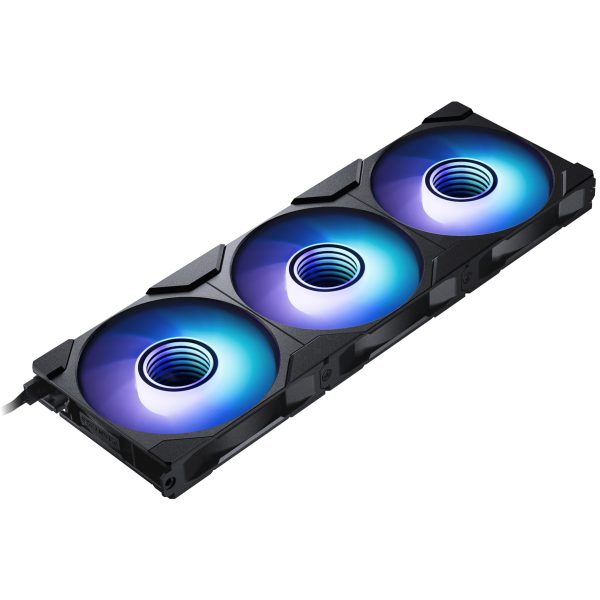
In many modern case designs, some fan positions require a fan to be installed with its back facing the viewer. With a standard fan used as an intake there, the strut side, the motor hub and the cable, is what you see through the glass. The vibrant RGB lighting that makes the fan look great is hidden away facing the inside of the case. That is not exactly ideal if you have shelled out good money on funky visuals.
A reverse fan solves this by flipping the blade direction without flipping the fan itself. You get:
- The attractive front face of the fan visible through the glass.
- The correct airflow direction for that position in your case.
- Cleaner cable routing, since the connector side faces the direction that is easiest to manage.
A common worry is whether reverse and normal fans can share one daisy chain. On the systems we stock they can. Lian Li UNI FAN, Phanteks D30 and TRYX ROTA all make the reverse version to link straight onto its standard sibling and run from the same controller, so you can mix them within a single run.
Common Positions Where Reverse Fans Are Typically Used
- Bottom of the case. Intake fans where the ‘pretty’ side would otherwise face downward.
- Motherboard tray side panel. Where the RGB show is best viewed from the glass side panel.
- Power supply shroud area. Tight spaces where intake needs to come from an unconventional angle.
Do Reverse Fans Perform as Well as Normal Fans?
In terms of raw cooling performance, high quality reverse fans are engineered to perform comparably to their standard equivalents. The blade reversal is accounted for in the aerodynamic design, so airflow (CFM) and static pressure ratings should be similar across matched products.
One thing worth noting is that a reverse fan used as an intake draws air in through the strut side, so the struts and hub sit upstream of the blades rather than downstream. Some designs give up a little static pressure for that, and manufacturers publish separate figures for the reverse version, so compare the numbers rather than assuming parity. In practice, for most builds, the difference is negligible. That is particularly true when fans are matched to a well designed case.
The bottom line is fairly simple. Choose normal fans for standard positions, and reach for reverse fans where aesthetics and cable management demand it.
Normal vs Reverse Fans at a Glance
| Normal Fan | Reverse Fan | |
|---|---|---|
| Blade angle | Standard forward curve | Mirrored/inverted curve |
| Airflow direction | In through the open blade face, out through the struts | In through the struts, out through the open blade face |
| Best use | Front, top, and rear positions | Bottom, side panel, motherboard tray |
| RGB visibility | Lit face is the intake side | Lit face is the exhaust side |
| Cable routing | Connector faces inward | Connector faces the easy route side |
Which Face Do You See?
This is the question I get asked most, so here it is as a table. Most of the time you are looking at your fans from inside the case, through the side glass, so that is the view the last column describes.
| Fan and job | Face pointing out of the case | Face you see from inside, through the side glass |
|---|---|---|
| Normal fan as intake | Open blade face | Strut side, no lighting |
| Normal fan as exhaust | Strut side | Open lit face |
| Reverse fan as intake | Strut side | Open lit face |
| Reverse fan as exhaust | Open blade face | Strut side, no lighting |
So the rule for a seaview build is dead easy. Any intake fan you look at from inside the case, on the side, the bottom or the PSU shroud, wants a reverse fan so the lit face points in towards you and the struts face the outside world. Exhaust fans at the top and rear can stay normal, because their lit face already points inward. The one exception is a glass front panel, where a normal front intake shows its lit face outward through the front and looks exactly as it should.
Our Fan Range
We stock both standard and reverse 120mm and 140mm fans to cover every build configuration. Whether you are setting up a classic front to back airflow layout or building a seaview rig where every fan needs to look its best, there are options to suit.
If budget is the priority, the Jonsbo range is a solid starting point, with the SL, ZA, ZB and FR series all offered in normal and reverse blade versions, and the Phanteks D30 triple packs come in both regular and reverse airflow at the same price, so you can pair them up without spending more on one type over the other. For a premium build with ARGB lighting, the Lian Li UNI FAN SL-INF and TRYX ROTA ranges are hard to beat. Both come in standard and reverse blade versions that share the same look, so the build stays consistent regardless of which positions you are filling.
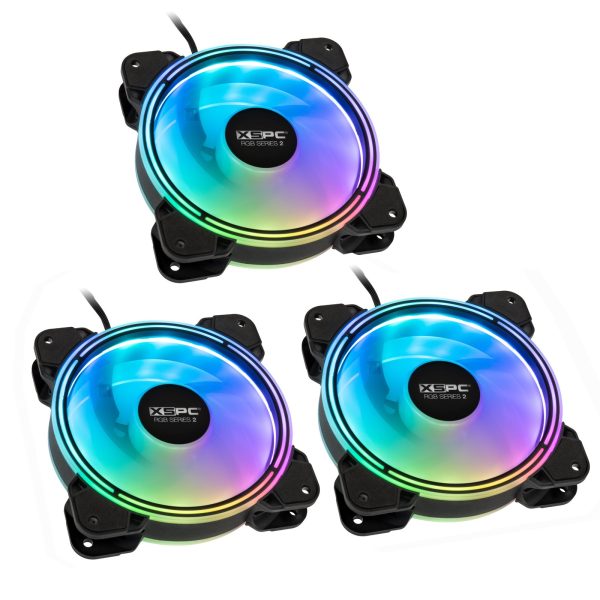
- SKU: XS-FAN-012
- MPN: 5060596651388
- EAN: 5060596651388
- Available for Collection
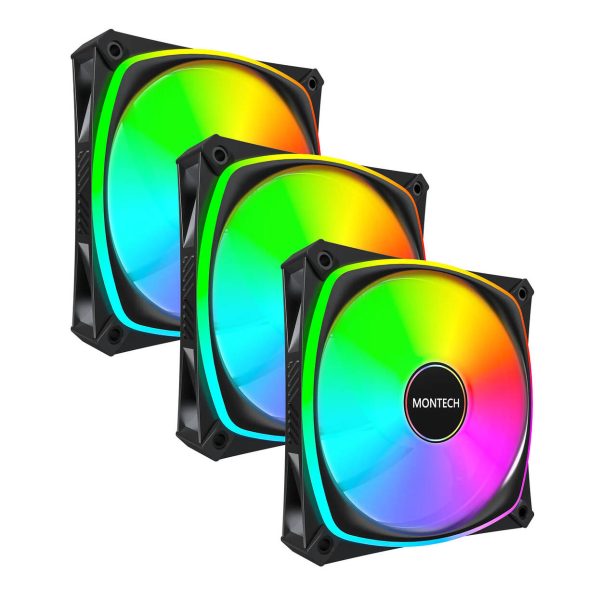
- SKU: LUMT-024
- MPN: AX120 PRO BLACK 3 IN 1
- EAN: 4710562742350
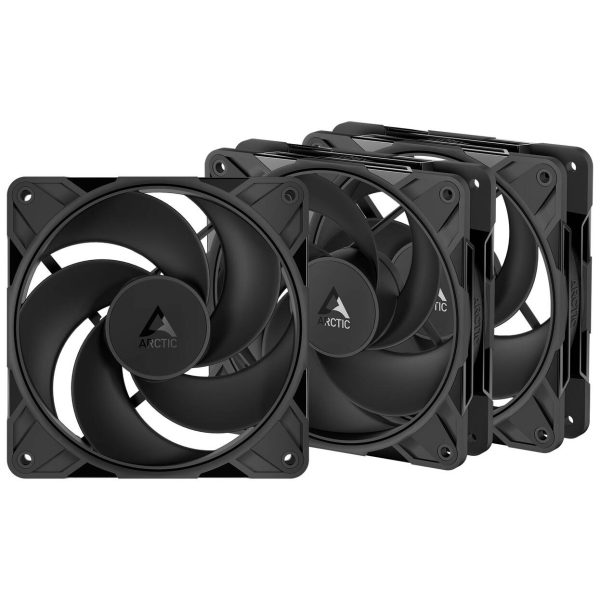
- SKU: LUAR-151
- MPN: ACFAN00332A
- EAN: 4895265000713
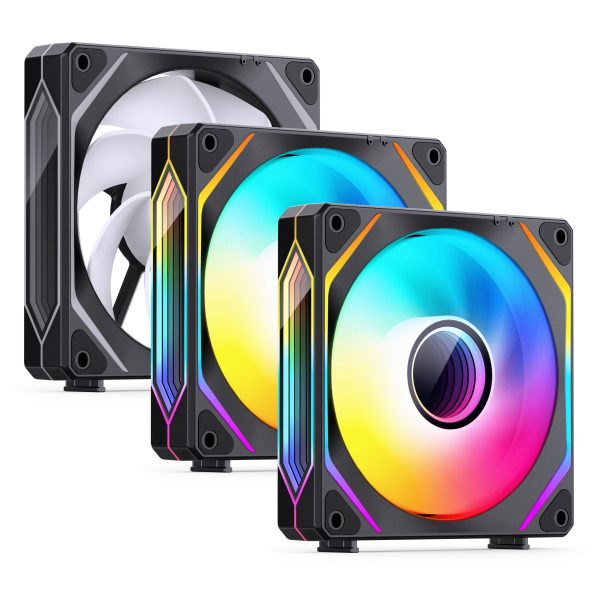
- SKU: LUJB-042
- MPN: ZL-120BR
- EAN: 6970620553894
- Available for Collection
- SKU: LUTX-009
- MPN: F-R120R-AM3M-G0K
- EAN: 6977029650636
- SKU: LUPH-085
- MPN: PH-F120D30R_DRGB_PWM_BK01_3P
- EAN: 0886523003052
- SKU: LULI-139
- MPN: 12RSLIN3B
- EAN: 4718466017925
- Available for Collection
- SKU: LUPH-103
- MPN: PH-F120M25R_G2_DBK01_3P
- EAN: 0886523003601
Quick Reference: Fan Installation Checklist
Before you close up your case, it is worth running through this checklist to make sure everything is set up correctly:
- Identify the airflow direction of each fan (arrows, struts, blade curve, or sticker)
- Front fans are set to intake (blowing into the case)
- Bottom fans are set to intake (blowing up into the case)
- Rear fans are set to exhaust (blowing out of the case)
- Top fans are set to exhaust (blowing up and out)
- Dust filters are fitted on all intake fan positions
- Reverse fans are used in positions where aesthetics require the lit face to be visible
- Cables are routed neatly behind the motherboard tray
Summary
Getting your fan airflow direction right is one of the easiest wins in PC building. By understanding how to read the struts, arrows and blade curves on your fans, and by choosing the correct fan type (normal or reverse) for each position in your case, you can build a system that runs cool and looks great.
For those who are new to all of this, I would say the strut rule and the tissue paper test are the two things worth remembering. Air blows towards the struts on a normal fan, and the tissue test confirms it in seconds for nothing. I do think the distinction between normal and reverse fans is increasingly important, too, given how many modern cases put the interior on full display. It is not just about thermals any more. It is about making the whole build look as good as it performs. If you have any questions about which fans are right for your build, the WCUK team are here to help.