




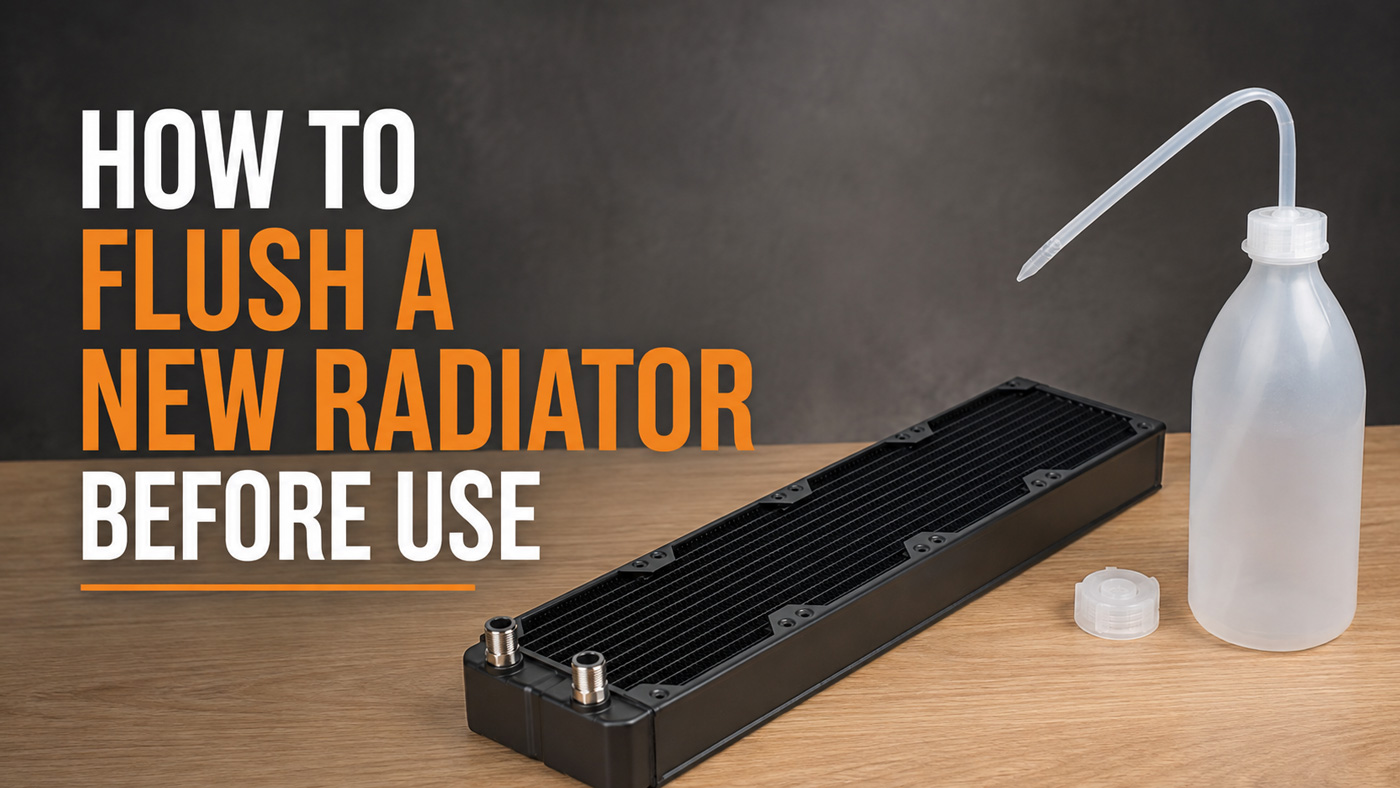
How to Flush a New Radiator Before Use
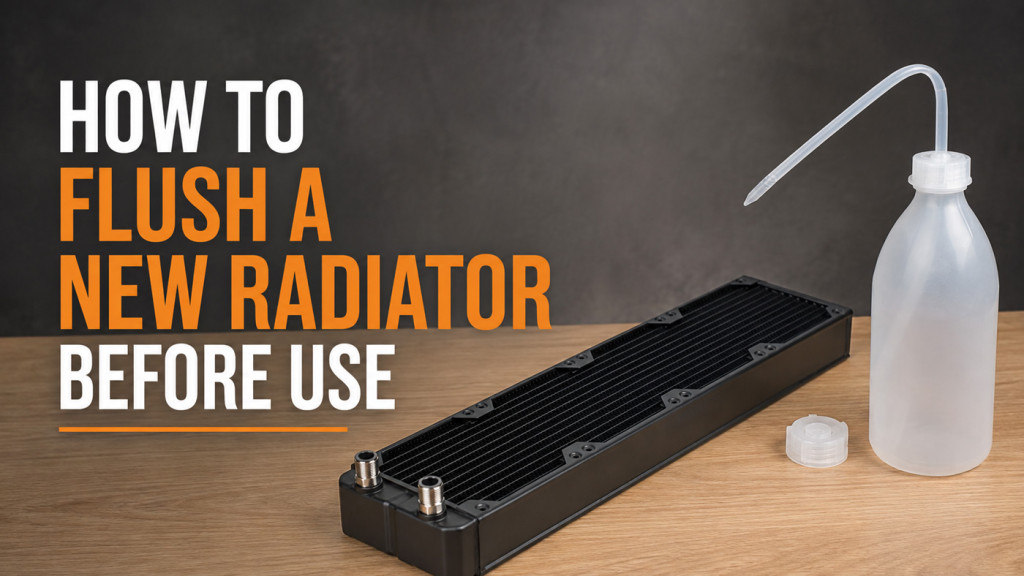
Custom loop building commands a lot of attention, and rightly so. But one of the most commonly skipped steps among first time builders is also one of the most important: flushing a brand new radiator before it enters the loop. It is tempting to assume that a new component is a clean component, but that assumption is wrong, and this is not enthusiast superstition. Manufacturers themselves, EK included, explicitly recommend flushing as part of routine preparation. The soldering and flux processes involved in radiator manufacturing reliably leave debris and residue inside the tubes, even on a quality tested unit. So yes, every new radiator should be flushed. Here is why, and exactly how to do it.
Why a new radiator needs flushing
The manufacturing process for a radiator is lengthy and, frankly, not especially clean. Flux residue and small debris are commonly left behind inside the tubes. The real problem comes when coolant starts flowing, because it picks up that leftover material and carries it around the rest of the loop.
At best, this makes your tubing and reservoir look grubby. At worst, it collects in the fine channels of your water blocks, which are the most restrictive part of any loop, where it can choke coolant flow and drag cooling capacity down. It can also foul the pump. Manufacturing processes have genuinely improved over the years, with cleaner water based flux becoming more common, but a new radiator is still an unknown quantity. That is precisely why flushing remains the advice regardless of how new or premium the part is.
The standard flushing method
The process itself is straightforward and takes only a few minutes per cycle. The key is to work through it multiple times rather than just once.
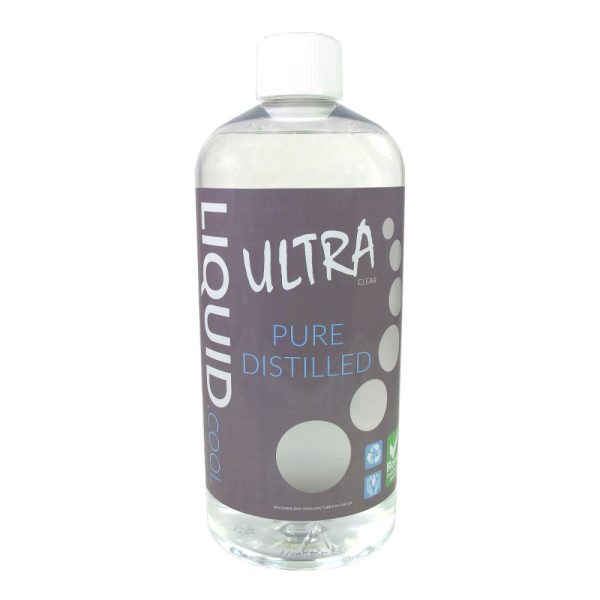
- With both ports open (so air can escape and water can actually enter), fill the radiator roughly half full with hot tap water. If you would rather avoid any tap water mineral residue, use heated distilled water instead, which saves you a final rinse step.
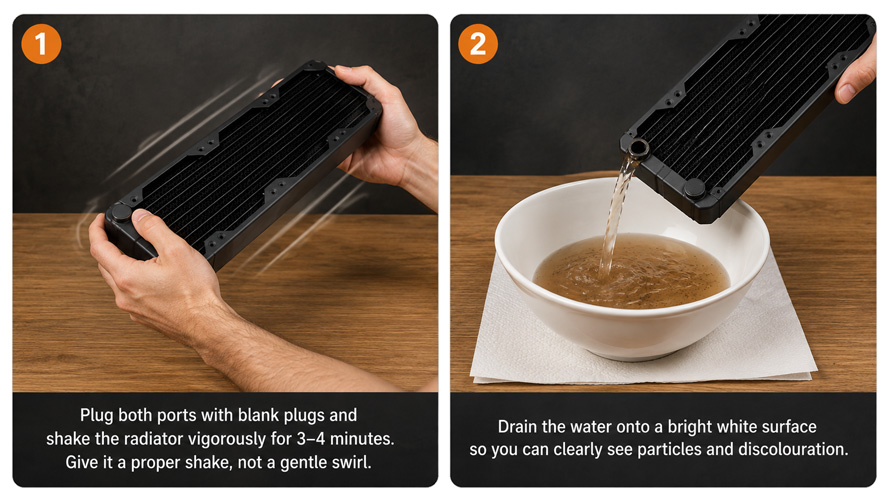
- Plug both ports and shake the radiator vigorously for three to four minutes. Give it a proper shake, not a gentle swirl.
- Drain the water out onto a bright or white surface, such as a white bowl or a container lined with white paper towel. This matters because it lets you actually see the particles and discolouration that would otherwise be invisible against a darker background.
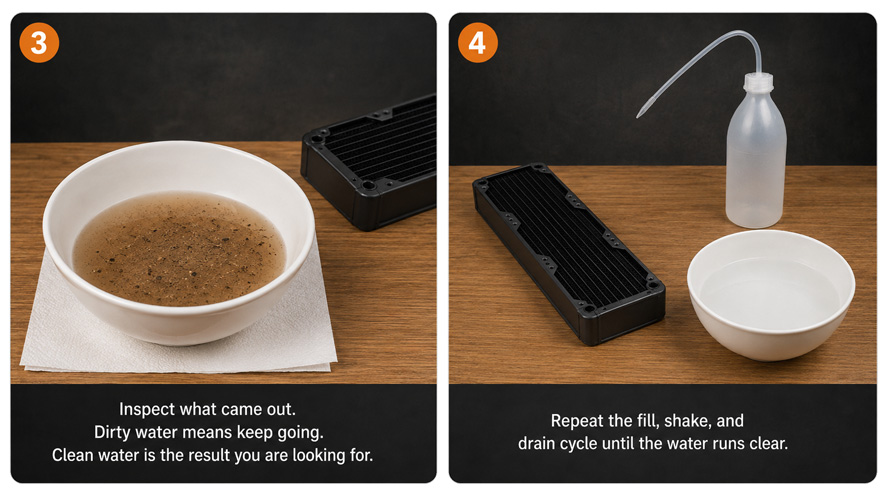
- Inspect what came out. Dirty water means keep going. Clean water is the result you are looking for.
- Repeat the fill, shake, and drain cycle until the water runs clear.
Simple as it sounds, the discipline of repeating this process is what separates a clean loop from a grubby one.
What is normal, and when not to worry
Set your expectations sensibly here. It is common to still see a few fine black specks even after several flushes, each round a little cleaner than the last, and that does not mean the radiator is faulty. The goal is a dramatic reduction in visible debris, not a mathematically perfect zero. Experienced builders and manufacturers alike will confirm that a straightforward distilled water shake is all most radiators ever get, and that is perfectly fine. Do not turn a routine preparation job into a pass or fail test that scares you off building the loop.
What not to use
Distilled water and a good shake is the safe, sufficient default for a new radiator. For most people, that is the whole story.
The temptation is to reach for vinegar or another acid to clean more aggressively, and this is where you need to be careful, because even experienced builders disagree about its suitability for copper. A mild vinegar solution can be used cautiously on copper and brass radiators, but acid also slowly attacks the solder over time. It is best reserved for a genuinely dirty or second hand radiator rather than routine preparation, and should always be followed by several thorough distilled water rinses.
- SKU: XS-ACC-042
- MPN: 5060596651623
- EAN: 5060596651623
- SKU: WAEK-2491
- MPN: 3831109897720
- EAN: 3831109897720
- SKU: LC-ULTRA1000-CL
- MPN: 700461855262
- EAN: 0700461855262
- Available for Collection
One rule here is absolute, not a matter of opinion: never use vinegar or any acid on a radiator with aluminium tubes or chambers. Aluminium is soft and highly reactive, and acid will damage it. An aluminium radiator gets distilled water only, or a purpose made cleaner that specifically states it is aluminium safe. This is the same reason you never mix aluminium with copper or brass in a loop, and it is a rule to take seriously.
Used and second hand radiators
A used radiator deserves considerably more attention than a quick rinse, because you have no idea what ran through it previously (or whether the previous owner used a short term show coolant that leaves residue). For a copper or brass radiator with no aluminium components, a stronger approach is justified: a mild vinegar and distilled water solution left to work inside the radiator, then thoroughly flushed out with plain distilled water two or three times until it runs clear. Match the effort to the severity of the problem, and bear in mind the aluminium rule at all times.
When shaking is not enough
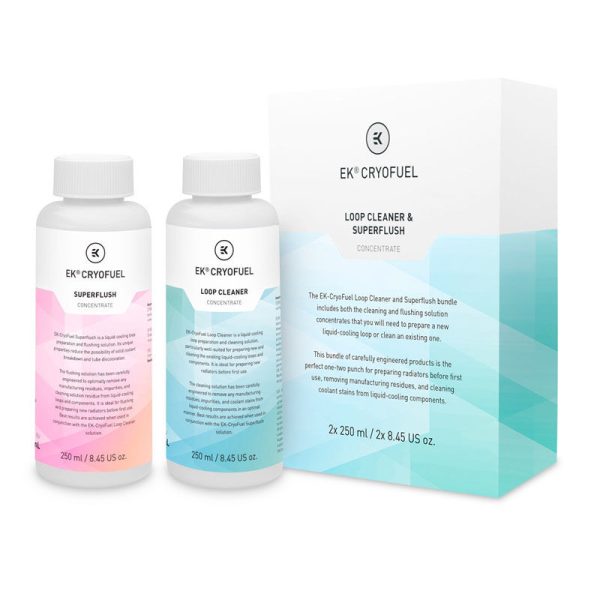
If the shake method simply will not shift a stubborn buildup, you are into chemical cleaning territory. The right product depends entirely on the metals in your radiator, so choose carefully. And if the radiator is already installed in a built loop when the problem shows up, cleaning it properly means removing it from the system. At that point, this stops being routine maintenance and becomes a full drain and disassembly job.
Flushing a new radiator is not the most exciting part of a custom loop build, but it is one of the easiest ways to protect every other component in the system. A few minutes of shaking distilled water through a new radiator can save you from debris fouling a water block or pump weeks down the line. Superb cost to benefit ratio, if you ask us.