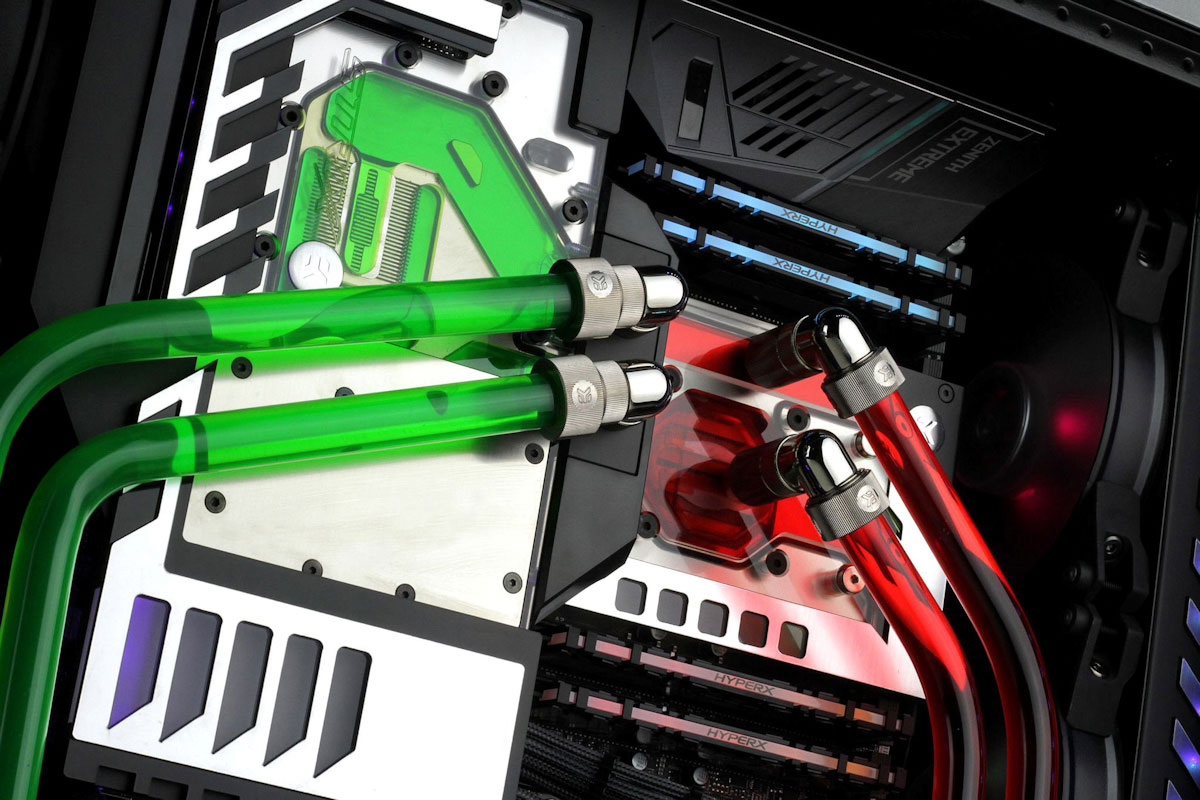
Maintaining Your Watercooling Loop?
A custom watercooling loop is not something you build and then forget about. Like any liquid-based system, it needs regular maintenance to keep performing at its best and to prevent problems before they crop up. The good news is that none of this is particularly complicated, and if you stay on top of things, each service takes well under an hour.
So how often should you actually be doing this, and what does a proper service look like? Let’s run through it.
The Short Answer
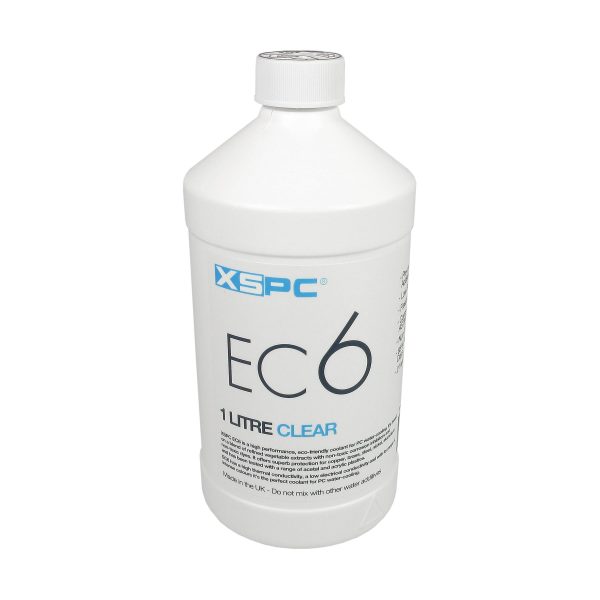
Change your coolant at least once a year. If you are running opaque or pastel coolant, every 3-6 months is the recommendation. That is the baseline that almost every manufacturer agrees on.
A full teardown and deep clean? Annually. I will admit that sounds like quite a lot, but once you have done it a couple of times it becomes fairly routine.
- SKU: XS-PURE-CL
- MPN: 5060596651395
- EAN: 5060596651395
- Available for Collection
- SKU: WAZU-191
- MPN: 53113
- EAN: 4260073412360
- SKU: WAEK-1649
- MPN: 3831109813256
- EAN: 3831109813256
- Available for Collection
- SKU: XS_EC6_CL
- MPN: 5060175582744
- EAN: 5060175582744
- Available for Collection
Maintenance Intervals by Coolant Type
Clear coolant is the lowest-maintenance option. It is the easiest to monitor visually, it does not stain your tubing, and it has no particles that can clog water block micro-channels. If you do not enjoy maintenance (and I would not blame you), use clear coolant.
Warning Signs You Need to Maintain Now
Do not wait for the calendar if you spot any of the following. On a subjective note, I would say most of these are quite obvious once you know what to look for.
Visual Signs
- Coolant changing colour. Clear going yellow or brown, or coloured coolant fading and shifting shade.
- Particles or sediment visible in the reservoir.
- Cloudy coolant. This could be plasticiser leaching from soft tubing, biological growth, or chemical breakdown.
- Buildup visible inside clear block tops or on reservoir walls.
- Green slime or fuzzy growth. This is biological contamination and needs immediate attention.
- Soft tube going stiff, cloudy, or yellowed. The plasticiser has leached out and it is time to replace it.
Performance Signs
- Temperatures climbing under the same workload (5-10C higher than when the loop was fresh).
- Pump noise increasing. This could be debris on the impeller or air trapped in the system.
- Flow rate dropping. Check your flow indicator if you have one.
- Fans ramping up more than usual. The loop is not shedding heat as efficiently as it should be.
Quick Maintenance (30-60 Minutes)
This is your regular service, every 6-12 months depending on coolant type. Think of it as the routine check-up for your loop.
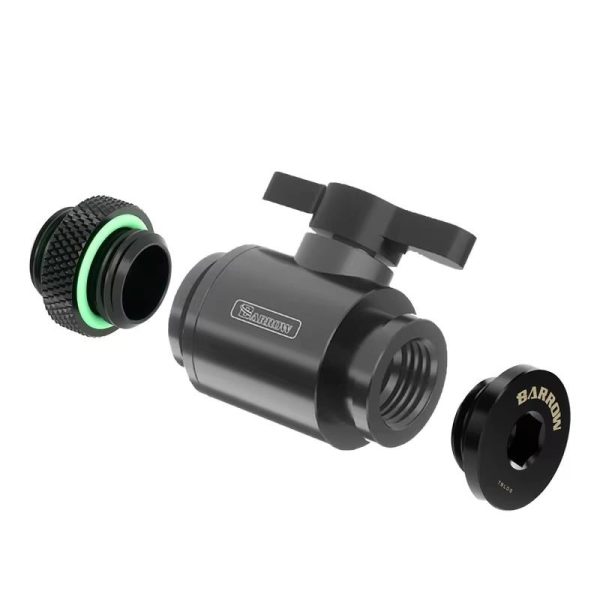
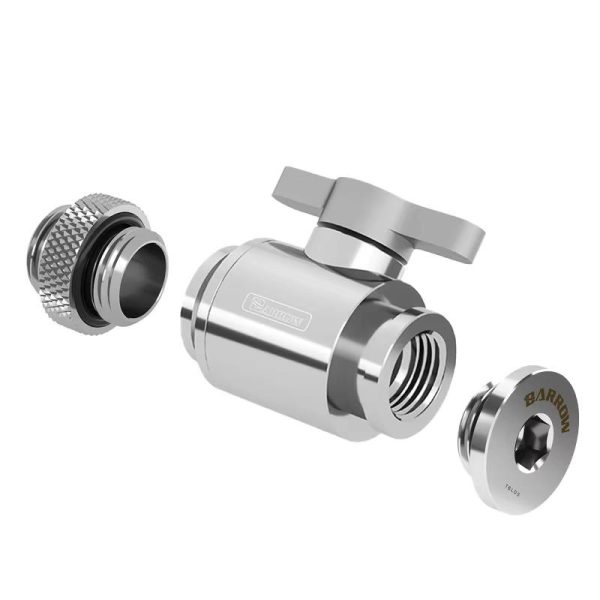
- Power down and drain the loop via your drain valve.
- Flush with distilled water. Fill, run the pump for 30 seconds (using a PSU jumper), then drain. Repeat 2-3 times until the water runs clear.
- Check the drained coolant. Is it discoloured? Any particles? Cloudiness?
- Refill with fresh coolant.
- Bleed the air out and do a brief leak test (1-2 hours with paper towels around fittings).
That is it. If the drained coolant looks clean and clear, your loop is in good shape and you can carry on for another 6-12 months. Dead easy.
- SKU: WAEK-2077
- MPN: 3831109829684
- EAN: 3831109829684
- Available for Collection
- SKU: WCS-0001
- MPN: 5060684861972
- EAN: 5060684861972
- Available for Collection
- SKU: WCS-0002
- MPN: 5060684861989
- EAN: 5060684861989
- Available for Collection
- SKU: WAEK-2079
- MPN: 3831109829707
- EAN: 3831109829707
- Available for Collection
Full Maintenance (2-4 Hours)
This is the annual deep service. It is more involved, but it is what keeps your loop performing like new year after year. Here I will walk you through the process step by step.
- Drain and flush the loop as described above.
- Disassemble water blocks. Remove from CPU/GPU, take them apart, and inspect the micro-channels for buildup.
- Clean water blocks. For bare copper, a soak in dilute white vinegar (5:1 water to vinegar) for 15-30 minutes works well, followed by a soft toothbrush between the fins. For nickel-plated surfaces, warm soapy water only (acid damages nickel plating). Rinse everything thoroughly with distilled water.
- Flush radiators. Fill with warm distilled water, shake vigorously, and drain. Repeat until the water runs clear. For stubborn buildup, a weak citric acid solution works well.
- Clean the reservoir. Wipe down the inside with a soft cloth and distilled water.
- Inspect the pump impeller for debris.
- Check all O-rings. Look for cracking, flattening, or damage. Replace if in doubt. They are cheap.
- Check all fittings for tightness, corrosion, or signs of weeping.
- Inspect tubing. Soft tubing that has gone cloudy, stiff, or yellowed needs replacing.
- Replace thermal paste on CPU/GPU. It is worth noting that you should always re-apply when a block is removed.
- Reassemble, refill, bleed, and leak test for 12-24 hours before powering on.
It is worth mentioning here that when reassembling water blocks, you should tighten the screws in a cross pattern (opposite corners alternately) to apply even pressure. Over-tightening can crack acrylic tops or warp cold plates, so do take care.
What About Tubing?
Soft PVC tubing typically needs replacing every 12-18 months. The plasticiser that keeps it flexible gradually leaches into the coolant, leaving the tubing cloudy and stiff, and the coolant contaminated. Higher coolant temperatures accelerate this process.
If you want to avoid that hassle, consider EPDM rubber tubing (such as EK ZMT). It does not leach, it does not degrade, and it lasts for years. The catch is that it is only available in black, so there is no showing off your coolant colour. But for a low-maintenance loop, EPDM with clear coolant is quite hard to beat.
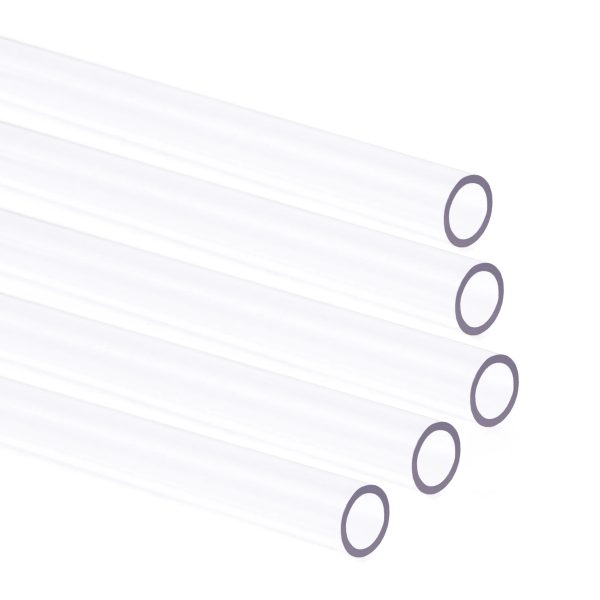
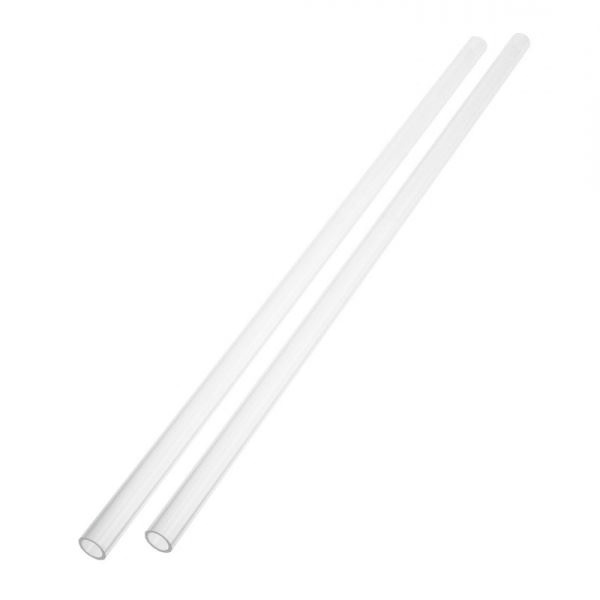
Hard tube lasts considerably longer. PETG can go 2-5 years, and acrylic even longer than that. You will typically only replace hard tubing if it is physically damaged or you are rebuilding the system.
- SKU: 35D-196-72B
- MPN: 00
- EAN: 00
- Available for Collection
- SKU: BAR-HT02
- MPN: PG1612-L
- EAN: 6937826603174
- Available for Collection

- SKU: WAEK-2502
- MPN: 3831109895931
- EAN: 3831109895931
- Available for Collection
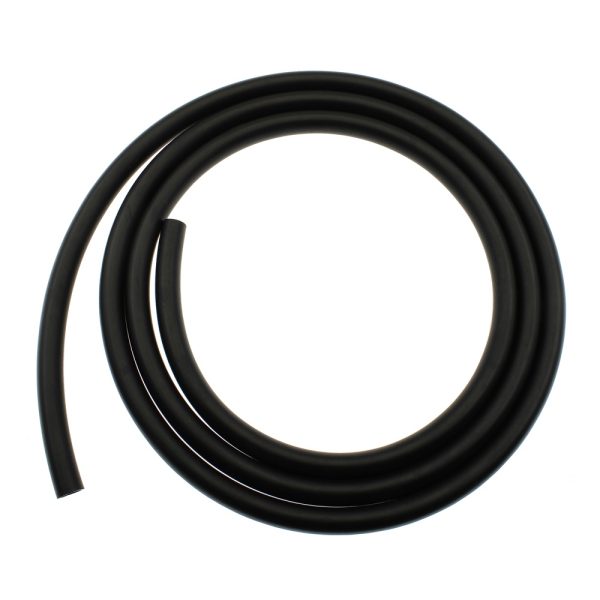
- SKU: XS-FLX-012
- MPN: 5060596651302
- EAN: 5060596651302
- Available for Collection
Keep It Simple: A Maintenance Calendar
The easiest approach is to pick two dates a year and stick to them. Some builders go with the clocks changing (spring and autumn) as an easy reminder. Others just set a phone alarm for every 6 months from their build date. Either approach is a doddle.
- Monthly: Quick visual check of reservoir level and coolant clarity.
- Every 6 months: Quick maintenance (drain, flush, refill).
- Annually: Full maintenance (teardown, clean, inspect everything).
If you keep a simple log of what you did, what coolant you used, and what condition things were in, you will spot trends early and avoid surprises. Even just a note on your phone with the date and a couple of words is better than nothing.
Things to Remember
I do feel it is important to highlight these points, as getting any of them wrong can cause real problems.
- Never mix coolant brands. Different inhibitor chemistries can react and produce gunk.
- Never top up premixed coolant with plain distilled water. It dilutes the inhibitors.
- If switching coolant types (especially opaque to clear), do extra flush cycles to clear all residue.
- Never use vinegar or acid on nickel plating. Warm soapy water only.
- Replace thermal paste every time you remove a water block from a CPU or GPU.
- Replace thermal pads on GPU blocks if they are compressed, torn, or have lost their cushion.
For those looking to keep their custom loop running reliably, staying on top of maintenance really is not that difficult. I would not call it exciting work, but it is straightforward, and the payoff is a loop that performs as well two years in as it did on day one. If there is one takeaway here, it is this: a little routine maintenance goes a long way, and neglecting it is where the real problems start.