Watercooling a GPU: What You Need to Know
Your graphics card is, in all likelihood, the single biggest heat source inside your PC. Modern GPUs can draw north of 300W, and the stock air coolers have to work quite hard to keep temperatures in check. That usually comes at the cost of significant noise. Watercooling your GPU can dramatically reduce both temperatures and noise, and it may even unlock better boost clock performance. But what do you actually need to know before you take the plunge? Let’s find out.
Why Watercool Your GPU?
The benefits are fairly substantial, and I think they are worth laying out clearly.
First, there is the temperature reduction. You can expect 20-30°C lower GPU temperatures compared to the stock air cooler. Some builds see even greater improvements than that.
Then there is noise reduction. A watercooled GPU with radiator fans spinning at 800-1000 RPM is virtually inaudible compared to a triple-fan air cooler running at 2000+ RPM under load. That is a night-and-day difference, and it is easy on the ears.
Better boost clocks are another benefit. Modern GPUs boost higher and hold that boost longer when temperatures are kept low. Cooler VRAM also improves memory stability, which is helpful if you are looking to overclock.
Lastly, there is the issue of GPU sag. Full-cover water blocks are lighter than large air coolers and distribute weight more evenly across the PCB. As such, sag is far less of a concern.
Checking Compatibility
This is the most critical step, and I cannot stress that enough. GPU water blocks are designed for specific PCB layouts, so you need to match the block to your exact GPU model.
Here is the key thing to understand. GPU manufacturers (ASUS, MSI, Gigabyte, EVGA, Zotac, and others) often modify the reference design, changing component positions, power delivery, and board shape. A block designed for a ‘reference’ RTX 4090 will not fit an ASUS ROG Strix RTX 4090, because they use entirely different PCBs.
Every major block manufacturer publishes compatibility lists on their website. EK has a configurator tool where you enter your GPU model, Alphacool has a GPU config page, and Bykski and Barrow both publish detailed compatibility tables. It is important that you search for your exact GPU model. Not just “RTX 4090,” but the specific brand and variant, like “ASUS ROG Strix RTX 4090 OC.”
We cover this in more detail in our Which Waterblock Do I Need for My Graphics Card? guide. Topics covered include:
- SKU: BAR-GP33
- MPN: BS-MSP5090-PA
- EAN: 6937826618925
- Available for Collection
- SKU: 1026786
- MPN: 10268
- EAN: 4250197102681
- Available for Collection
- SKU: WAEK-2524
- MPN: 3831109901717
- EAN: 3831109901717

- SKU: WAEK-2808
- MPN: 3831129901094
- EAN: 3831129901094
- SKU: WAEK-2806
- MPN: 3831129901117
- EAN: 3831129901117

- SKU: WACH-922
- MPN: 15681
- EAN: 4251312607319
- SKU: BAR-GP30
- MPN: BS-AST4090-PA
- EAN: 6937826617362
- SKU: 1026354
- MPN: 14742
- EAN: 4250197147422
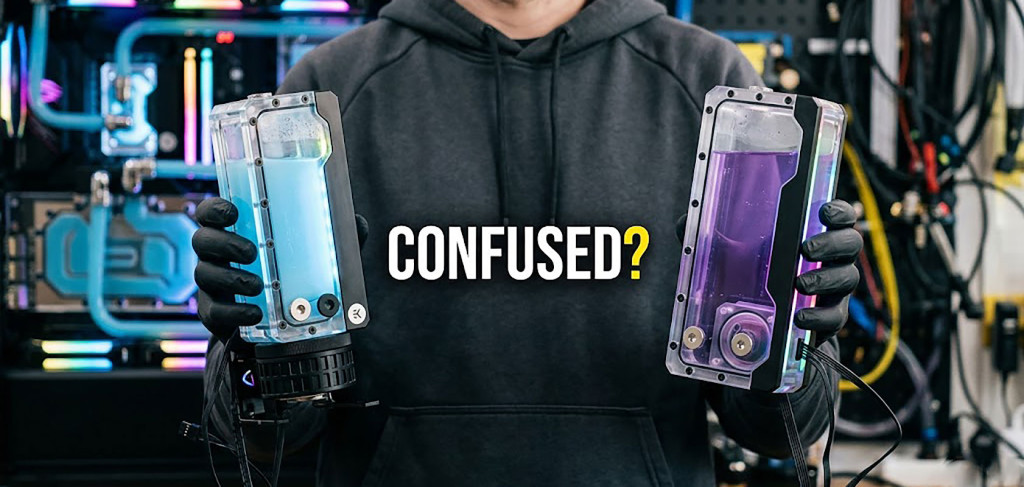
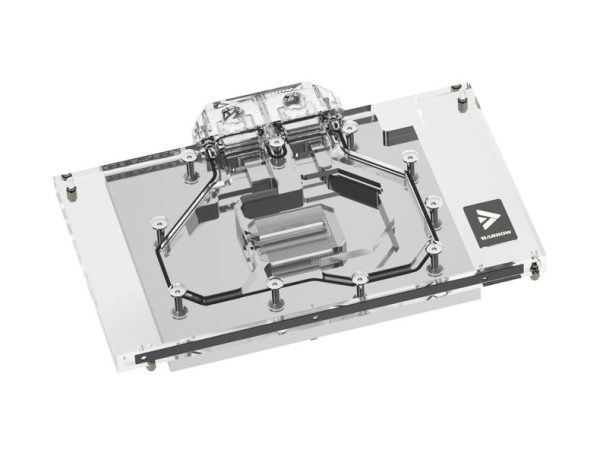
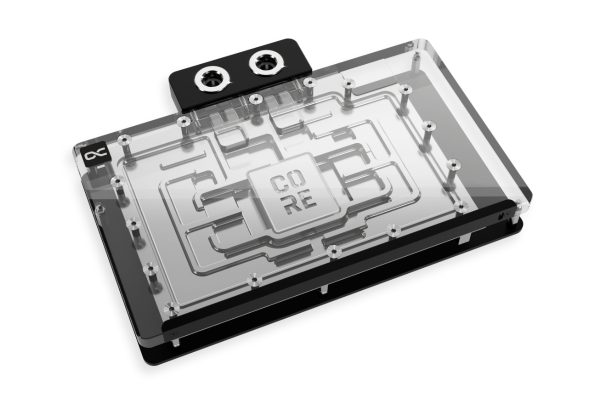
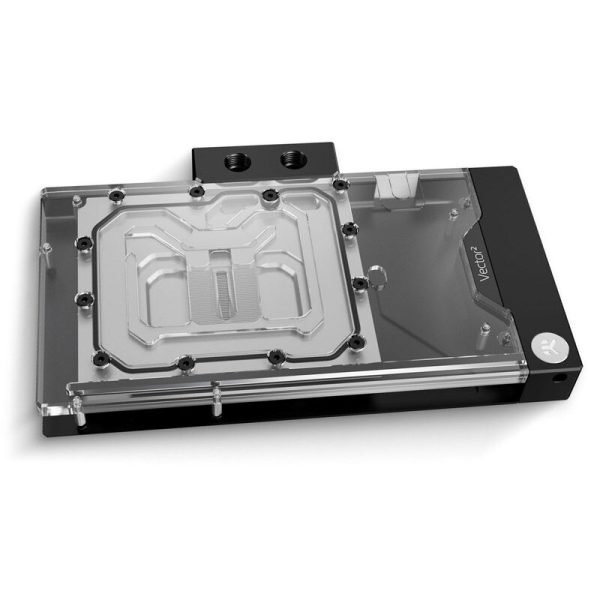
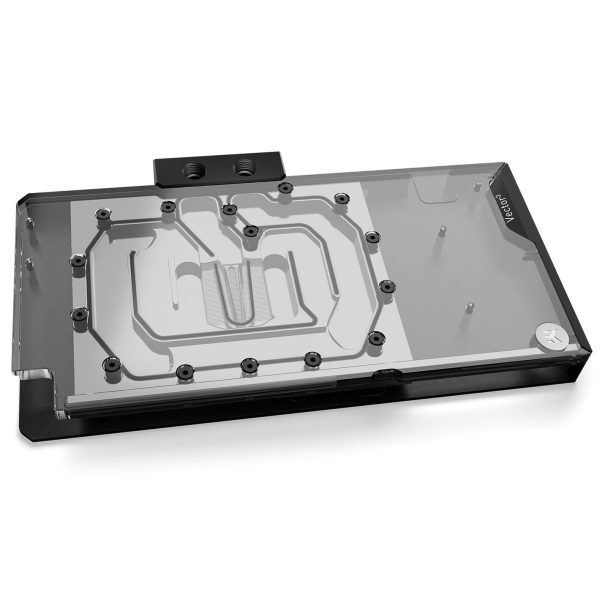
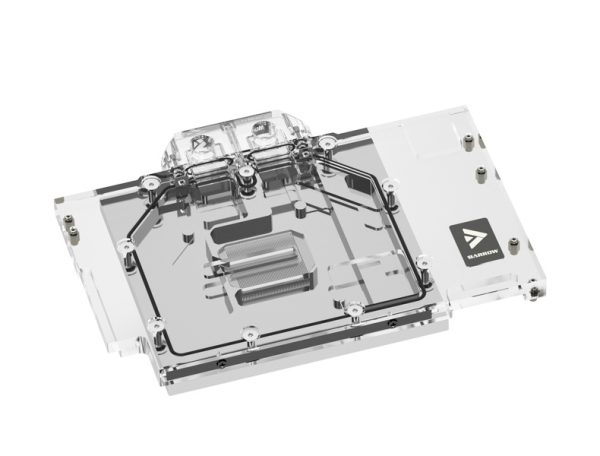
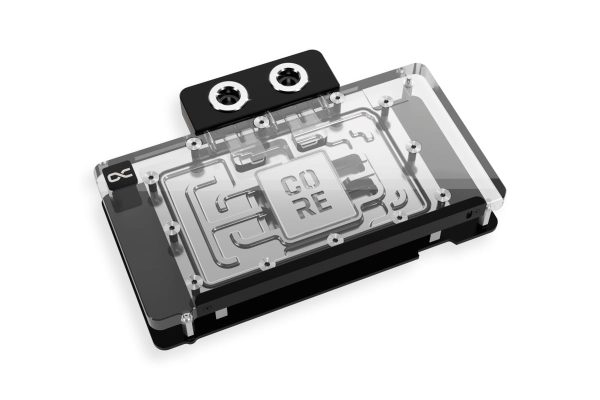
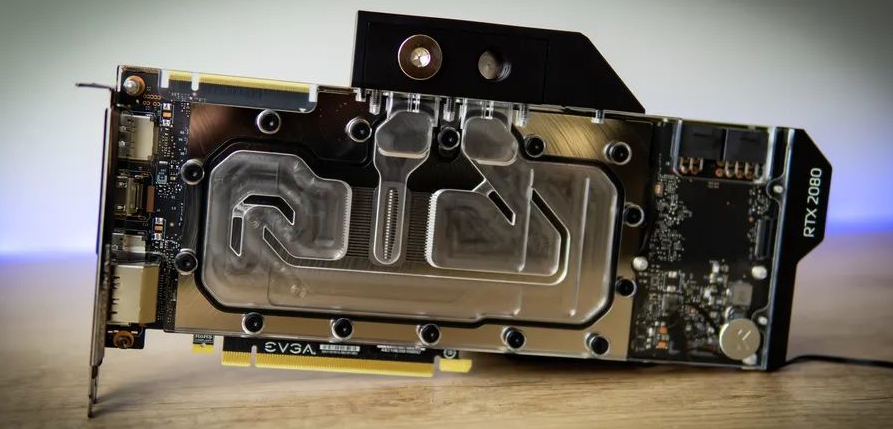
Full-Cover vs Universal Blocks
There are two main types of GPU block to consider.
Full-cover blocks cool the GPU chip, VRAM, and VRM all in one unit. This is the standard choice for most builders. They provide the best overall cooling and are designed for specific GPUs.
Universal blocks, on the other hand, cover only the GPU chip. They fit a wider range of cards but leave the VRAM and VRM relying on whatever stock heatsinks are present. These are less common now and are generally not recommended for high-end GPUs.
Active Backplates
Active backplates add a second cooling surface to the rear of the GPU, targeting VRAM mounted on the back of the PCB. They can make a significant difference on cards with dual-sided VRAM. The RTX 3090 is a good example, where users saw 20-40°C VRAM temperature drops with an active backplate fitted.
For cards with single-sided VRAM (the RTX 4090, for instance), the improvement is much smaller, typically in the region of 3-5°C. It is worth considering whether your specific card actually benefits before shelling out the extra.
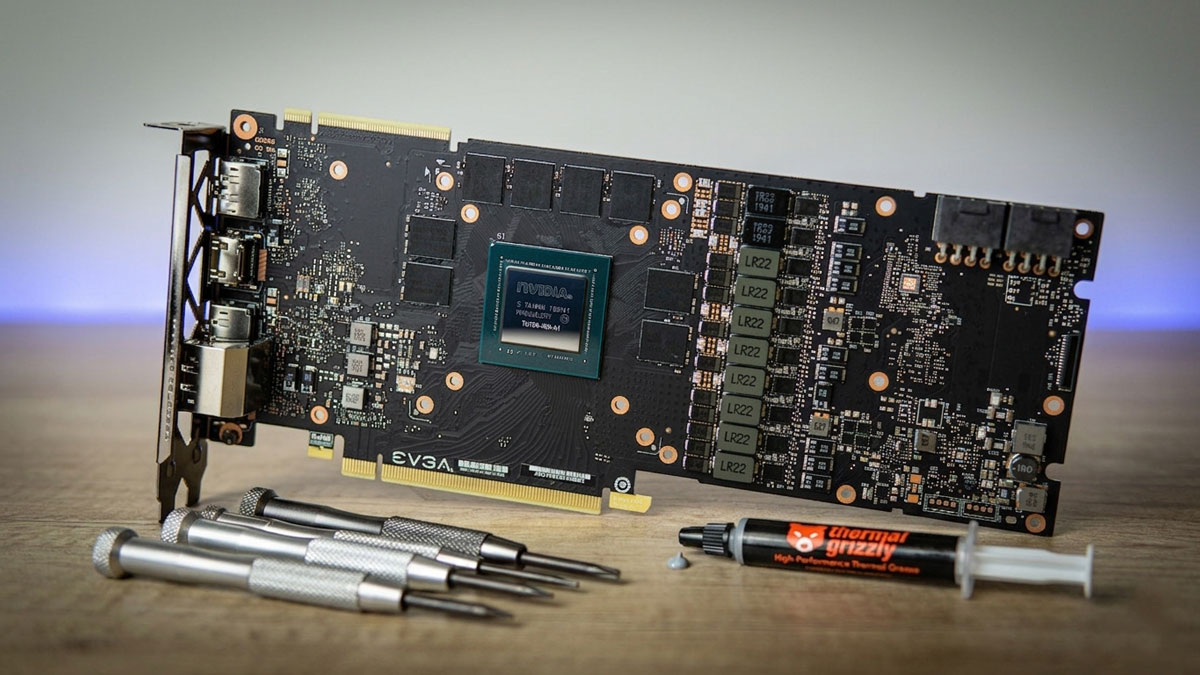
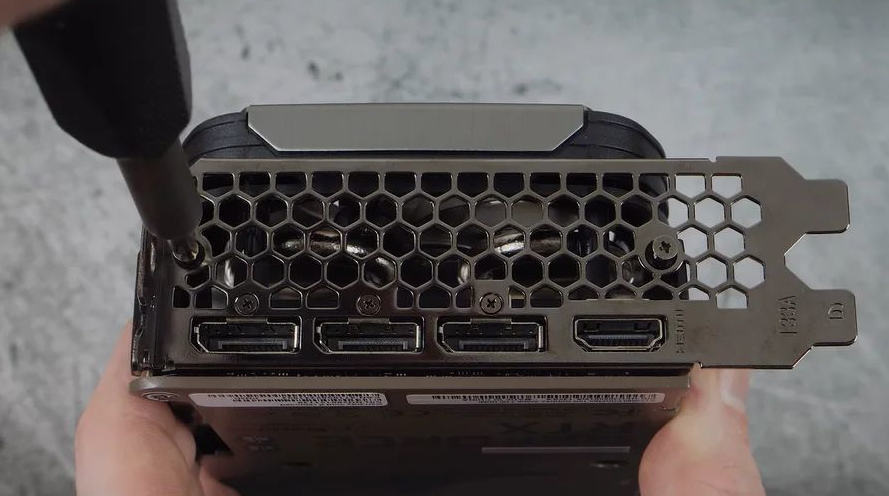
Removing the Stock Cooler
Before you can install a water block, the stock air cooler needs to come off. I would recommend the following approach.
Document everything first. Take photos before disassembly so you know where every screw, cable, and pad goes. This is a dead easy step to skip, and you will regret it later if you do.
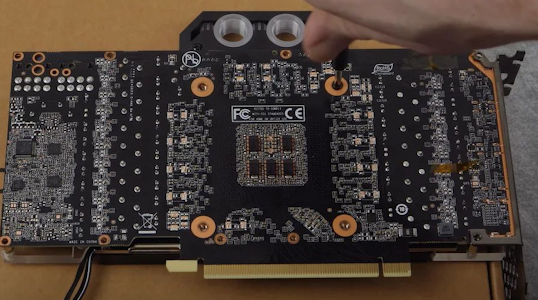
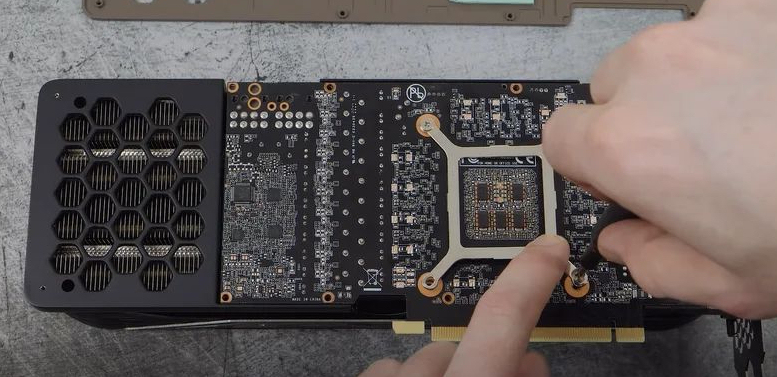
Remove the backplate screws (if present), then the main cooler mounting screws. After that, gently separate the cooler from the PCB. Old thermal paste may have bonded them together quite firmly. Twist gently rather than pulling straight up.
Clean the GPU die and surrounding components with isopropyl alcohol and a lint-free cloth. Keep all screws and brackets in case you ever need to put the stock cooler back on. On a subjective note, I also think it is just good practice to bag and label everything, but that is obviously just my opinion.
Installing the Water Block
Follow the block manufacturer’s installation guide carefully. There are a few key points worth highlighting here.
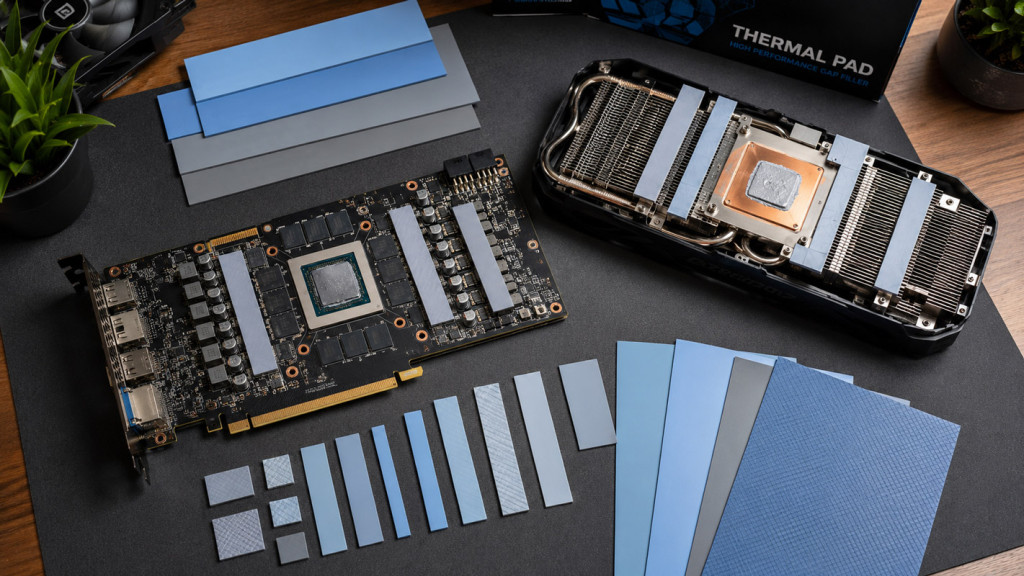
Thermal pads go on the VRAM and VRM components. Different components need different pad thicknesses, typically ranging from 0.5mm to 3mm. The guide will specify which thickness goes where. Getting this wrong means poor contact and hot spots, so it is not something to rush.
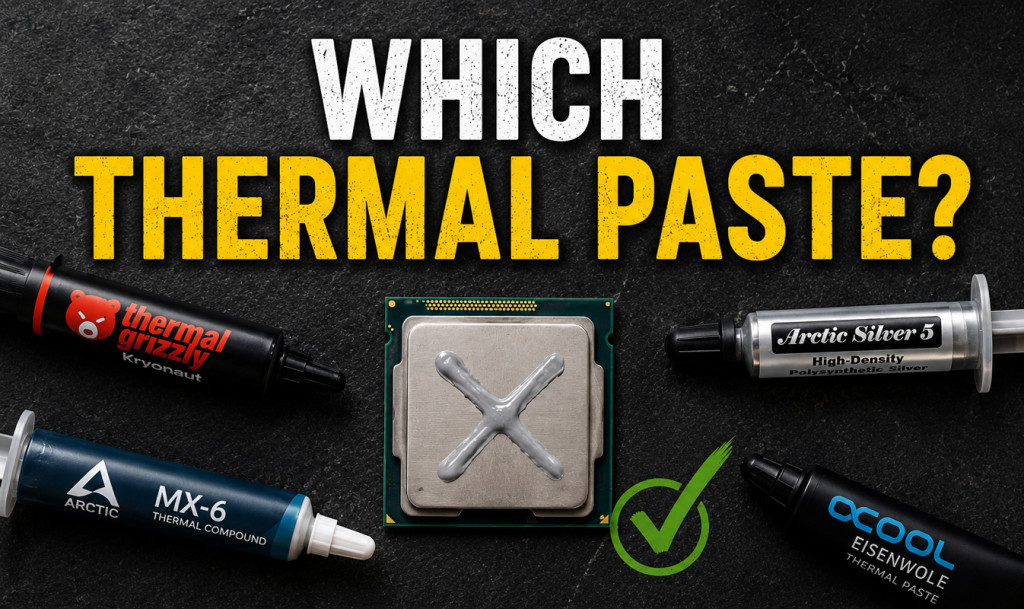
Thermal paste goes on the GPU die only. A small amount, spread thinly or applied as a small X pattern, is all you need.
Tighten screws evenly in a cross pattern, gradually increasing torque. Most GPU block screws are spring-loaded and stop at the correct pressure, which makes this part a doddle.
Lastly, connect any RGB or LED cables if your block has lighting.
Warranty Considerations
Removing the stock cooler may affect your GPU warranty depending on the manufacturer and your region. Some manufacturers (like EVGA, when they were active) explicitly allowed it. Others are less clear.
In the UK, consumer protection law generally means a manufacturer cannot void your entire warranty just because you changed the cooler. However, proving that water damage was not your fault can be quite difficult in practice. As such, I would recommend keeping the stock cooler and all original parts in case you ever need to send the card back. It is not a fun thing to think about, but it is worth the peace of mind.
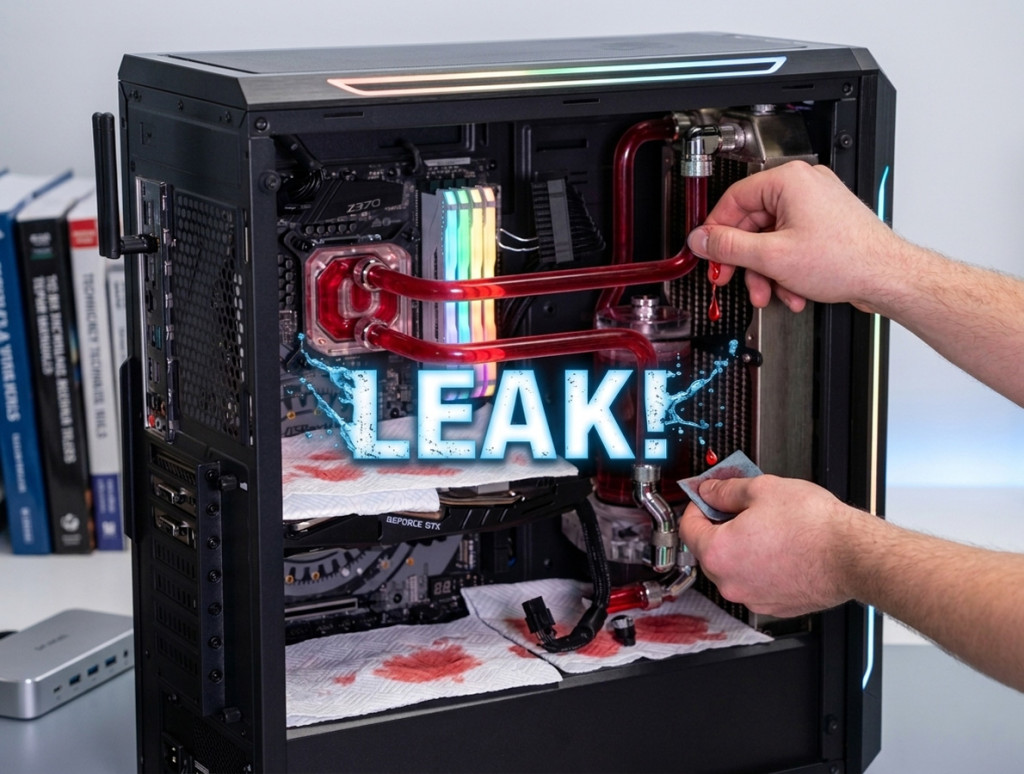
Impact on Your Loop
Adding a GPU block to your existing loop has a few implications that are worth considering.
First, there is more heat to dissipate. You will need more radiator capacity. At minimum, an additional 120mm radiator is required, though ideally a 240mm radiator or larger would be the better choice.
Second, there is more flow restriction. GPU blocks with fine micro-channels do add restriction to the loop. A good pump, whether a D5 or a DDC, handles this without issue.
Third, you will need more fittings. Two additional fittings for the GPU block at minimum, plus any angled adapters for routing.
Finally, tubing runs need careful planning. GPU blocks are typically the lowest component in the loop, which affects drain valve placement. It is worth taking the time to plan your runs properly before committing.
What Temperatures to Expect
With a properly installed water block and adequate radiator capacity, the following temperatures are fairly typical under full load.
GPU core temperatures tend to sit around 40-55°C, compared to 70-85°C with a stock air cooler. VRAM temperatures come in at roughly 50-70°C, versus 80-100°C or higher on air. Hotspot readings are typically in the 50-65°C range, compared to 80-95°C with the stock cooler.
Exact temperatures will depend on your specific GPU, radiator capacity, ambient temperature, and fan speeds. But the improvement over air cooling is always quite dramatic.
For those considering watercooling their GPU, the benefits are clear. Lower temperatures, quieter operation, and potentially better performance. I would note, however, that compatibility checking is absolutely essential, and the installation process does require a careful hand. If you take the time to do your research and follow the manufacturer’s instructions, the results are well worth the effort. That said, do keep your stock cooler tucked away safely, just in case.
(Image credits: Tom’s Hardware)