How They Work
If you have spent any time around custom watercooling you will know that water blocks are pretty much the most critical component in the entire loop. They are the point where heat leaves your CPU or GPU and enters the coolant, which then carries it off to your radiators to be dumped into the room. That sounds straightforward enough, however understanding the details of how they actually work will help you choose the right block and avoid leaving performance on the table.
How a Water Block Works
A water block is essentially a metal housing with a cold plate on one side and an inlet/outlet on the other. The cold plate sits directly on the CPU or GPU, separated only by a thin layer of thermal paste. So far, so simple. Inside the block, however, things get more interesting. Dozens of tiny micro-channels, typically 0.2-0.4mm wide, are machined into the cold plate surface. Coolant flows through these channels and absorbs heat from the metal as it passes.
The principle is that more surface area means more efficient heat transfer. This is why modern blocks use increasingly fine micro-channel designs rather than the simple hollow chambers you might have seen in earlier hardware. There is a trade-off, however. Finer channels increase flow restriction, which means your choice of pump matters a good deal more than you might expect.
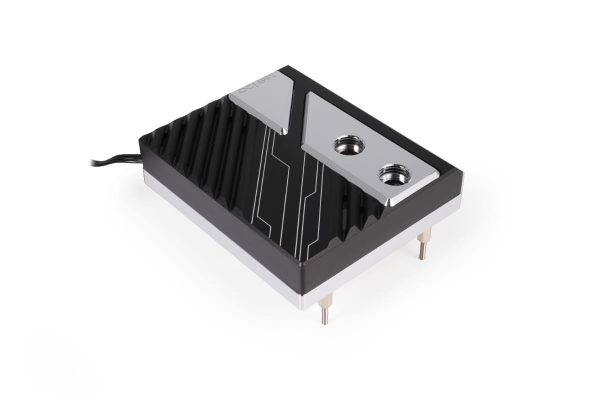
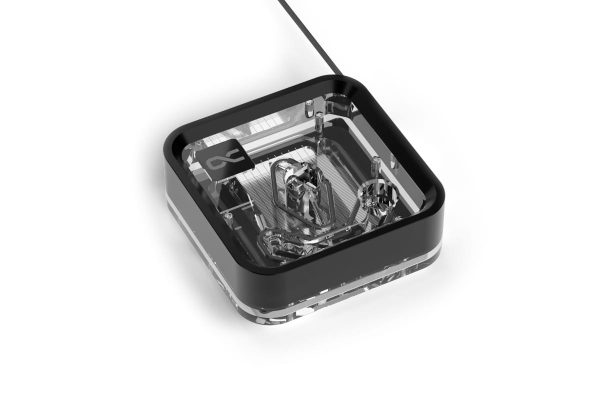
CPU Water Blocks
- SKU: WAEK-2803
- MPN: 3831109881118
- EAN: 3831109881118
- Available for Collection
- SKU: WAEK-2804
- MPN: 3831109881125
- EAN: 3831109881125
- Available for Collection
- SKU: 1025094
- MPN: 13893
- EAN: 4250197138932
- Available for Collection
- SKU: 1025050
- MPN: 13886
- EAN: 4250197138864
- Available for Collection
CPU water blocks mount directly to the motherboard using the existing cooler mounting holes. Most modern blocks support multiple sockets (Intel LGA 1700/1851, AMD AM5) via included mounting hardware or adapter kits, which is perfectly reasonable.
Mounting pressure is one of those things that genuinely matters. Too little and you get poor contact with the CPU. Too much and you risk bending the CPU or motherboard, which is not something you want to discover after the fact. Most blocks deal with this by using spring-loaded screws that stop at the correct pressure, making installation pretty much foolproof. Always tighten in a cross pattern (opposite corners alternately) for even pressure distribution. If you have ever installed an air cooler the process is familiar, however skipping this step can leave you with uneven contact and a few degrees you didn’t need to lose.
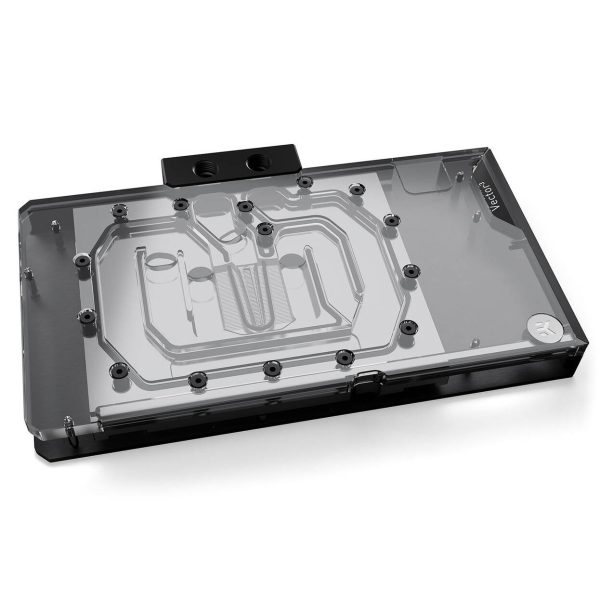
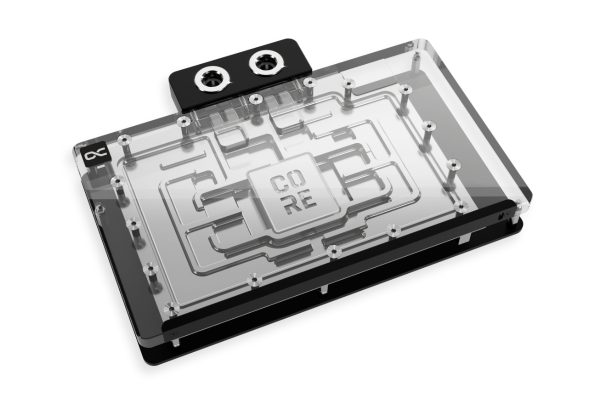
GPU Water Blocks
- SKU: WAEK-2812
- MPN: 3831129901148
- EAN: 3831129901148
- SKU: 1026786
- MPN: 10268
- EAN: 4250197102681
- Available for Collection
- SKU: WAEK-2809
- MPN: 3831129901100
- EAN: 3831129901100

- SKU: BAR-GP35
- MPN: BS-ASA5090-PA
- EAN: 6937826618932
- Available for Collection
GPU blocks come in two flavours, and the distinction is worth understanding before you reach for your wallet.
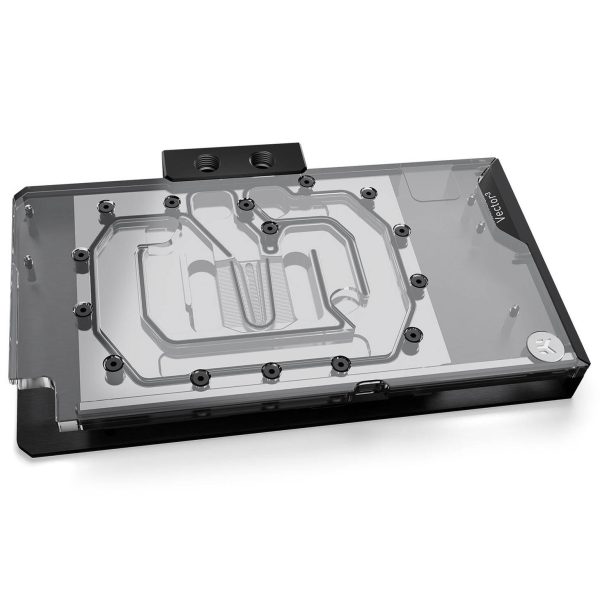
Full-cover blocks cool the GPU chip, VRAM, and VRM (voltage regulators) all in one unit. These are the standard choice for custom loops and provide the best overall cooling. They are designed for specific GPU PCB layouts, however, so compatibility checking is essential. Get this wrong and you have a very expensive paperweight.
Universal or chipset-only blocks cover only the GPU chip itself. They are compatible with a wider range of cards but leave the VRAM and VRM relying on their stock heatsinks. These are less common now that full-cover options are widely available, however they still have a place if your particular card lacks a dedicated block.
Reference vs custom PCB: GPU manufacturers (ASUS, MSI, Gigabyte and so on) often modify the reference PCB design, changing component positions, power delivery and board dimensions. A block designed for a reference PCB will not fit a custom-design card, and vice versa. Always check the block manufacturer’s compatibility list for your exact GPU model. This is not optional, it is the single most important step in the process.
Active Backplates
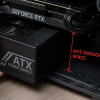
Active backplates add a second cooling surface to the rear of the GPU, cooling VRAM chips mounted on the back of the PCB. They are most beneficial on cards with VRAM on both sides of the board (like the RTX 3090). For cards with single-sided VRAM (like the RTX 4090) the improvement is more modest. They add cost and complexity, so the question left hanging in the air is whether your specific card actually benefits before you invest. If you have single-sided VRAM the answer is probably “not enough to justify the expense.”
Materials
The materials used in a water block determine its thermal performance, its looks and how you maintain it.
- Copper cold plate. This is the standard and for good reason. Copper has excellent thermal conductivity (401 W/mK) and is the best practical choice for heat transfer surfaces.
- Nickel plating. A thin layer (typically around 4 microns) applied over the copper for aesthetics (silvery finish) and basic oxidation resistance. It does not significantly affect thermal performance, however it does affect how you clean the block, as we will cover below.
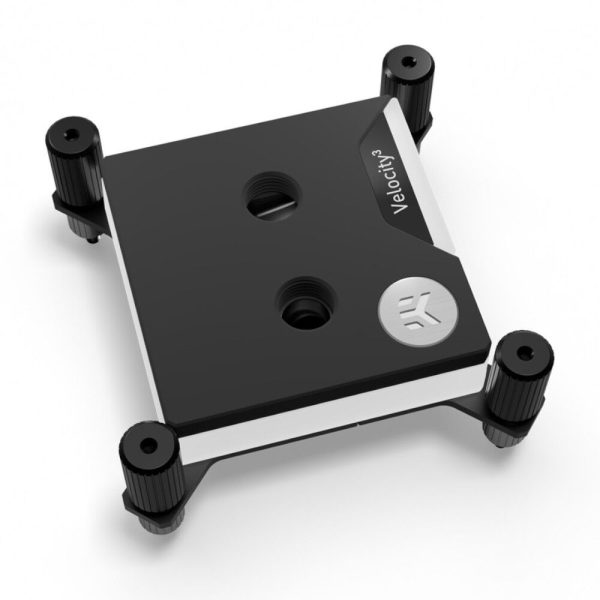
- Acetal top. Black plastic top plate. Durable, chemical resistant, and does not show coolant colour. Popular for stealth builds where you want a clean look.
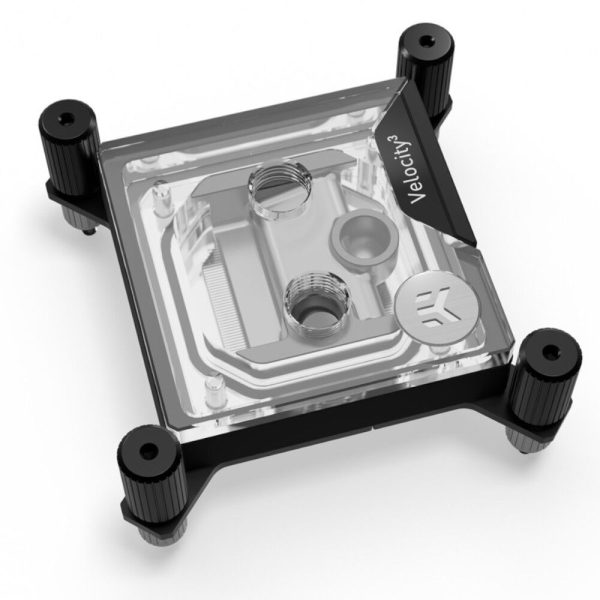
- Acrylic/plexi top. Clear top plate that lets you see coolant flowing through the micro-channels. Great for showcase builds however more fragile than acetal. Never clean with alcohol or solvents as they can crack acrylic. This is one of those things you only learn once (the hard way).
Flow Direction
Some water blocks are directional, meaning they are designed for coolant to enter through one specific port and exit through the other. This is because the internal jet plate or flow guide directs coolant optimally in one direction. Installing a directional block backwards can cost you 2-5C on a CPU block, which is a significant penalty for what amounts to not reading the manual. GPU blocks are less sensitive, typically around 1.5C difference, however that is still performance you are leaving on the table for no good reason.
Check the block’s manual or markings. Most blocks will have an arrow or “IN”/”OUT” marking. If there is no marking the block is likely non-directional and you can connect fittings to either port without concern.
Thermal Paste Application
- SKU: ZUWA-368
- MPN: ACTCP00091A
- EAN: 4895265000881
- Available for Collection
- SKU: ZUWA-324
- MPN: TG-D-002-R
- EAN: 4260711991134
- SKU: ZUWA-120
- MPN: PK-ZERO (5G)
- EAN: 4711552411195
- SKU: ZUWA-317
- MPN: PT-X10-005
- EAN: 4260711990922
- Available for Collection
Water blocks need thermal paste just like air coolers. For CPU blocks, an X pattern across the IHS (integrated heat spreader) has been tested to give the best coverage. For GPU blocks that install directly onto a bare die, use less paste and be more careful with pressure. A bare die is unforgiving and you do not want to be the person who cracked their GPU.
GPU blocks also require thermal pads on VRAM and VRM components. These pads come in different thicknesses (typically 0.5mm to 3mm) for different components, and using the wrong thickness means poor contact. The installation guide for your specific block will specify exact thicknesses per component, and the difference between a 0.5mm pad and a 1.5mm pad is not trivial.
Maintenance
Water blocks should be disassembled and cleaned during your annual loop maintenance. Over time, micro-channels can accumulate deposits from coolant breakdown, corrosion products, or biological growth, all of which reduce cooling performance. A certain amount of buildup is inevitable however regular cleaning keeps it under control.
- Copper: soak in dilute white vinegar, use a soft toothbrush between the fins, rinse thoroughly with distilled water.
- Nickel-plated: warm soapy water only. Never use acid on nickel plating. This will strip the coating and you will be left with exposed copper that tarnishes rapidly.
- Acrylic tops: warm soapy water and a soft cloth. No alcohol, no solvents. We cannot stress this enough.
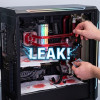
Always replace thermal paste when reassembling, and check O-rings for damage before putting everything back together. A failed O-ring is the kind of problem that announces itself by dripping coolant onto your graphics card, which is not the sort of excitement most of us are looking for.
In the great scheme of things, water blocks are not the most complicated part of a custom loop, however they reward a bit of understanding. Choose the right block for your hardware, install it with care, maintain it once a year, and it will deliver consistent cooling performance for a long time. Get sloppy with compatibility checking or maintenance and you will wonder why your temps are creeping up. Pretty much every water block on the market today is well engineered. The question is whether you give it the respect it deserves during installation and upkeep.