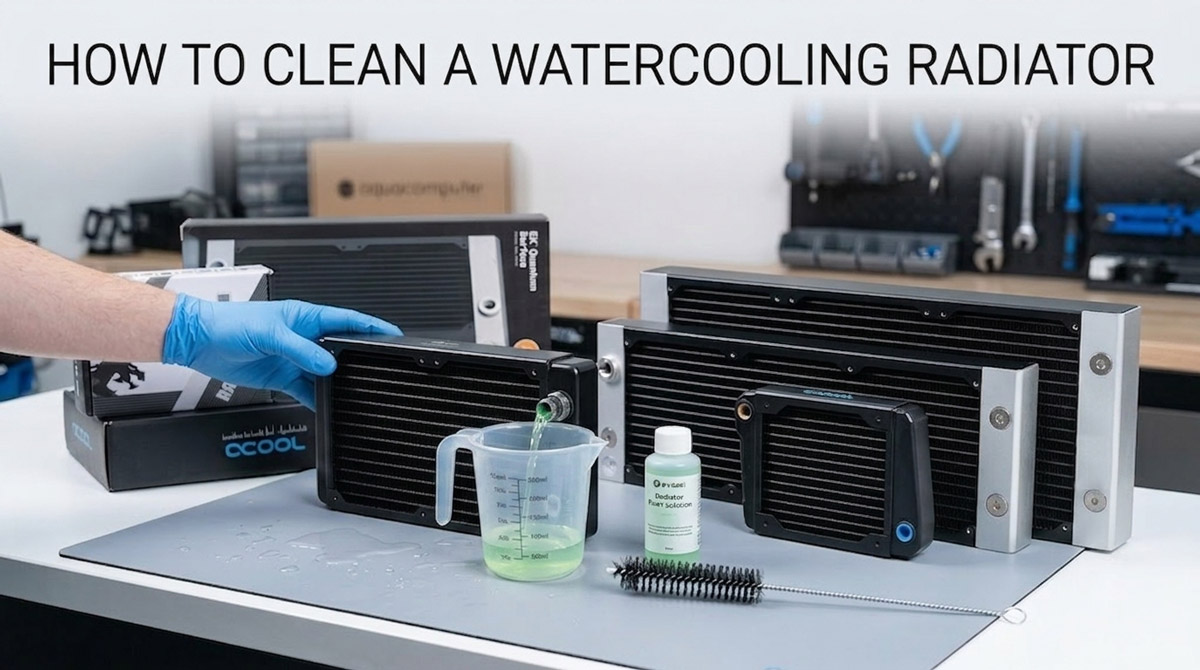
Cleaning your Water cooling Radiator
If you are building a custom loop, or even just performing routine maintenance on an existing one, there is one step that catches people out more than any other. Cleaning your radiator before it enters the loop. It sounds trivial, and it costs almost nothing, yet skipping it is one of the most common mistakes in custom watercooling. The result? Clogged water block microchannels, damaged pump impellers, and premature coolant degradation. So how do you do it properly, and what should you avoid? Let’s walk through it.
Why Cleaning Matters
New radiators leave the factory with manufacturing residue inside. The soldering and brazing process deposits flux residue, solder paste fragments, machining oil, and fine metal shavings throughout the internal channels. These contaminants are present in every brand without exception. I want to stress that point. It does not matter how much you spend or which manufacturer you go with. Users consistently report black specks, dark particles, and murky brown water when flushing brand new units.
If this debris reaches your loop, it lodges in the fine microfin structures of CPU and GPU blocks, wears against pump impellers (particularly ceramic bearings in D5 and DDC pumps), and reacts with coolant additives causing discolouration and reduced corrosion protection. In short, it is bad news for hundreds of pounds worth of hardware.
Existing radiators accumulate contamination over time too. Coolant dye separates, additives break down, plasticiser leaches from soft tubing, and microscopic corrosion particles build up. A radiator that ran well for twelve months may still need a thorough clean before fresh coolant goes in.
Cleaning a New Radiator Before First Use
This is non negotiable for every new radiator, regardless of brand or price. Even units marketed as “pre cleaned” release visible debris on first flush. I do feel that I really should not have to point this out, but the manufacturers themselves are not always forthcoming about it.
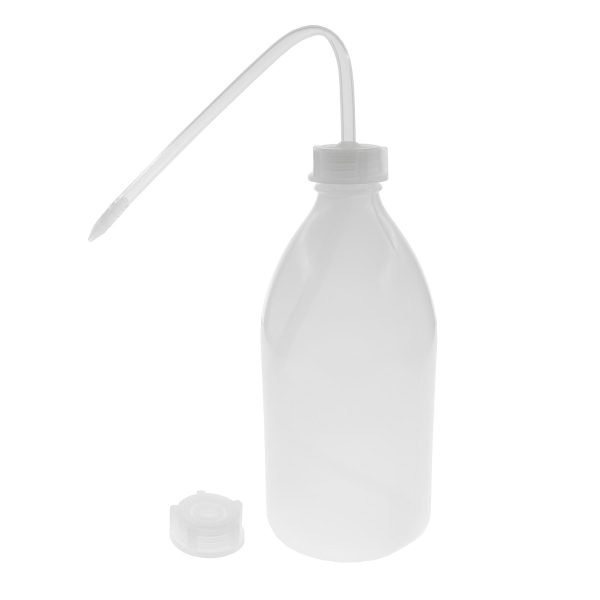
Gather at least three to five litres of distilled water, two G1/4 stop plugs or rubber bungs, a white bowl for inspecting drain water, old towels, and access to hot water. A funnel helps with filling.
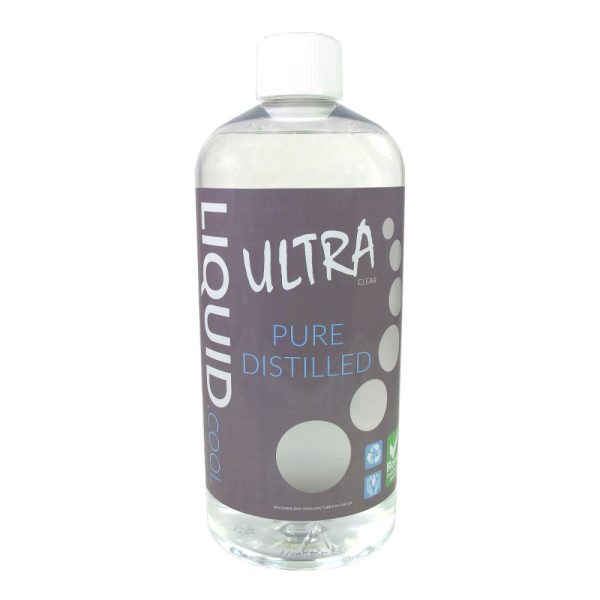
- SKU: LC-ULTRA1000-CL
- MPN: 700461855262
- EAN: 0700461855262
- Available for Collection
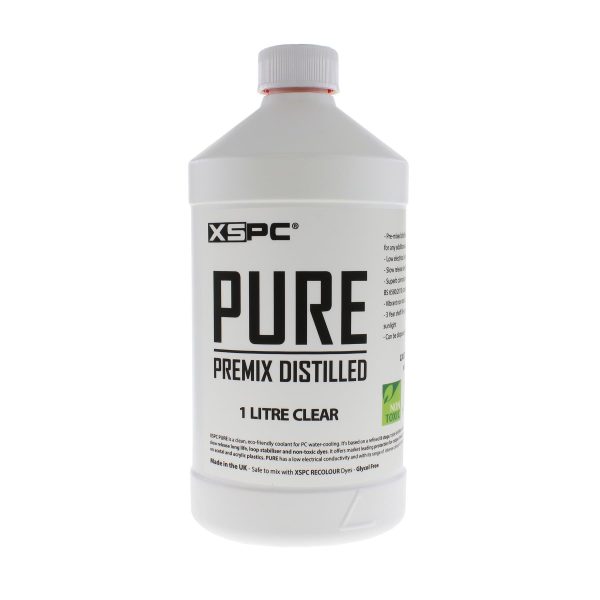
- SKU: XS-PURE-CL
- MPN: 5060596651395
- EAN: 5060596651395
- Available for Collection
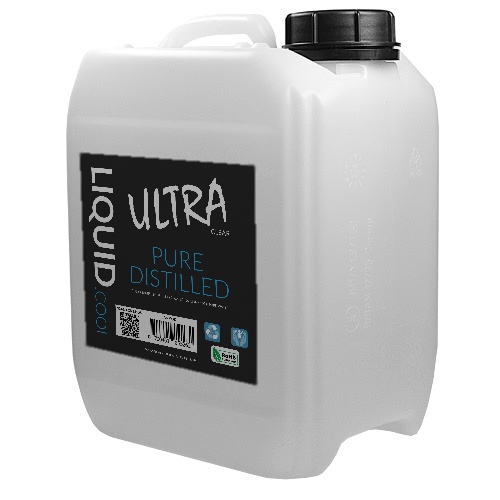
- SKU: LC-ULTRA5000-CL
- MPN: 5060684862139
- EAN: 5060684862139
- Available for Collection
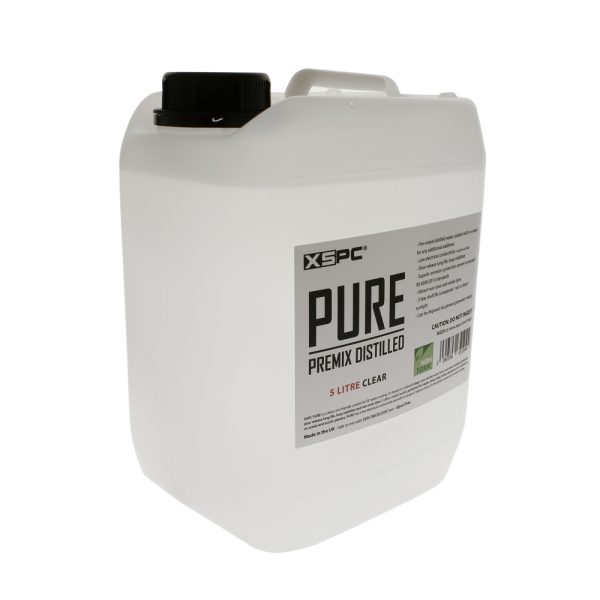
- SKU: XS-5L-PURE-CL
- MPN: 5060596651944
- EAN: 5060596651944
- Available for Collection
Fill the radiator approximately half full with hot tap water at around 40 to 50 degrees Celsius. Plug both ports securely, then shake vigorously for two to three minutes, moving side to side, up and down, and rotating. Drain into the white container and inspect. You will see dark specks or cloudy water on the first few cycles.
Repeat this fill shake drain cycle until no visible particles appear. EK CoolStream radiators typically run clear after three to five cycles. Alphacool NexXxos units are quite notorious for needing five to eight rinses. Hardware Labs falls in between at three to five.
Once hot tap water runs clear, perform at least two final rinses with distilled water to remove any mineral deposits from the tap water. Drain thoroughly after the final rinse.
Cleaning an Existing Radiator During Maintenance
For routine coolant changes where the loop was running clear with no visible issues, distilled water alone is sufficient. Drain the loop, flush each radiator three to five times with distilled water (fill, shake, drain), then refill with fresh coolant. Dead easy.
A chemical clean becomes necessary in a few specific scenarios. These include switching coolant colours, biological growth or visible contamination being present, the loop having run eighteen months or more without maintenance, or thermal performance having degraded noticeably.
For thorough maintenance cleaning, remove radiators from the system if possible. Flush individually with hot tap water for three rounds, fill with your chosen cleaning solution for the recommended soak time, drain, then flush at least three full cycles with distilled water before reassembling.
Cleaning Solutions
What Works
Hot distilled water is the safest option for any radiator material. It handles routine cleaning and should always be used for final rinses. On a subjective note, I would say it is all most people will ever need.
For copper and brass radiators, phosphoric acid based cleaners designed for watercooling components offer the deepest clean, dissolving flux residue that hot water cannot shift. Soak times range from one to twelve hours depending on contamination level. Always follow the product instructions for dilution ratios and maximum contact times.
Citric acid at five to ten percent (50 to 100 grams per litre) is an effective budget option for copper and brass. It removes scale and light corrosion without damaging the metal. Follow with a baking soda rinse to neutralise before the final distilled water flush.
Dilute white vinegar is widely used in the community, though some manufacturers warn against it on copper. If you use it, keep the solution weak (two tablespoons per radiator volume), limit contact to thirty minutes maximum, and rinse thoroughly.
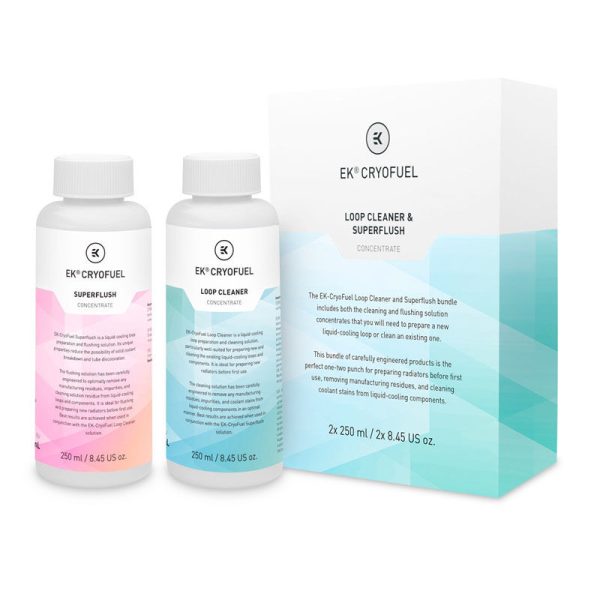
- SKU: WAEK-2491
- MPN: 3831109897720
- EAN: 3831109897720
- SKU: XS-ACC-042
- MPN: 5060596651623
- EAN: 5060596651623
- Available for Collection
- SKU: XS-ACC-043
- MPN: 5060596651630
- EAN: 5060596651630
- Available for Collection
What to Avoid
Never use bleach, automotive radiator flush products, or strong acids like muriatic acid. Bleach corrodes copper, destroys o-rings, and is nearly impossible to rinse fully. Automotive products are formulated for entirely different materials. Strong acids damage thin walled radiator tubes and attack solder joints.
Aluminium radiators require extra caution. Many cleaners marketed for copper and brass are explicitly unsafe for aluminium. Always verify your radiator material first. The safest approach for aluminium is hot distilled water with vigorous shaking, or citric acid if something stronger is needed. It is worth double checking this before you start, as getting it wrong can be catastrophic.
Step by Step Procedure
Fill the radiator half full with hot tap water, plug both ports, shake vigorously for two to three minutes, then drain into your white container and inspect. Repeat until clear (three to eight cycles).
If using a chemical cleaner, fill the radiator completely with the correct dilution, plug the ports (leaving one slightly loose for acid based products that produce gas), and soak for the recommended duration. Never exceed the stated maximum time.
After draining the chemical, flush twice with hot tap water, then perform three full rinses with distilled water. Drain a small amount from the final rinse onto white paper towel and inspect closely. The water should be completely clear with nothing visible on the paper.
If installing immediately, residual distilled water inside is harmless. If storing for later, drain from all angles and leave ports open in a warm area overnight.
Common Mistakes
Not rinsing enough times is the most frequent error. Flux residue continues releasing for multiple cycles. If in doubt, do two more rinses than you think necessary.
Using tap water as the final rinse deposits minerals that promote corrosion. Always finish with distilled water.
Leaving cleaning solution in too long etches metal surfaces and weakens solder joints. Respect the maximum contact times.
Using the wrong cleaner for your radiator material can be, frankly, disastrous. Strong acid on aluminium destroys it completely. Always confirm what your radiator is made from before selecting a product.
Skipping the pre flush entirely on a new radiator is perhaps the most damaging mistake. Every brand ships with manufacturing residue inside, no exceptions.
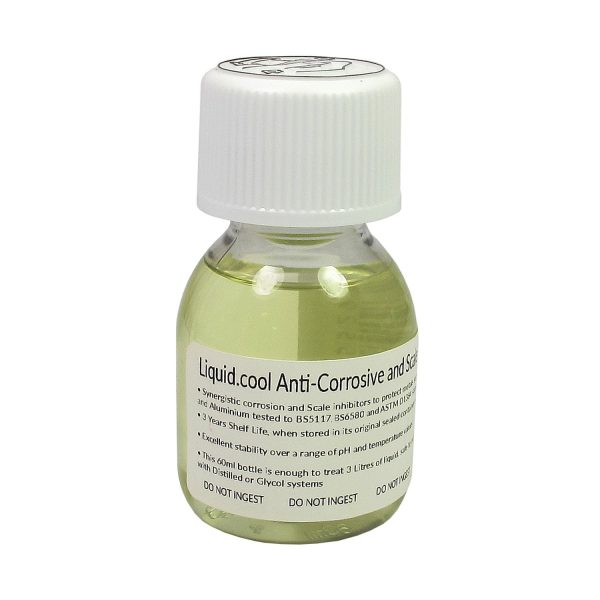
- SKU: LC-ANTCO-60ML
- MPN: 700461855293
- EAN: 0700461855293
- Available for Collection

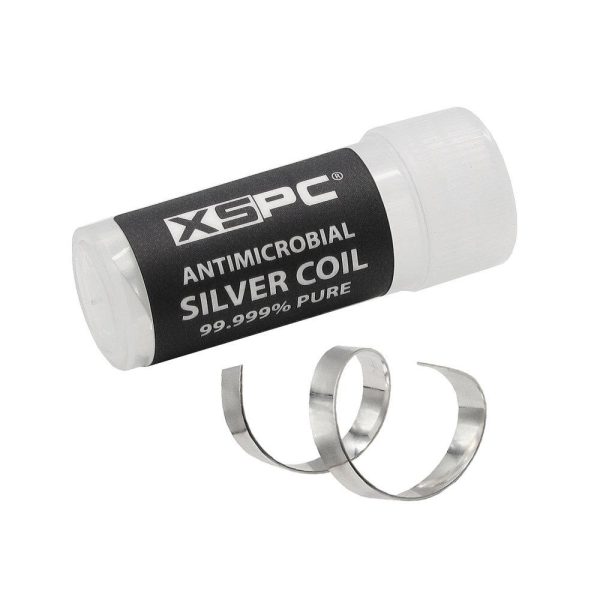
- SKU: XS-ECP-01
- MPN: 5060175589613
- EAN: 5060175589613
- Available for Collection
- SKU: XS-ACC-021
- MPN: 5060596650626
- EAN: 5060596650626
- SKU: WCS-0001
- MPN: 5060684861972
- EAN: 5060684861972
How to Know Your Radiator Is Clean
The primary test is visual. Drain water from your final rinse should be crystal clear with no cloudiness, tint, or particles. The white paper towel test is quite definitive. Drain a small amount onto white paper, hold it to light, and look for any dark specks or coloured residue. If anything is visible, keep flushing.
Check the water surface for any rainbow sheen indicating residual machining oil. The drained water should look identical to the distilled water you poured in.
Some radiators may release the occasional microscopic speck even after many rinses. At this point, an inline filter during the first 24 to 48 hours of loop operation catches anything remaining. After this run in period, drain and refill with fresh coolant for a perfectly clean system.
The whole process takes roughly thirty minutes and costs almost nothing. For those looking to protect their loop components and avoid premature degradation, it is well worth the effort. I would also say that if you are already shelling out the extra few quid for a custom loop, there is really no excuse for skipping it. It is not glamorous work, but it is the kind of thing that separates a trouble free build from one that gives you headaches six months down the line.