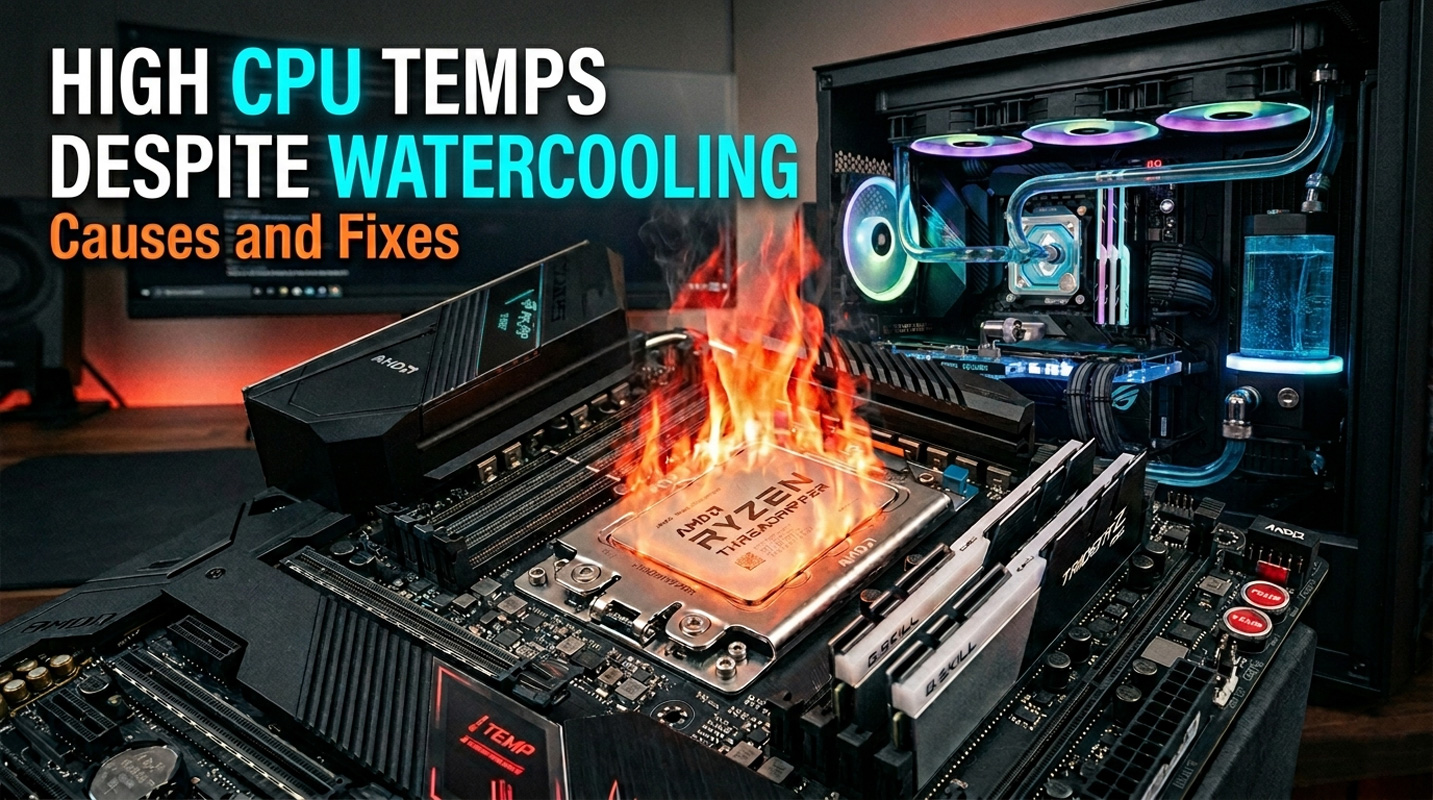
High CPU Temps Despite Watercooling: Causes and Fixes
Custom watercooling loops are pretty much the pinnacle of CPU cooling, yet high temperatures remain one of the most common complaints from builders. You might assume that bolting a waterblock to your processor and plumbing it into a loop of radiators and a pump would solve all your thermal problems, however the reality is more nuanced. If your watercooled CPU is running hotter than expected, the problem almost always falls into one of a handful of categories. This guide covers every common cause and provides a clear diagnostic process to identify and fix the issue.
What Counts as “High” for a Watercooled CPU
Watercooled CPUs typically idle at 25-40C, sit at 50-75C during gaming, and reach 65-85C under sustained heavy workloads. Thermal throttling begins at 95-105C depending on the processor.
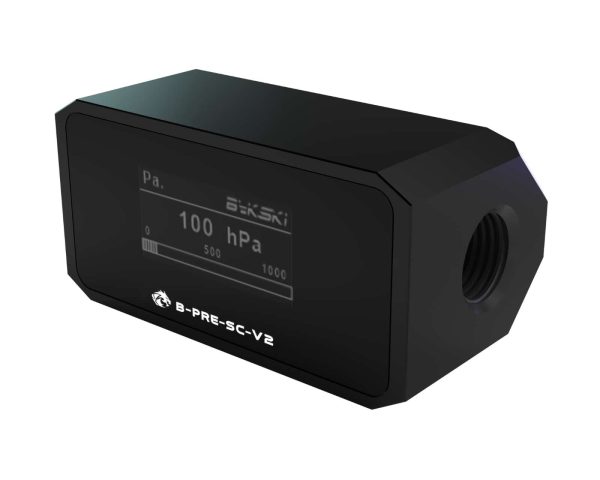
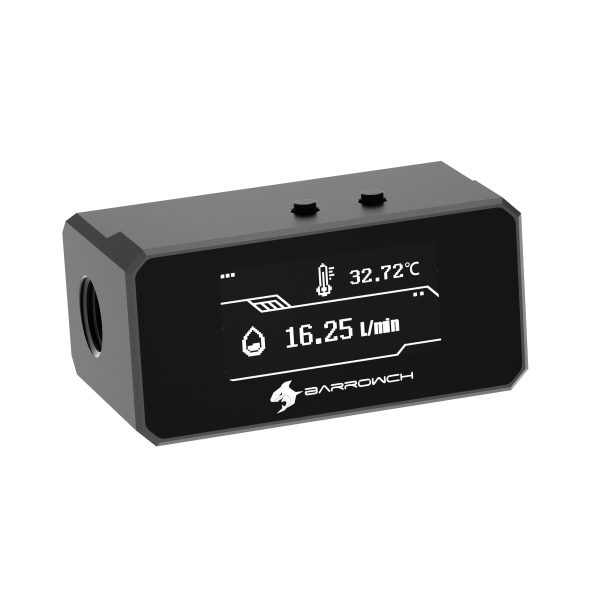
The critical diagnostic number is the delta between CPU temperature and coolant temperature. A normal delta under load is 15-30C for most CPUs, rising to 30-45C for high wattage processors drawing 200W or more. A delta above 45-50C strongly indicates a mounting, paste, or block contact problem. If you have not invested in a coolant temperature sensor, now would be a good time to consider monitoring hardware, as this single reading tells you more than almost any other diagnostic step.
- SKU: BKK-B016
- MPN: B-PRE-SC-V2
- EAN: 6932167220516
- Available for Collection
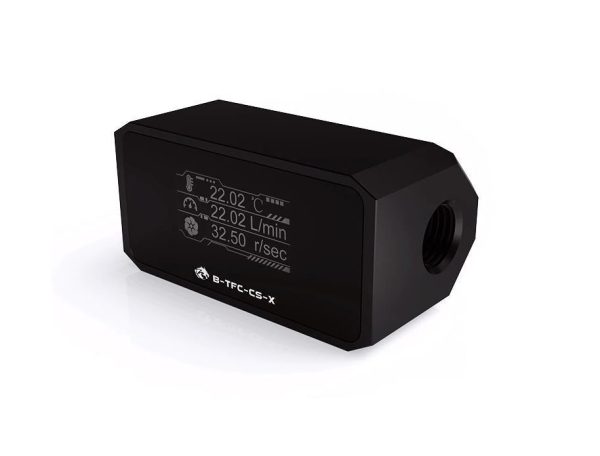
- SKU: BKK-B012
- MPN: B-TFC-CS-X
- EAN: 6970685789986
- Available for Collection
- SKU: BAR-ACC54
- MPN: FBFT08-BK
- EAN: 6937826665417
- Available for Collection
- SKU: BAR-ACC48
- MPN: FBFT07-W
- EAN: 6937826665264
- Available for Collection
The Key Diagnostic Principle
This is the observation that narrows your troubleshooting to half the possible causes immediately, and it is worth committing to memory.
High CPU temp with low coolant temp (close to ambient) means heat is not getting into the water. The problem is at the block, mount, or paste interface. High CPU temp with high coolant temp means heat is entering the water but cannot escape. The problem is insufficient radiator capacity or poor airflow. One quick check, two very different diagnostic paths.
Mounting Pressure Issues
Incorrect waterblock mounting is the number one cause of high CPU temperatures in custom loops, and we have seen it enough times to state that with a certain amount of confidence. If the block is not making full, even contact with the CPU IHS, no amount of radiator capacity or flow rate will help. Simple as it sounds, people still get this wrong.
Common problems include uneven tightening causing the block to tilt, insufficient pressure leaving a gap between surfaces, over tightening that warps the block or motherboard, and using the wrong socket mounting kit. Intel LGA 1700 and LGA 1851 sockets also have a documented issue where the stock ILM causes the CPU IHS to bow, creating uneven contact with flat cold plates. Contact frames provide more even pressure distribution and are a nifty solution to a problem that should not exist.
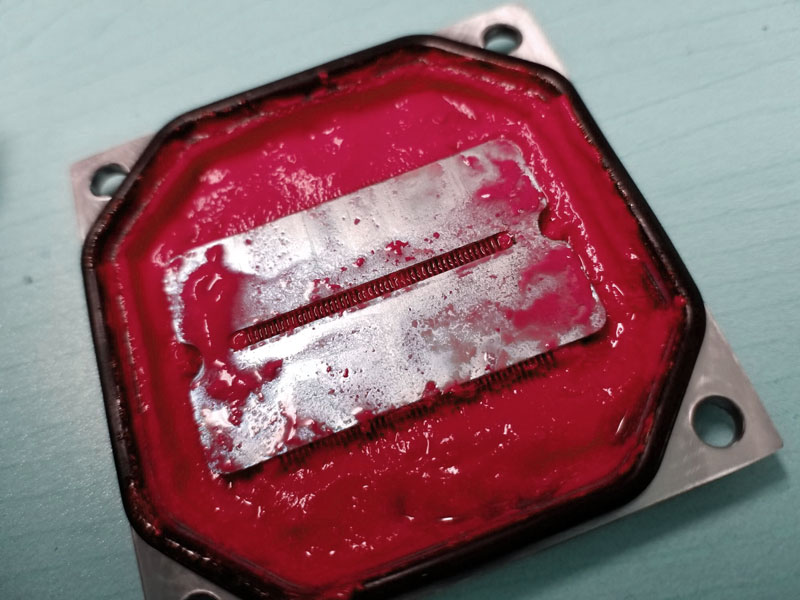
To verify your mount, run a stress test then remove the block and examine the paste pattern. Even, thin coverage across the entire IHS indicates a good mount. Thick paste on one side with bare metal on the other indicates tilt. For proper mounting, hand start all four screws before tightening any, then tighten in a cross pattern using quarter turns until finger tight plus a quarter turn with a screwdriver. This is standard practice with custom loop hardware and is just one of those things you have to get right.
Thermal Paste Problems
- SKU: ZUWA-382
- MPN: TG-AS-P-3
- EAN: 4260711991691
- SKU: ZUWA-368
- MPN: ACTCP00091A
- EAN: 4895265000881
- Available for Collection
- SKU: ZUWA-365
- MPN: ACTCP00089A
- EAN: 4895265000867
- Available for Collection
- SKU: ZUWA-367
- MPN: ACTCP00092A
- EAN: 4895265000898
- Available for Collection
Thermal paste fills microscopic imperfections between surfaces. Too little paste is worse than too much. It leaves areas without coverage and creates air pockets, which pretty much defeats the purpose. The best method for waterblocks is a pea sized dot in the centre, or an X pattern for the rectangular IHS on LGA 1700 and 1851. Let mounting pressure do the spreading.
Dried out paste is common on older builds. Inspect at 3-5 years and replace if temperatures have gradually increased or paste appears cracked and powdery. Also check for the protective plastic film that ships on nearly every waterblock cold plate. This film is often clear and easy to miss, and if left on makes the block almost useless. We mention this not to be patronising but because it happens with alarming regularity.
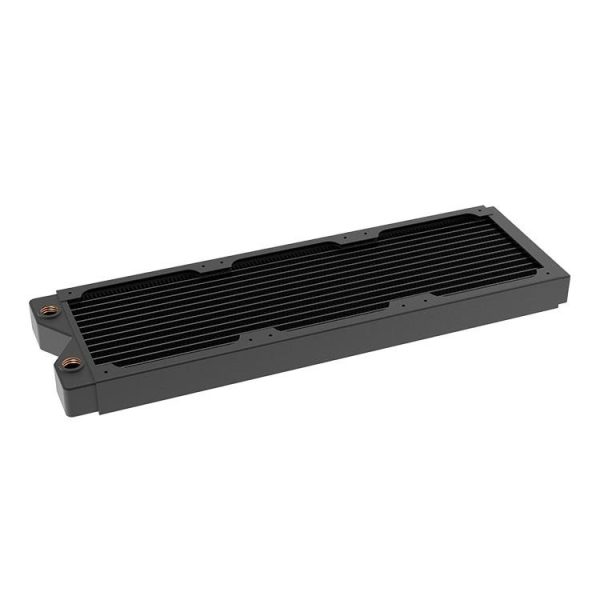
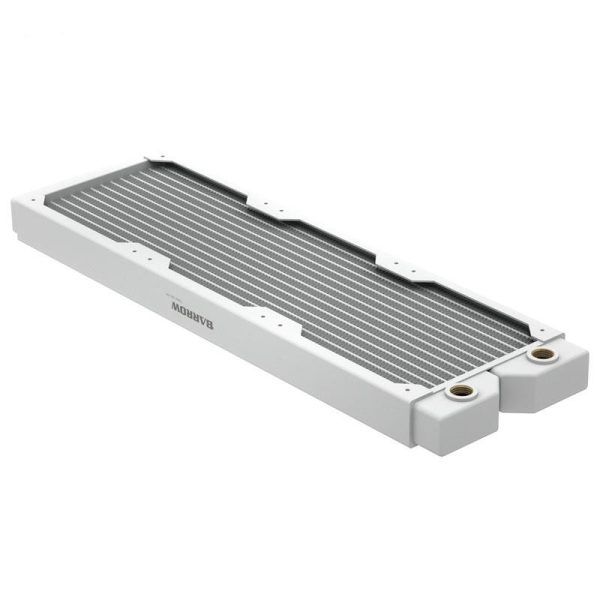
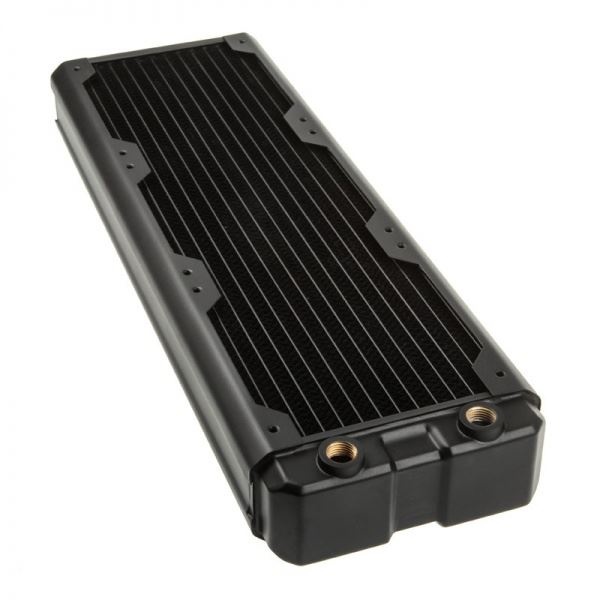
Insufficient Radiator Capacity
The rule of thumb is 120mm of radiator per component cooled plus one extra 120mm section for headroom, or 120mm per 80-100W of heat. At moderate fan speeds, each 120mm section dissipates roughly 120W.
A Ryzen 7 9700X (100W) works well with a 360mm radiator. A Core i9-14900K (253W) needs dual 360mm radiators. A combined CPU and GPU loop producing 600W needs at least two 360mm plus a 240mm radiator. Signs of insufficient capacity include coolant exceeding 15C above ambient and both CPU and GPU temperatures elevated proportionally. In the great scheme of things, radiator capacity is one area where spending a bit more upfront saves a lot of frustration later.
- SKU: 1026228
- MPN: R27-S360
- EAN: 4049469346355
- Available for Collection
- SKU: LC-AZ005
- MPN: LC-RD360-CU-V3
- EAN: 5060684861798
- Available for Collection
- SKU: BAR-RAD26
- MPN: Dabel-28a 360 W
- EAN: 6937826615467
- Available for Collection
- SKU: HWL-R127
- MPN: Nemesis GTX360-BK
- EAN: 4806518484716
- Available for Collection
Poor Airflow to Radiators
A radiator with inadequate airflow is effectively a smaller radiator. Restrictive case panels, dust buildup on fins, conservative fan curves, and pre-heated intake air all reduce effective cooling.
Here is a practical point worth remembering. Increasing fan speed from 800 to 1600 RPM provides more improvement than adding push-pull fans at 800 RPM. Using a coolant temperature sensor to drive fan curves is superior to using CPU temperature, which rises too slowly for timely ramp-up. If you are running your fans at low speed because you value quiet operation, that is perfectly reasonable, however you need to accept the thermal trade-off that comes with it.
Flow Rate Issues
Below 0.5 GPM (115 litres per hour), cooling performance degrades noticeably. The optimal range is 1.0-2.0 GPM. Above 2.0 GPM, improvements are negligible, so there is no need to go overboard with pump speed. Common causes of low flow include pump speed set too low, clogged microchannels from coolant degradation, excessive 90-degree fittings, kinked tubing, and air locks.
Opaque and Pastel coolants with suspended particles cause clogging over time. These are classed as “display coolants”, so avoid if you dont like maintenance.. If flow has degraded gradually, disassemble blocks, flush radiators with distilled water, and refill with fresh coolant. This is a certain amount of effort, however it is one of those maintenance tasks that pays for itself in lower temperatures.
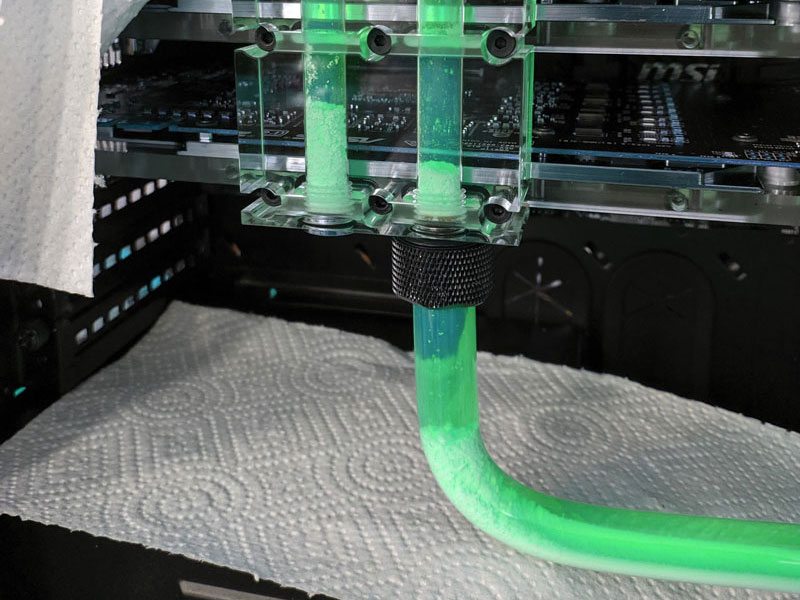
Air Trapped in the Loop
Air is approximately 25 times worse than water at conducting heat (ouch). An air pocket over the CPU block’s microchannels creates a dead zone where heat cannot transfer. Symptoms include unpredictable temperature spikes, gurgling sounds, and temperatures that change when the PC is tilted.
To bleed air, run the pump at low speed, tilt the case gently in multiple directions, and top up the reservoir. Most air bleeds within 1-2 hours, however residual bubbles may appear for 1-2 weeks after initial fill. Patience is required here. This is standard practice with custom loop hardware.
Modern CPU Behaviour: Managing Expectations
This is the section that catches a lot of people off guard, and it requires a certain amount of mental readjustment. Modern boost algorithms use all available thermal headroom to maximise performance. Better cooling gives higher sustained clocks, not necessarily lower temperatures. The question left hanging in the air is whether your “high” temperatures are actually a problem at all.
AMD states that Ryzen processors hitting 95C under sustained load is “typical and by design.” The CPU boosts until it hits its thermal or power limit. A watercooled 9950X at 95C with PBO enabled is working as intended. Intel K-series processors from 12th gen onwards consume maximum turbo power (253W on 14th gen i9) continuously by default. A 14900K at 85-95C under Cinebench is normal. If you were expecting watercooling to deliver dramatically lower temperatures with these processors running at full power, you may need to recalibrate your expectations.
- SKU: FSD8-078
- MPN: TG-MY-P-RGB-AMD-AM5
- EAN: 4260711992728

- SKU: WATX-021
- MPN: L-P0CL-DS0M-G0W
- EAN: 6977029650452
- SKU: WATX-022
- MPN: L-P0CL-DS0M-G0K
- EAN: 6977029650445
- SKU: WACP-578
- MPN: BPM-CPUXCA
- EAN: 4712914791993
If temperature matters more than peak performance, reduce power limits in BIOS (PPT on AMD, PL1/PL2 on Intel) for significant thermal improvement with minimal gaming impact. Undervolting via Curve Optimizer can reduce temps 5-15C while maintaining the same clocks. Realistically, most of us would be adequately served by a modest power limit reduction, and the performance difference in games is pretty much negligible.
Diagnostic Flowchart
Record CPU and coolant temperatures at idle and under load using HWiNFO64, along with ambient room temperature. First check whether temperatures are actually abnormal for your hardware. A 9950X at 95C or 14900K at 90C under full load is by design, not a fault.
If temperatures are genuinely high, check the coolant-to-CPU delta. Low coolant with high CPU means the problem is at the mount or paste. Remove the block, inspect the paste pattern, remount properly. High coolant means insufficient cooling capacity. Verify radiator sizing, check fan speeds, clean dust from fins.
If no coolant sensor is available, touch the tubing after 15 minutes under load. Barely warm tubing indicates a mount issue. Noticeably hot tubing indicates a capacity issue. Investing in a coolant temperature sensor is the single best diagnostic upgrade for any custom loop, and in the great scheme of things it costs very little compared to the rest of your hardware.
Try These First
Before you start tearing your loop apart, run through these checks. Verify fan curves to ensure radiator fans ramp up under load. Increase pump speed to maximum. Bleed air by running the pump at low speed while tilting the case. Clean dust from radiator fins. Remount the block with fresh thermal paste using the cross-pattern method, verifying the protective film is removed. Check BIOS power limits are at stock rather than unlimited. Add a coolant temperature sensor for accurate diagnosis and proper fan curve control.
Custom watercooling delivers damn impressive thermal performance when everything is set up correctly, however the key word there is “correctly.” The good news is that the causes of high temperatures are well understood and the fixes are almost always straightforward. The question is whether your temperatures are genuinely a problem, or whether your CPU is simply doing exactly what it was designed to do. That distinction makes all the difference.