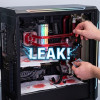
Bubbles in Your Watercooling Loop
Air bubbles are one of those things that will affect just about every custom loop at some point. They cause irritating pump noise, reduce cooling performance, and, if you are running clear waterblocks or a distro plate, they look quite unsightly as well. The good news is that bleeding trapped air out of your loop is relatively straightforward. All you really need to do is tilt your case gently in a few different directions. But how exactly should you go about it, and what pitfalls do you need to watch out for? Let’s walk through the process step by step.
Before You Start
I would recommend using a PSU jumper or your motherboard’s pump-only header to run the pump without fully powering the system. This avoids unnecessary heat build-up while you work on the loop, there is no point having your CPU and GPU generating heat when all you are doing is chasing bubbles.
One important thing to note here, and I do feel this is worth stressing, is that you should never let the reservoir run dry while bleeding. A pump running without coolant can overheat and damage itself within seconds. As such, keep topping up the reservoir as the level drops.
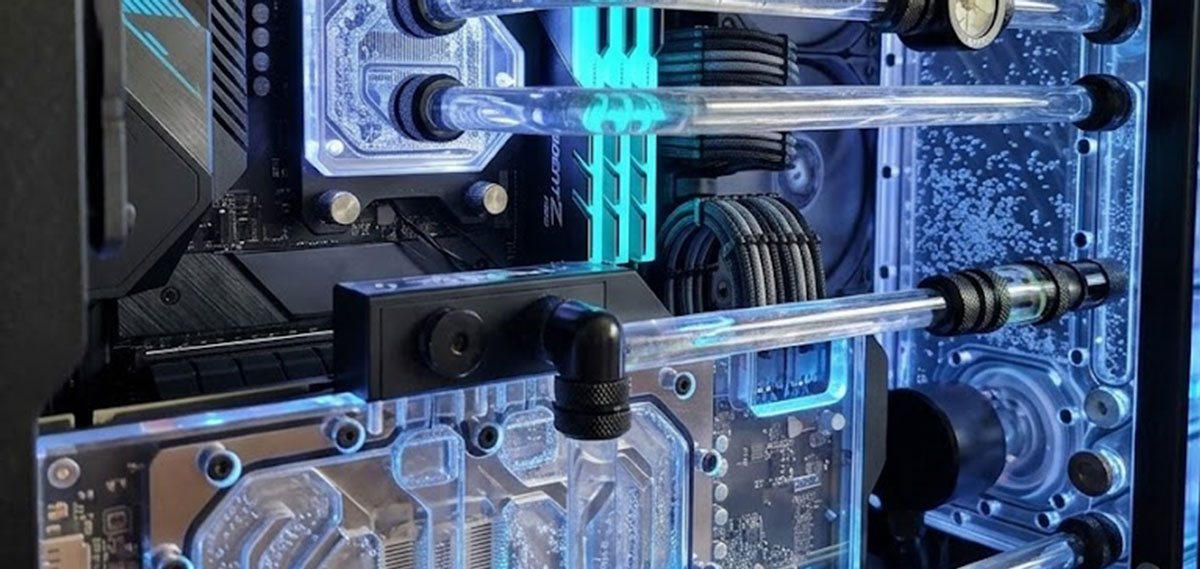
Inspect the Loop
With the pump running, take a moment to look through the loop for any visible air pockets. Check your waterblocks, radiators, and distribution plates. Listen as well, bubbling or irregular pump noise is a fairly reliable indicator that air is still trapped somewhere in the system.
Tilt Side to Side
Gently tilt the case about 30 degrees to the left, hold it there for a few seconds, then tilt it 30 degrees to the right. Watch the reservoir as you do this, you should see bubbles rising to the surface. It is not the most glamorous process, but it is effective.
Tilt Front to Back
Next, tip the case forward, toward the front panel, by about 30 degrees. Hold it there briefly, then tip it backward by the same amount. Again, keep an eye on the reservoir for rising bubbles and listen for any changes in pump noise. If the bubbling sounds are reducing, that is a good sign.
Repeat and Top Up
Continue tilting in various directions until no more bubbles appear in the loop or are heard from the pump. As air is expelled, coolant fills those spaces and the reservoir level will drop. Pause periodically to top up with additional coolant as needed, this is quite important, as letting that level get too low risks running the pump dry, which, as I mentioned earlier, is not something you want.
Tap Stubborn Air Pockets
If you find some air pockets are being particularly stubborn, lightly tap the radiators, waterblocks, and reservoir with your knuckle to dislodge them. I would stress the word “lightly” here, you do not want to damage components or loosen fittings. A gentle tap is all it takes.
Let It Run
After you have finished tilting, let the pump run for 10-15 minutes to circulate coolant and flush out any remaining air. Once that time has elapsed, check the reservoir level one final time and top up if needed.
In short, the whole process is dead easy, tilt gently, tap lightly, and keep that reservoir topped up. It is not the most exciting task in the world, but spending a few minutes bleeding your loop properly will result in quieter pump operation, better cooling performance, and a far cleaner look through any clear components. For those building a custom loop for the first time, I would say this is one of those steps that is well worth getting right from the outset.

- SKU: GABU-739
- MPN: GABU-739
- EAN: n/a
- SKU: LULI-085
- MPN: UF-SLIN140-1B
- EAN: 4718466014894
- SKU: LUJB-069
- MPN: ZB-360B
- EAN: 6970620554624
- Available for Collection
- SKU: LUJB-065
- MPN: ZB-240B
- EAN: 6970620554594